
3D SCANNING // FIRST JOB
My First 3D Scan: Many Hours, Many Tokens, One Handoff
I bought a CR-Scan Otter so I could have a go at turning real objects into things I could 3D print. My first proper project was a friend’s broken plastic part, glued back together so I could scan it and try making a replacement. MakerMouse, my AI assistant, was along for the ride. Neither of us made it look easy.
The file has now been handed over. The scanner has been tested. The replacement print has not.
Many hours. Many tokens. Was it worth it? I'm still not sure. Did I learn a few things? Definitely.
First, persuade the scanner to be a scanner
Before I could scan anything, I had to get the computer to find the scanner. It powered up, but the software wasn’t playing along. One of the plugs at the scanner end wasn’t pushed all the way in. That turned out to be part of the problem.
Then there was a firmware update I wasn’t sure had worked, the scanner disappearing from the software, and a reboot that brought it back. It was the sort of evening where each solved problem unlocks the next one. An expensive escape room, apparently.
I still don’t know exactly what caused every hiccup. I can only say what happened in my setup. Next time I’ll check the plugs properly before disappearing down the software rabbit hole, and keep track of what I’ve actually changed.
Eventually, it scanned.
A broken part was an ambitious first subject
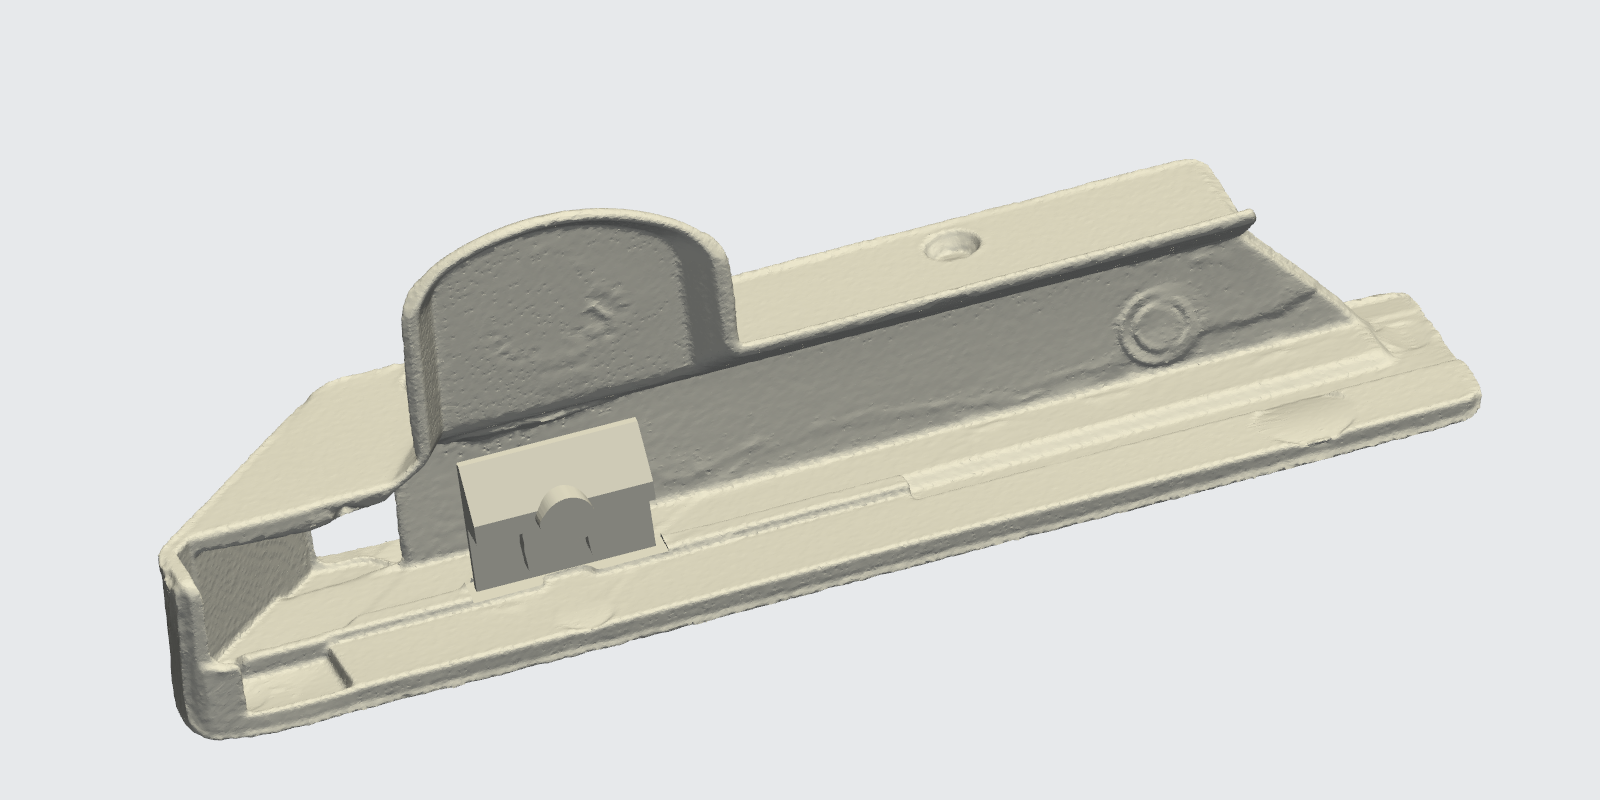
The part had been shattered and glued back together. It had a long channel, little strengthening ribs and a broken mounting tab. Pale plastic and awkward corners probably weren’t the easiest choice for learning how to scan. Naturally, that’s where I started.
Different scans missed different bits. Bringing several of them together gave us an STL file with nearly five million triangles — the tiny flat pieces that make up the model’s surface. There was plenty of detail, including some of the damage I was hoping to get rid of.
One thing I learned quickly: the scanner sees what’s there. It doesn’t know which crack, glue line or lumpy bit you’d like it to politely ignore. Scanning a broken part and making it look like it did before it broke turned out to be two very different jobs.
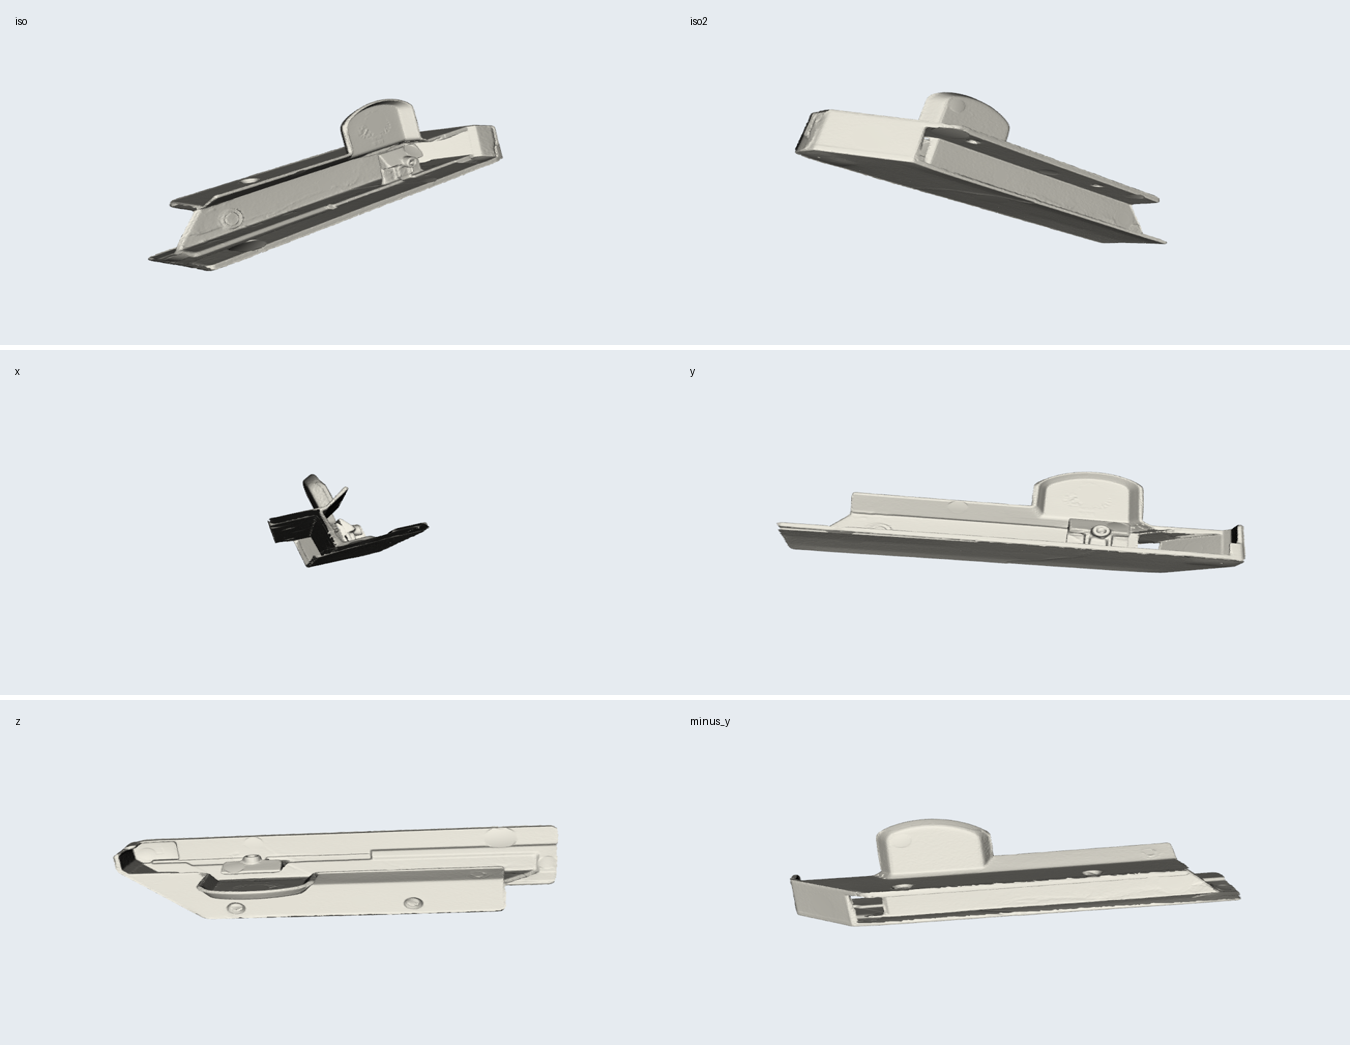
Nearly five million triangles didn't make it a finished replacement
Some gaps were places the scanner had missed. Other openings were supposed to be there and needed to stay open. The back of the mounting tab was also difficult to scan because there was hardly any room behind it.
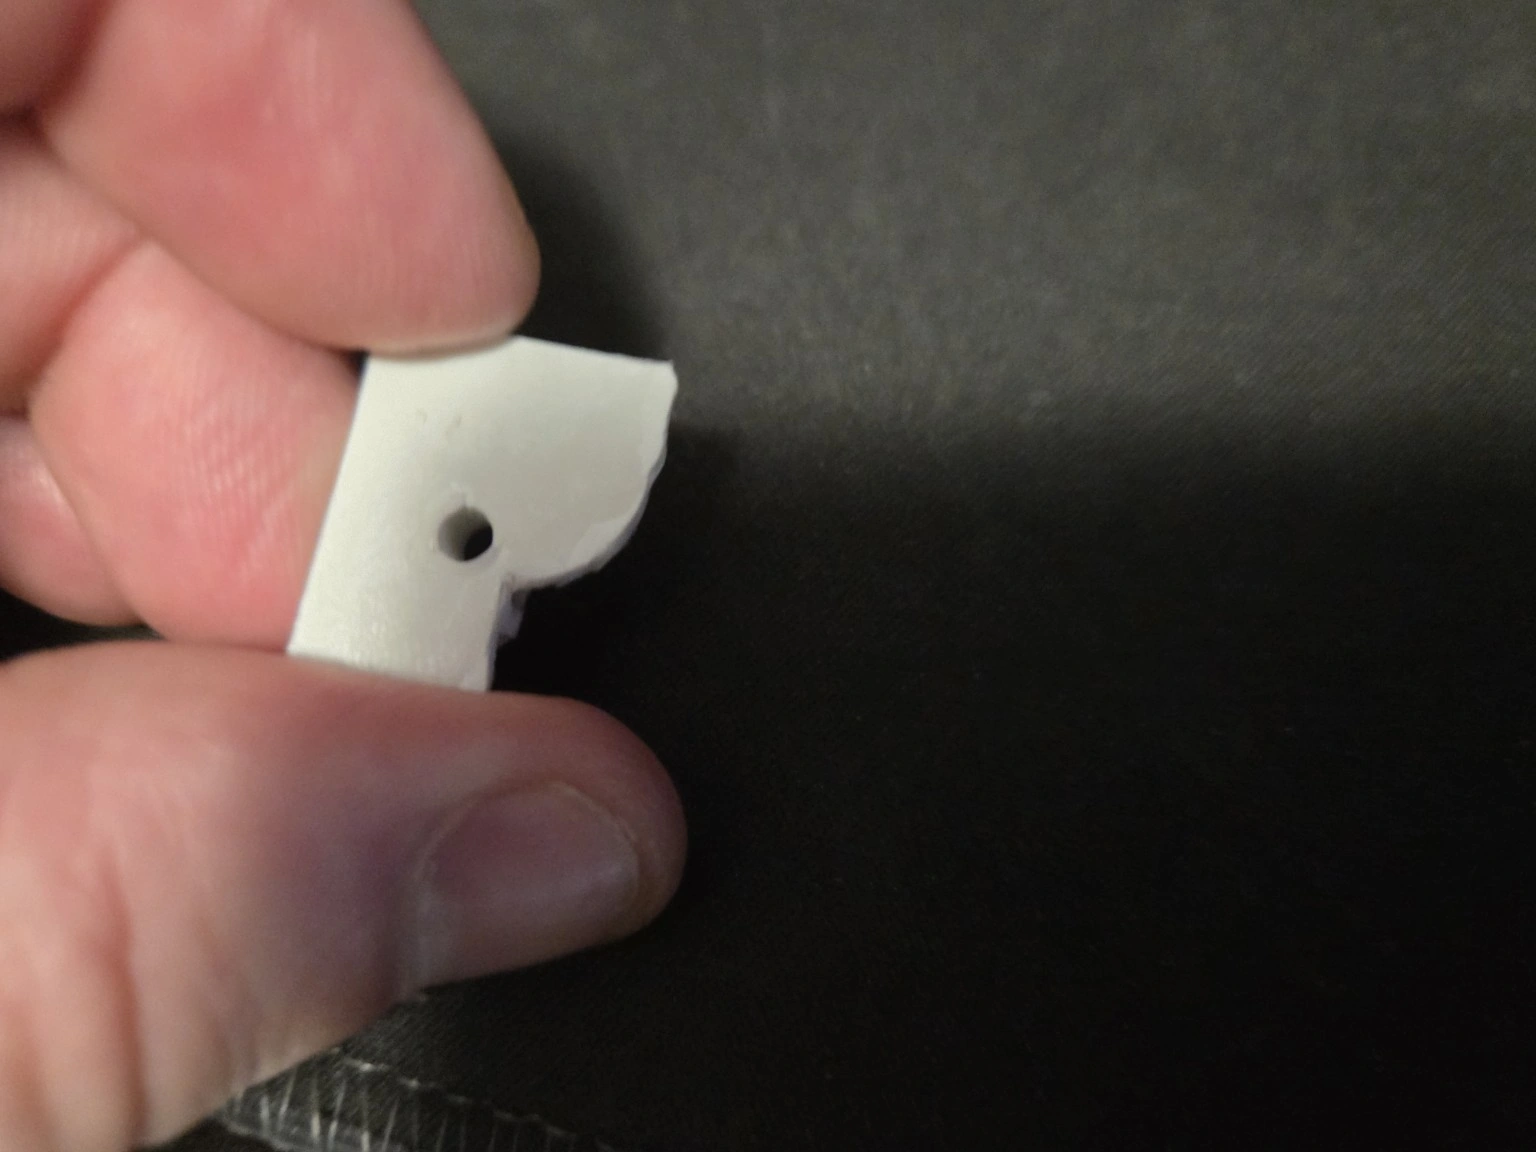
I had a photo showing that flat back and a scan showing the front. We needed to use those to rebuild the missing bit. Going around in circles asking for another scan of a spot I couldn’t reach wasn’t getting us anywhere.
The scanner wasn't responsible for all the trouble
MakerMouse and I got the cleanup wrong more than once.
One early repair smoothed away too much detail. Another attempt filled holes that were meant to stay open. Later versions looked tidier but still got the mounting tab wrong: the back wasn’t flat, the hole was off-centre, and bits stuck out or ended up the wrong thickness.
That wasn’t the scanner changing its mind. It was us getting the repair wrong and not spotting it soon enough.
A model can pass a computer check and still be the wrong shape. It can look great in a picture and still refuse to fit. I had to keep going back to the real part and the photos rather than trusting a reassuring result on screen.
The green tick was encouraging. The photos were a better reality check.
Flat finally meant flat
What finally helped was taking a few rough ruler measurements from the same flat back:
| Feature | Total height from the flat back |
|---|---|
| Thin plate and leading tip | About 1 mm |
| Two reinforcing ribs | About 3 mm |
| Triangular reinforcement | About 5 mm |
| Raised section around the screw hole | About 7 mm |
These were all measured from the back, rather than stacked on top of one another. Getting that clear saved another round of confusion.
We eventually rebuilt just the broken mounting tab, using the photos, the scan and those measurements. Its back needed to be flat and its edge needed a straight slope. This time we left the surrounding channel alone instead of trying to tidy up the whole model again.

The original screw hole looked about 3 mm wide. That was a rough ruler measurement, and we kept getting the hole in the wrong spot when trying to recreate it. Eventually I said: leave that little raised section solid. My friend can check the printed part against the original fitting and drill the hole where it actually needs to go.
That’s the version I handed over: the repaired tab is solid, with the screw hole left for later. Sometimes the sensible answer is to stop asking the AI to have another crack at it.
What we actually checked
The final file has about 1.2 million triangles, down from nearly five million. The computer checks found one joined-up model, with no open gaps or surfaces crossing through each other. PrusaSlicer also managed to slice the exact file I sent to my friend. That was progress — after this many attempts, I was happy to see it.
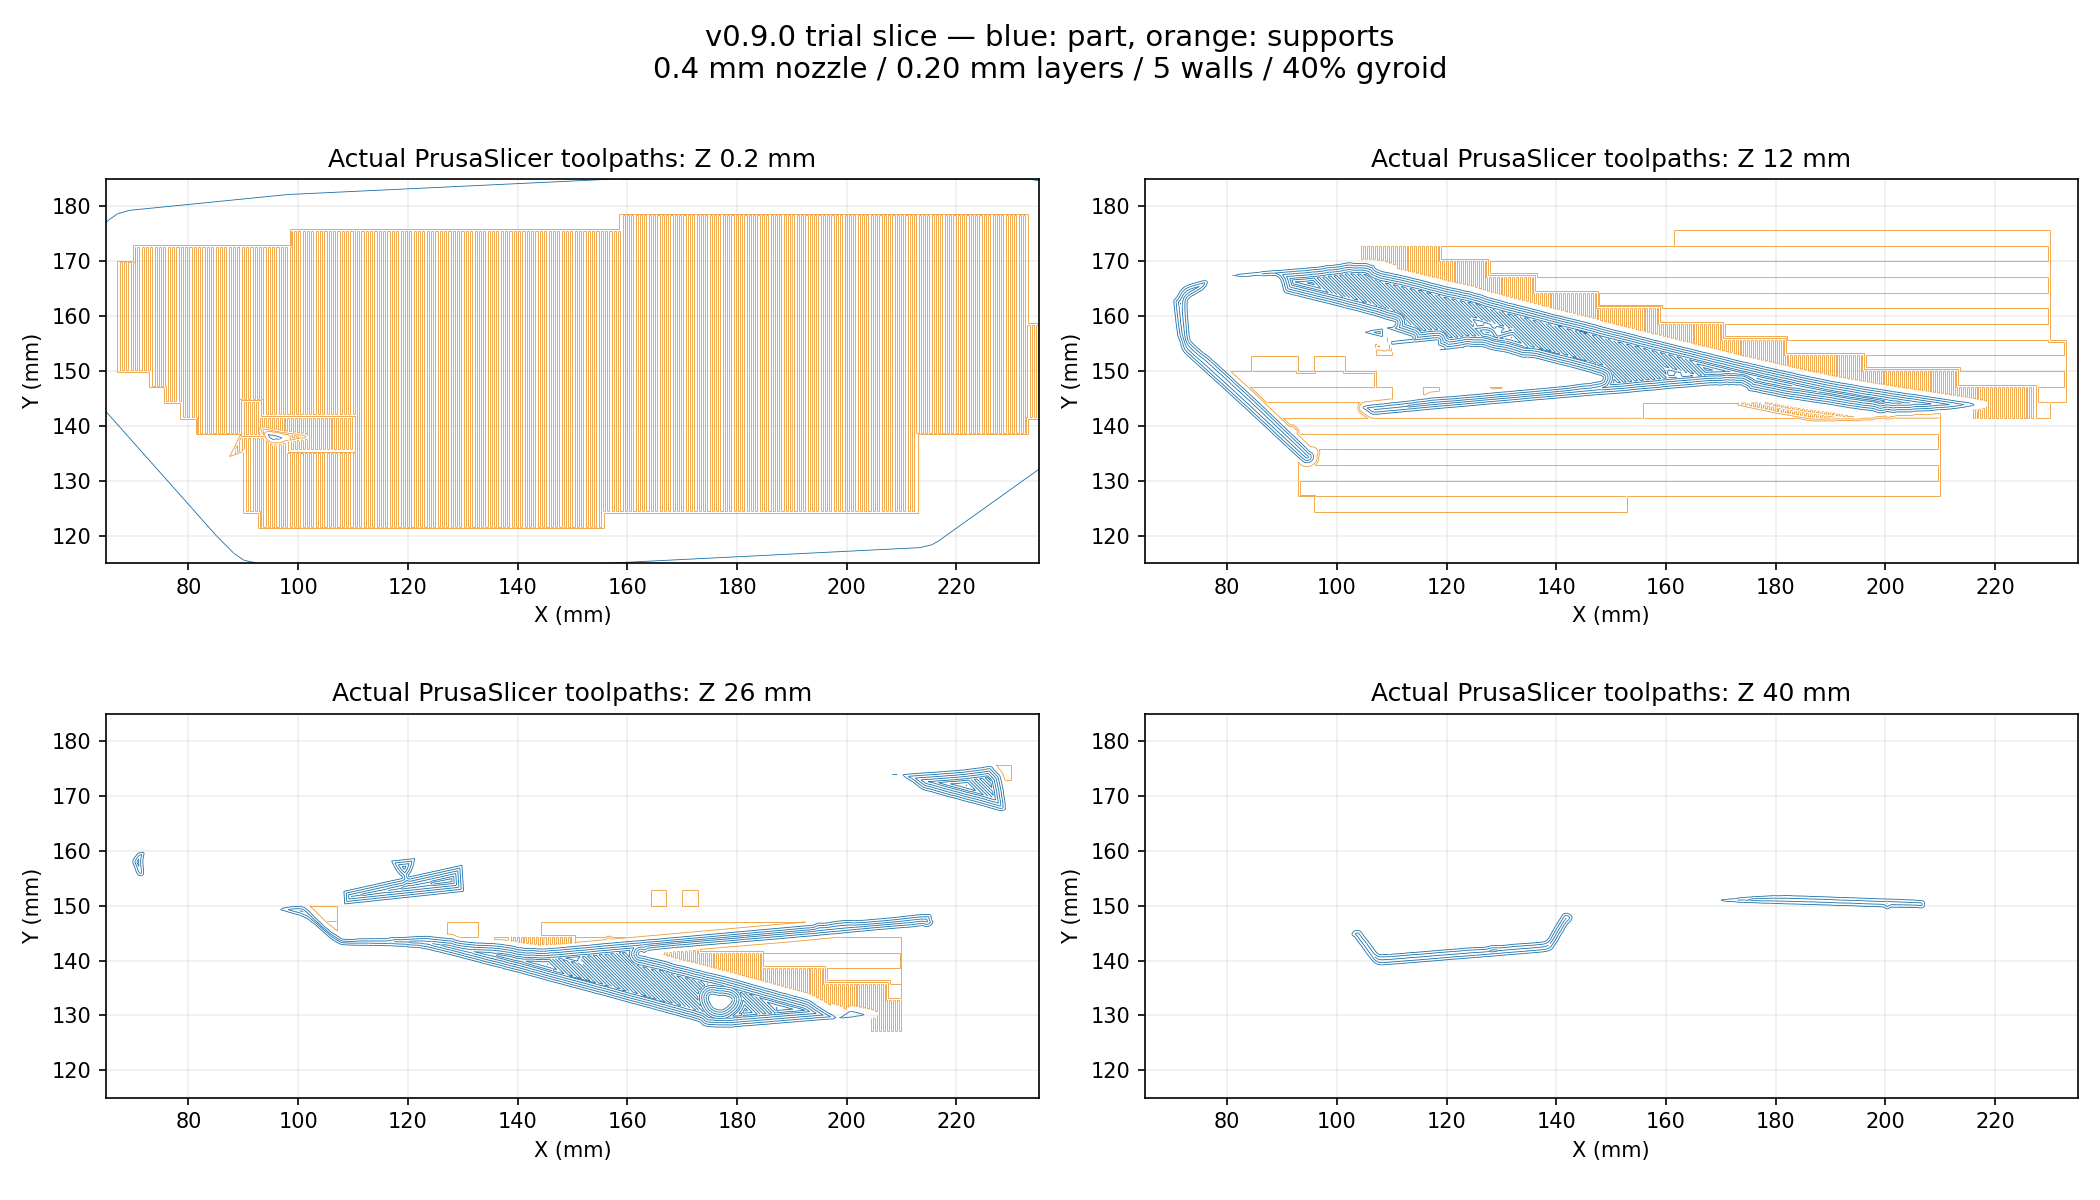
It still needs printing. Until my friend tries it, I don’t know whether it fits or is strong enough for the job. The surface still carries some of the scan’s bumps, and detail we lost during earlier cleanup hasn’t magically come back.
I used the scanner’s 0.1 mm setting, but I can’t claim the finished replacement is accurate to 0.1 mm. We’ve filled in missing bits using photos and rough measurements, and the printer will have its own say too.
The plan is to try PETG. I sent some suggested starting settings with the file: 0.16–0.20 mm layers, 5–6 walls and about 40% gyroid infill — a wavy pattern inside the print. My friend will use the settings that work for his printer and filament, and check which way to print it, whether it needs supports and how that thin tab looks in his slicer.
Was it worth it?
As a fast way to produce this one replacement? It has taken far longer than I wanted, and the result still needs a physical test. I can't honestly count it as a successful repair yet.
As a way to learn about scanning and fixing up models? Definitely useful. I got a fairly thorough introduction to connection problems, missed surfaces, cleanup gone wrong and the difference between a file that opens nicely and a part that actually works.
The most useful lessons were practical:
- Keep the original scan and clean photographs. They are how you catch a repair drifting away from reality.
- Try fixing the broken bit before changing the whole model.
- Measure from the same starting point, and write it down.
- Look from several angles, especially around holes and bits that need to fit together.
- Passing the computer checks, looking right and actually fitting are three different things.
- Know when to change tack. Leaving the tab solid for drilling later beat another confidently misplaced hole.
The scanner has now done a real job. The replacement file is with my friend. Whether the printed part does the job will be the next chapter.
For now: many hours, many tokens, one handoff—and a much better understanding of what scanning does and doesn't solve.