
BUILD STORY // SPENDIOSA // MAKING THE RIDICULOUS
3D-Printed Tap-to-Pay Wand: The SPENDIOSA Build
The original idea was simple: hide a normal tap-to-pay card inside a ridiculous magic wand. The hard part was everything after the word inside.
1. Start with a card. Put it in a star. How hard can that be?
The earliest V0.1 Classic Star was basically a star-shaped box: size the cavity for a standard payment card, keep the front thin enough for tap-to-pay to work, and screw the back on.
The card had a little breathing room rather than being jammed into a perfect-size hole, and the front was kept thin enough that tap-to-pay still had a fighting chance.


Important: these were design targets, not a victory lap. V0.1 was checked on the computer; I had not tried that version as a print.
2. Screws worked on paper. I wanted something less clunky.
V0.2.2 moved toward a removable rear cradle and detachable threaded handle. That sounded cleaner, but the proportions were wrong: the star was only around 2.6 mm thick while the handle region was closer to 20 mm. It looked like a thin badge stuck to a broomstick.
V0.3 made it look more like a wand. The star got thicker and the collar around the handle got more substance. The front still needed to let the card tap, and the back needed space for a finger to reach it. The exact early measurements are kept in my build notes.
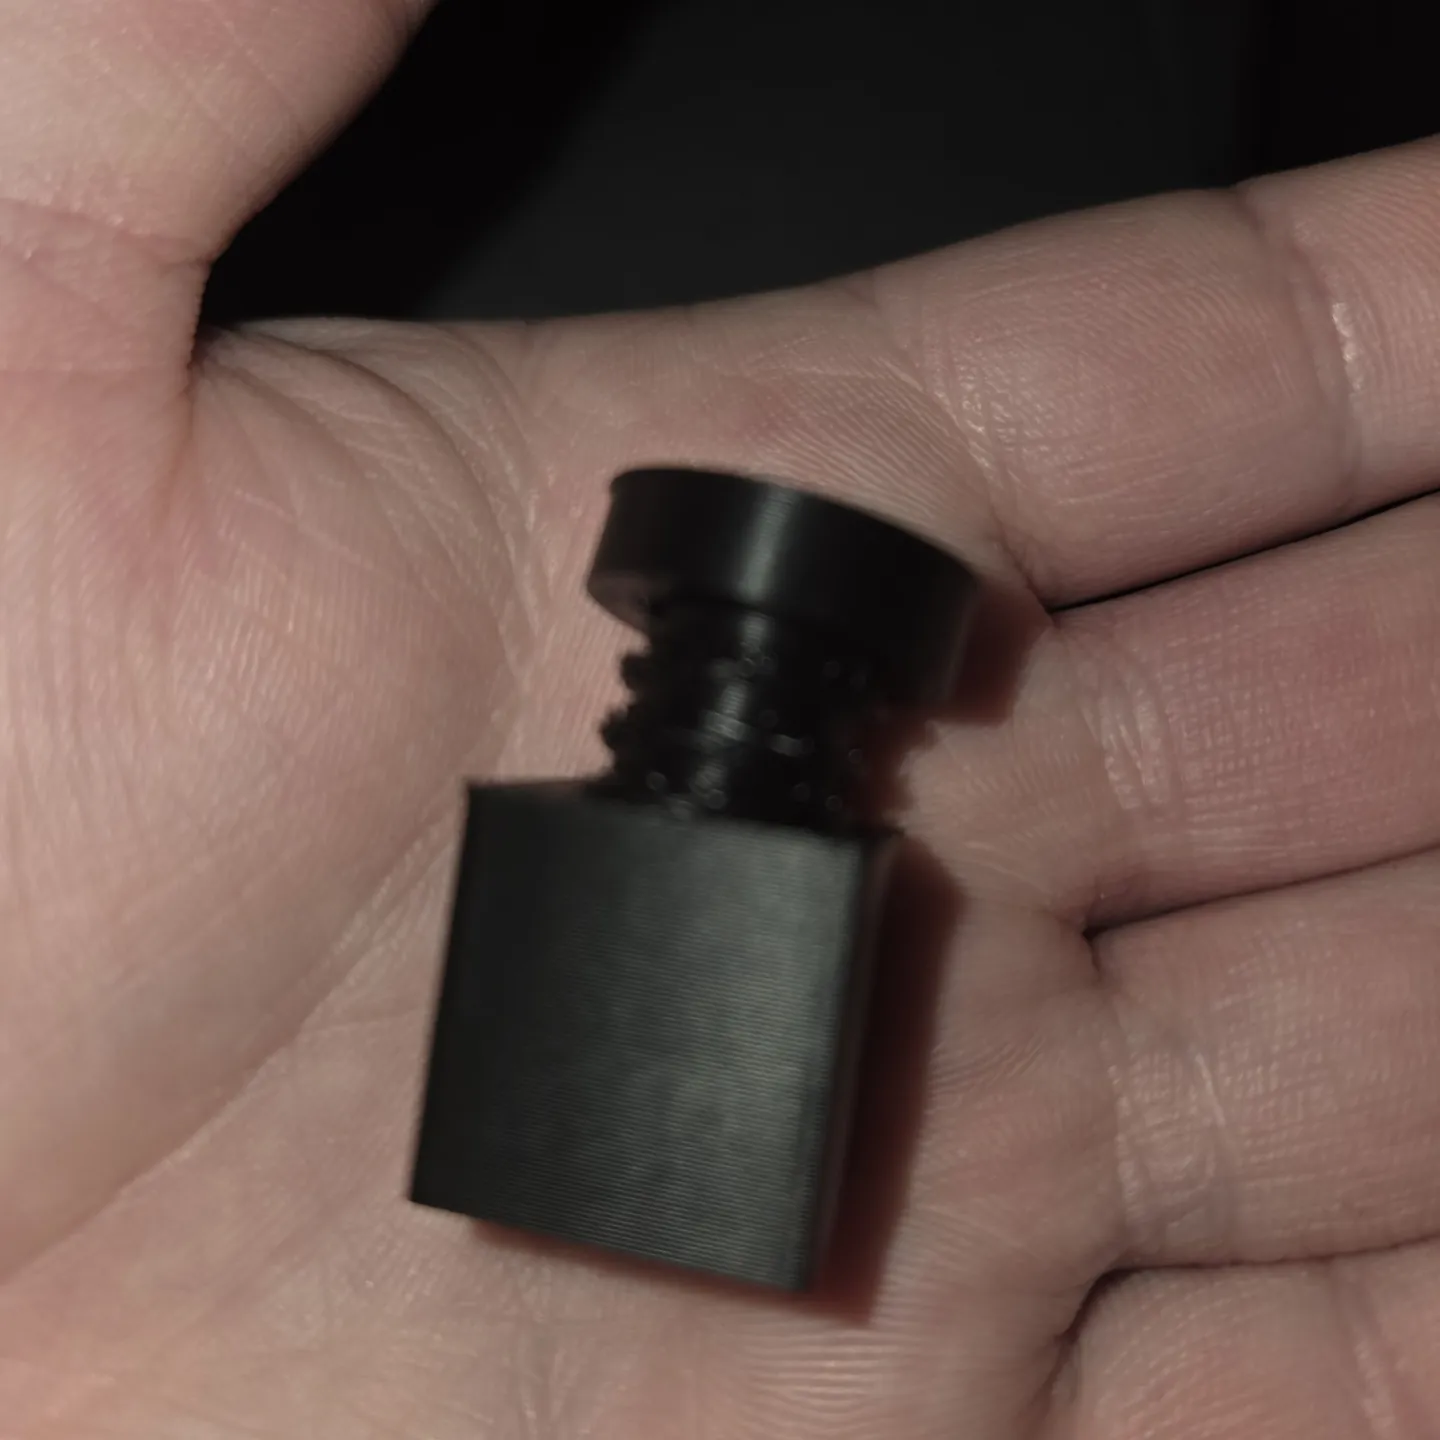
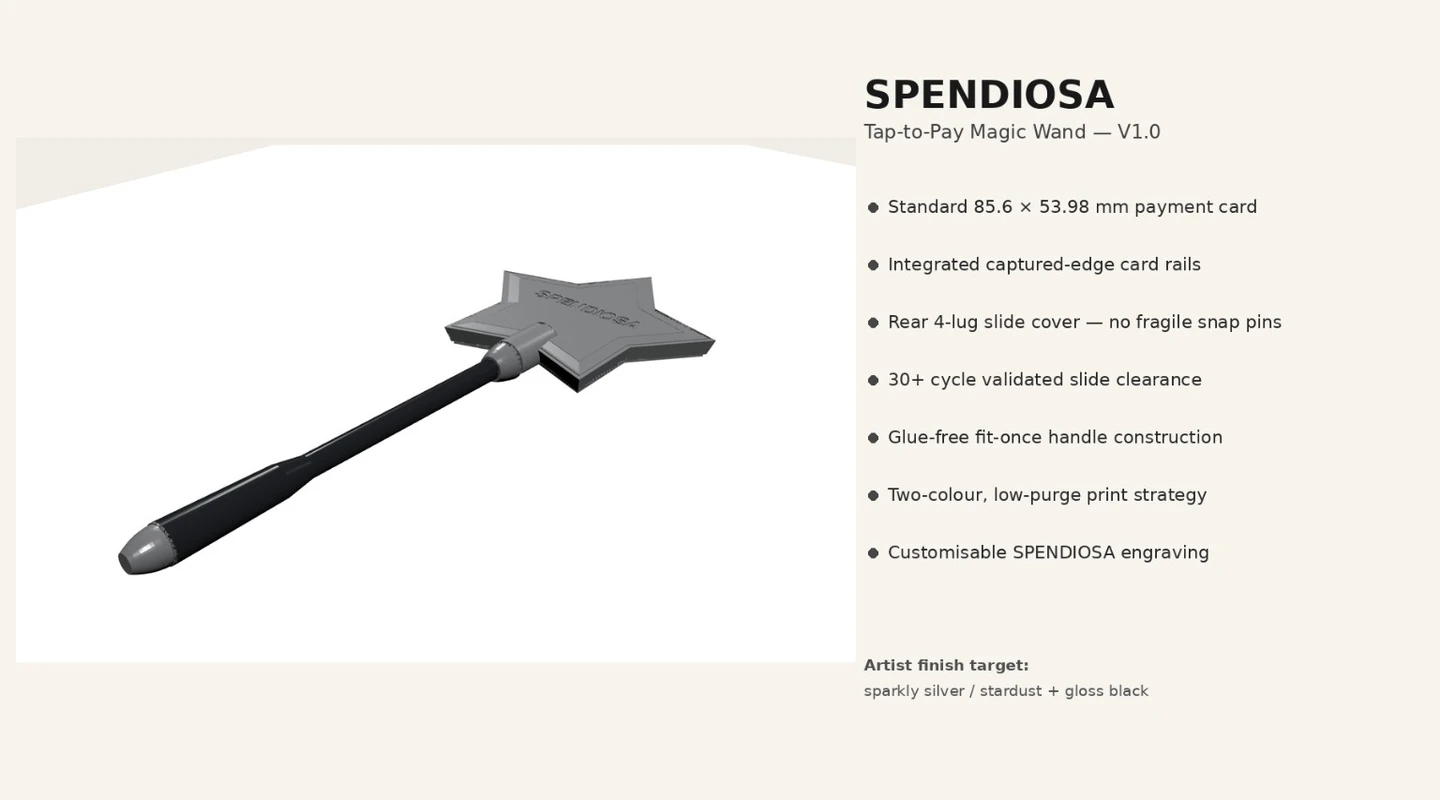
3. Enter the boring little test prints that saved a lot of plastic.
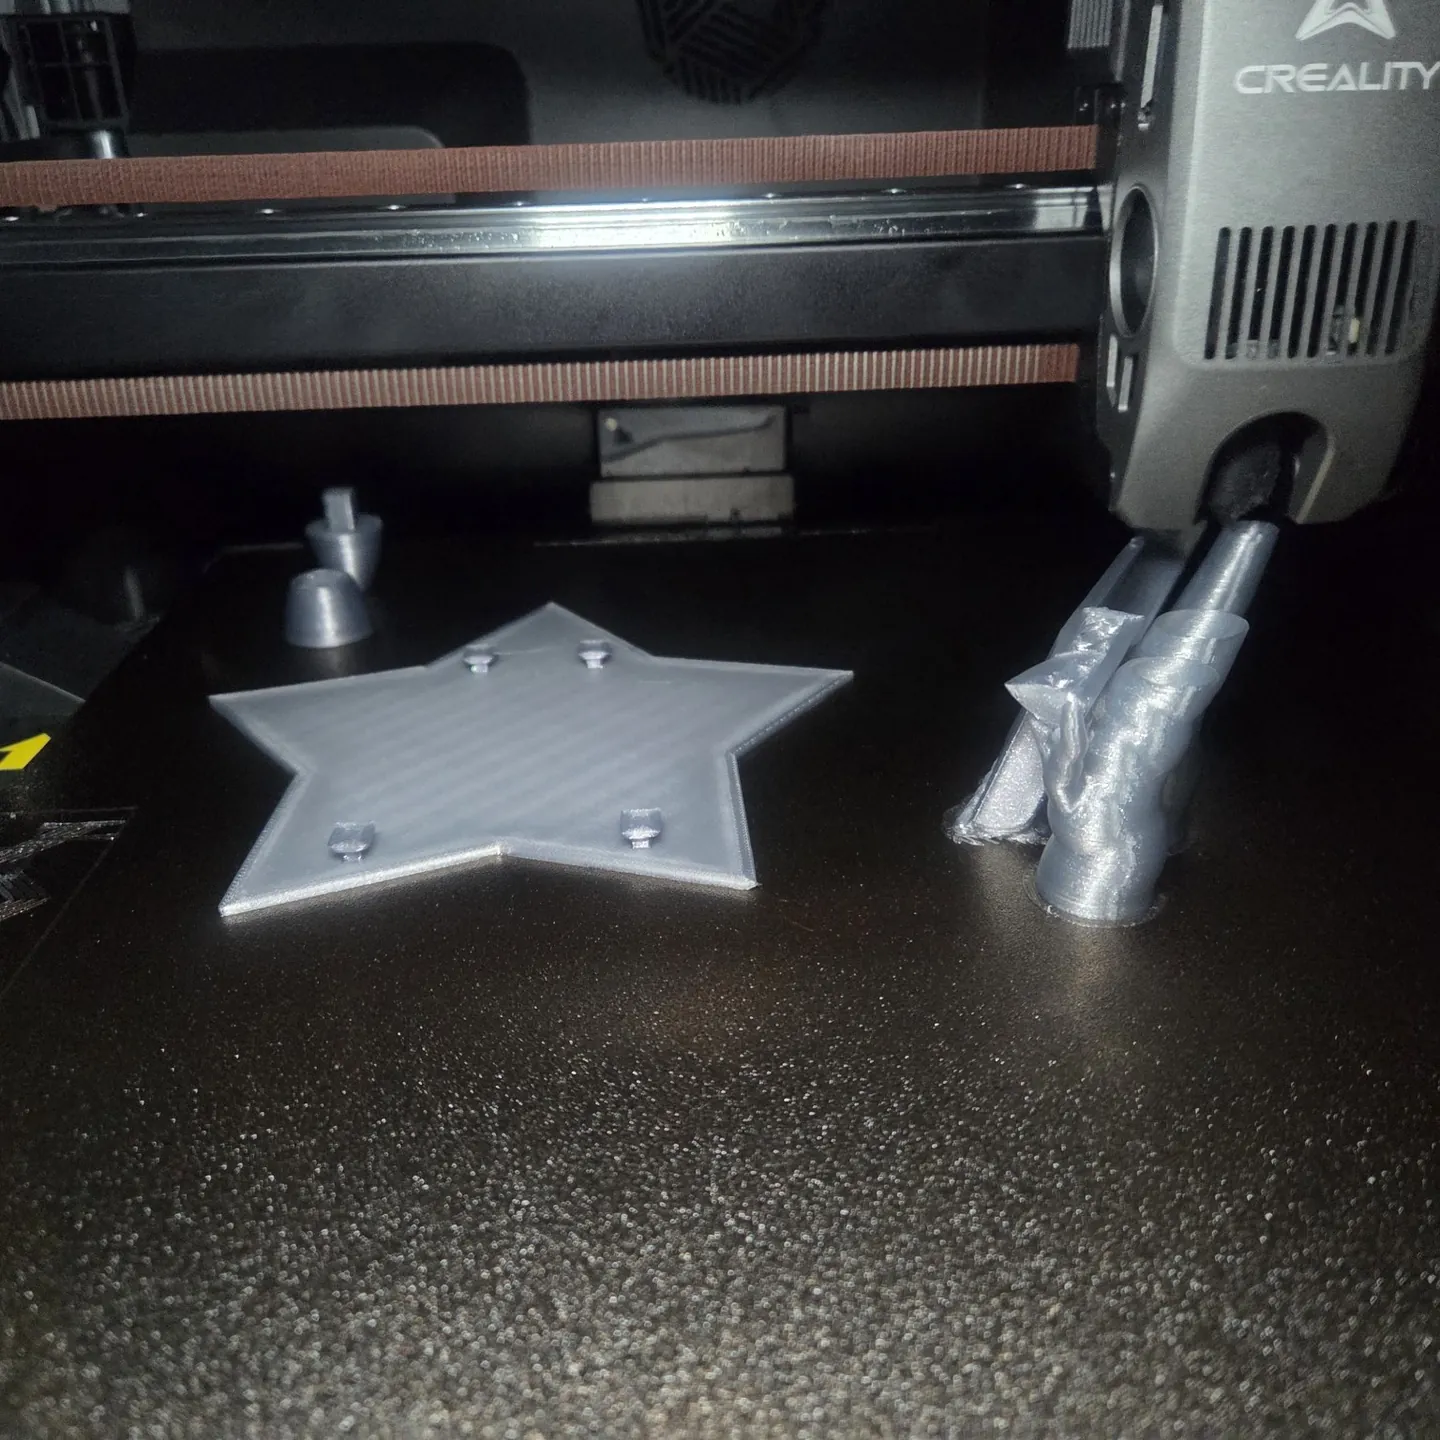
Instead of printing an entire star every time I wanted to move a fit by a fraction of a millimetre, we started printing small test pieces (test coupons): holes, pegs and the bits that held the cover shut. They are not glamorous. They are also one of the smartest things I did in this project.
We called two test versions SNUG and EASY: one deliberately tighter, one easier to push together. MakerMouse, my AI assistant, helped keep track of the changes. I still had to print them and see which one behaved.
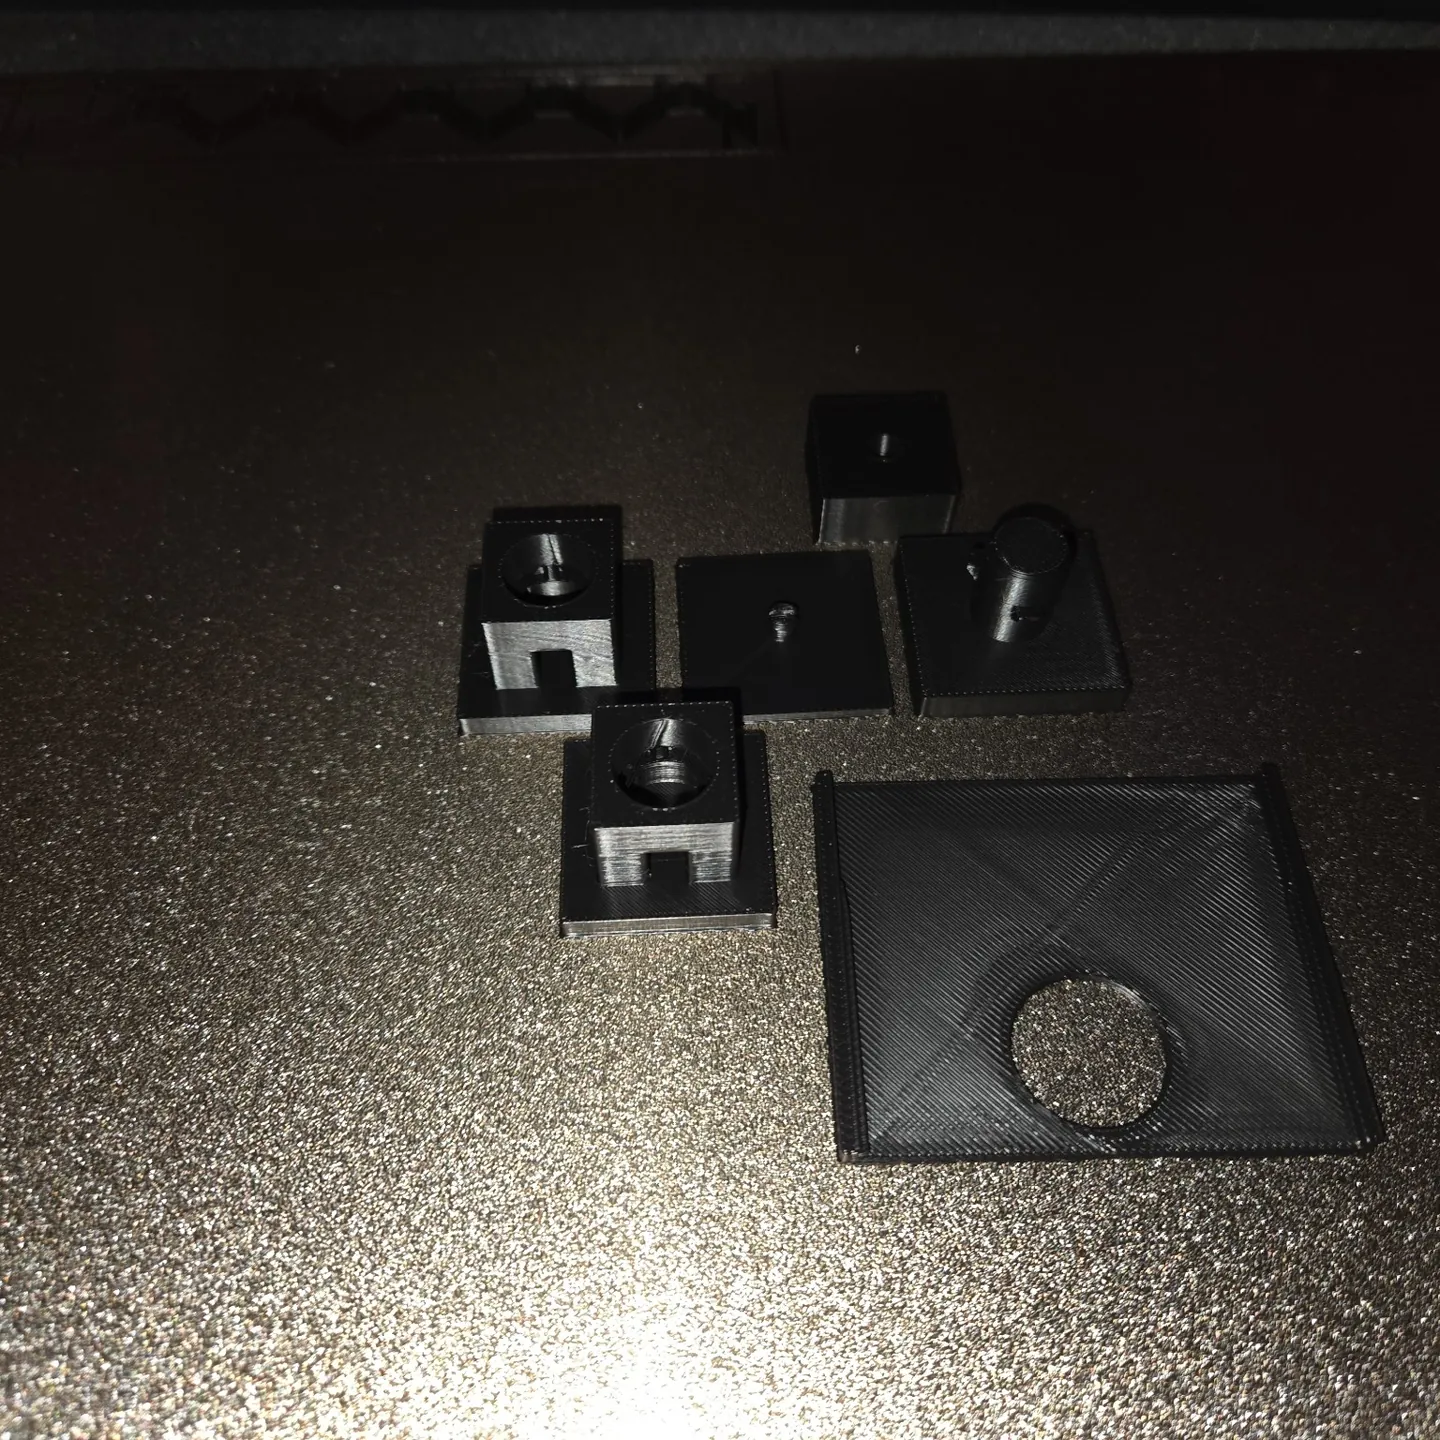
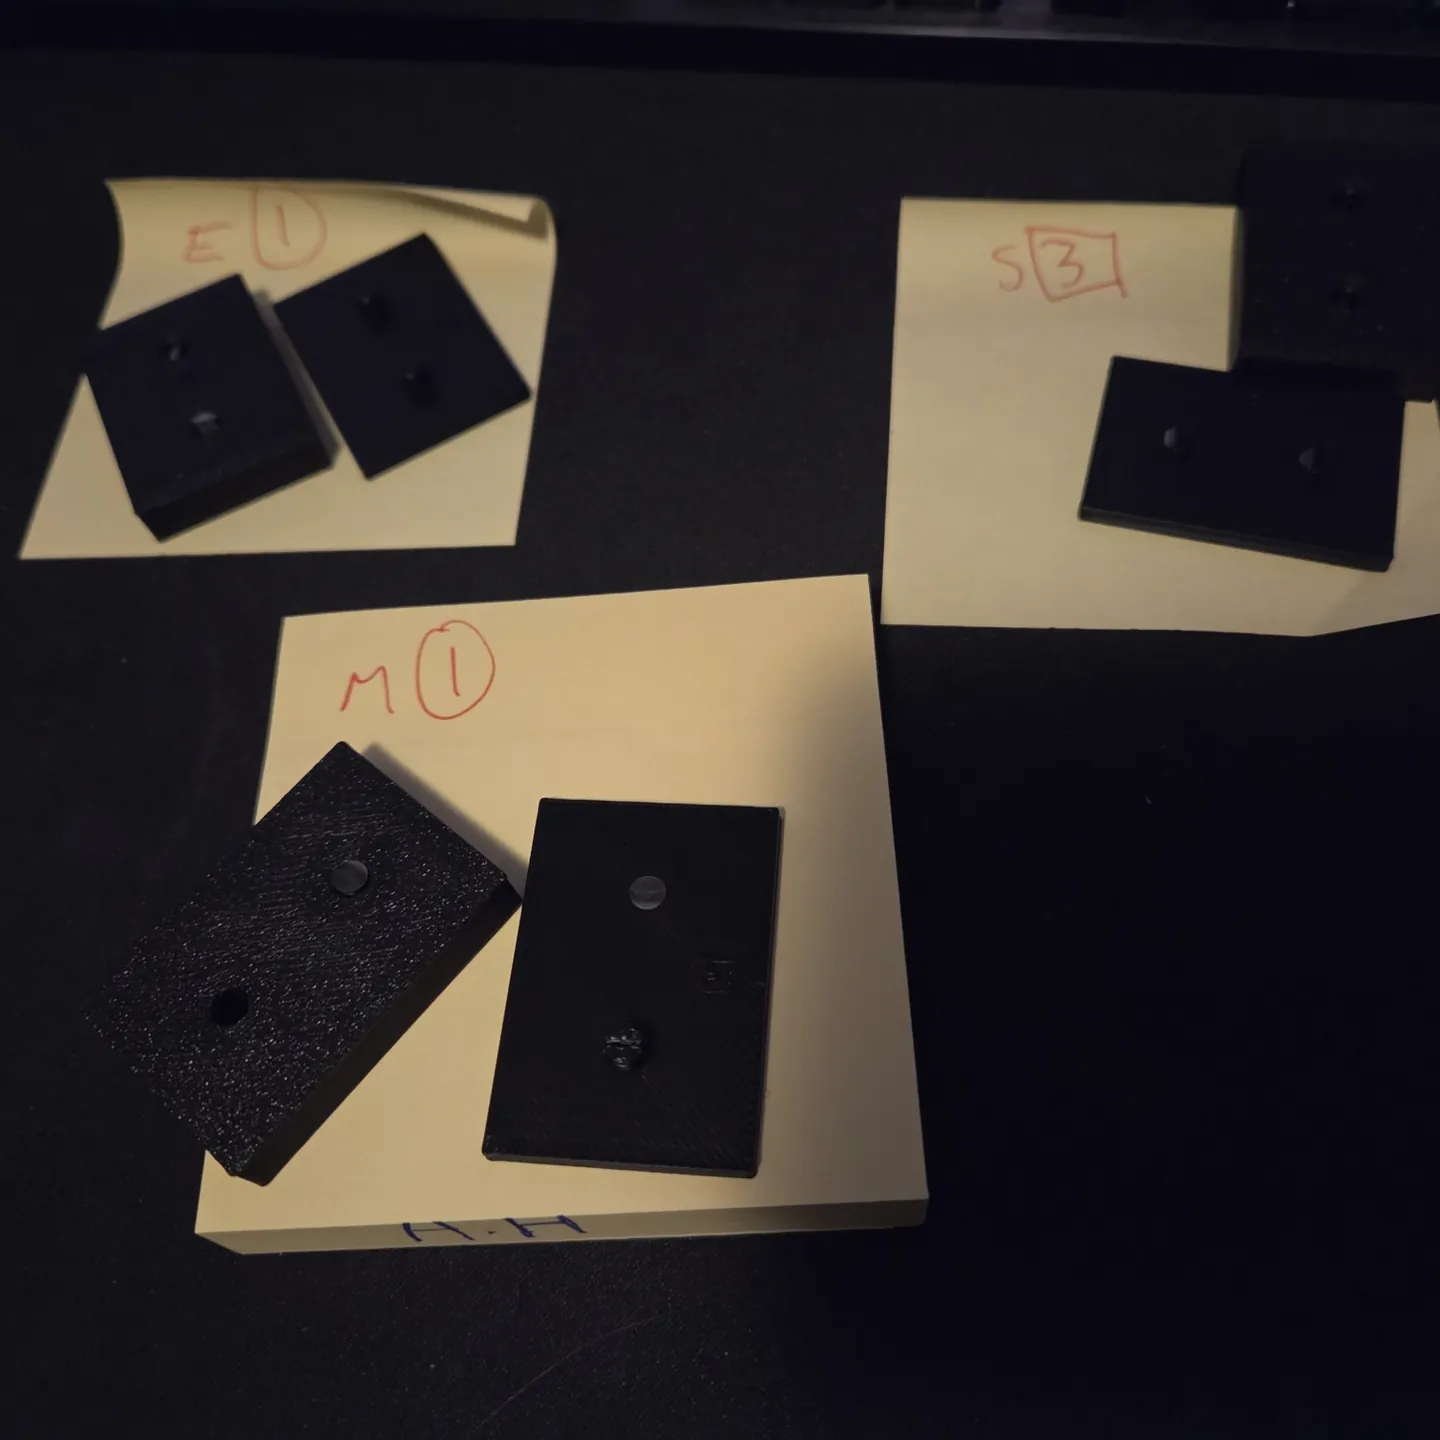
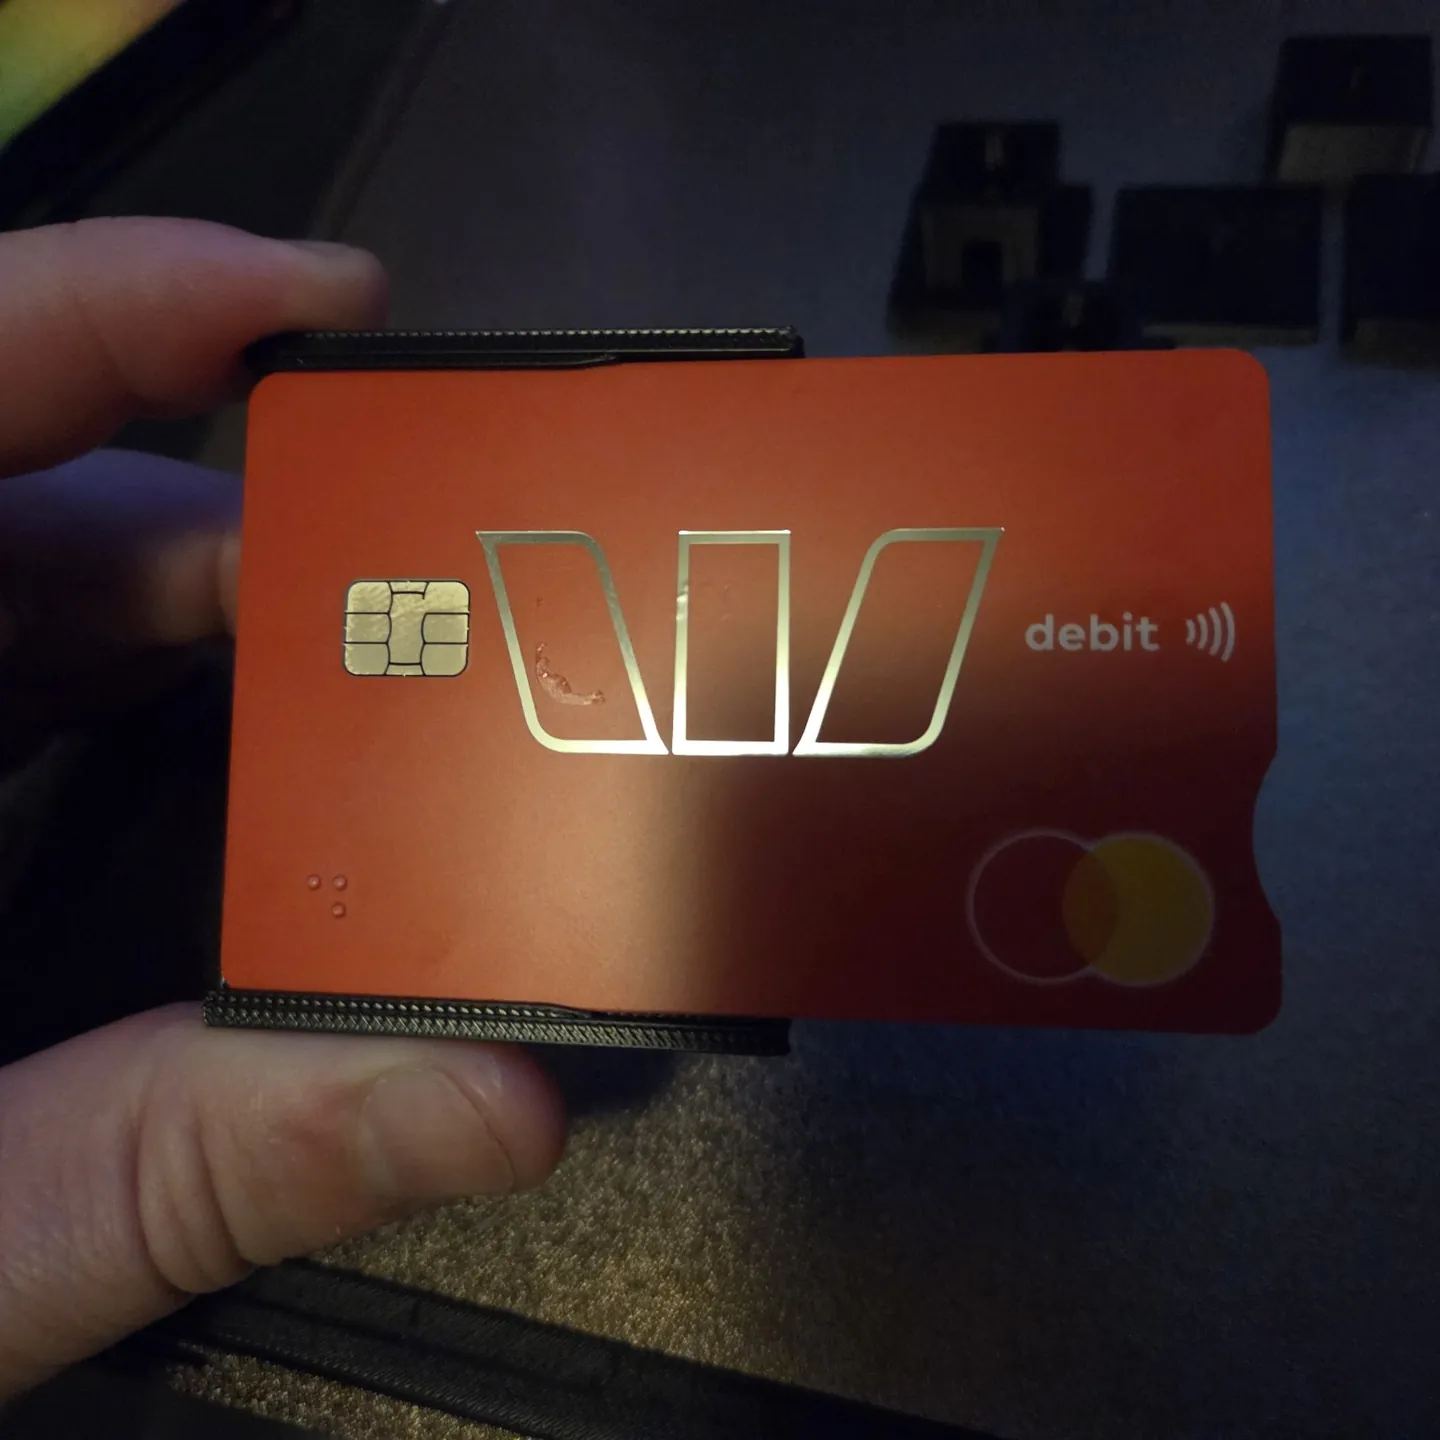
4. The thread failed. The slide-lock did not.
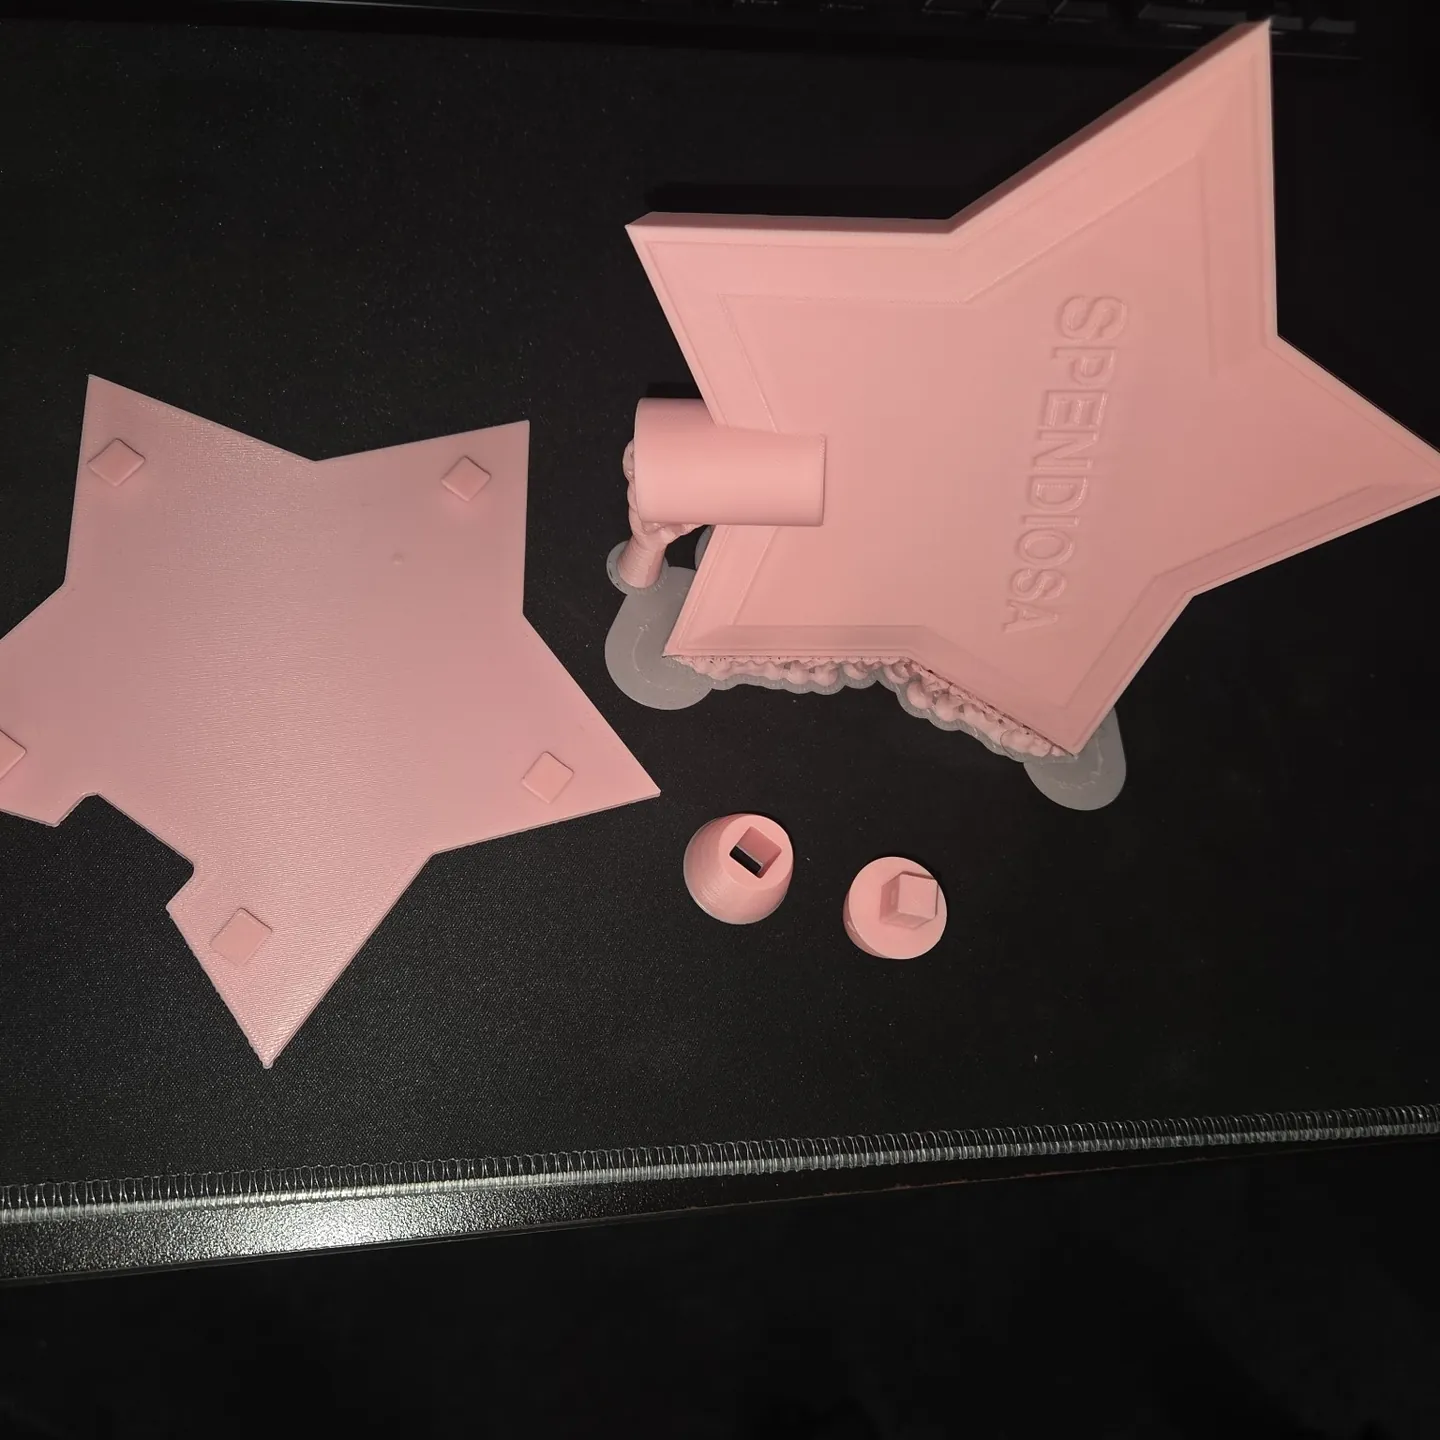
The printed screw thread sagged and wouldn’t fit. We tried another connection, then settled on a square peg that pushed into a matching hole in the handle: a 7.4 mm peg in a 7.8 mm hole, reaching about 20 mm inside. The handle could stay together without glue; the card cover still needed to come off.
The rear card cover went the other way: it did need to be removable, so the project moved to a slide-lock system. That mechanism was opened and closed more than 30 times and kept working with acceptable wear.
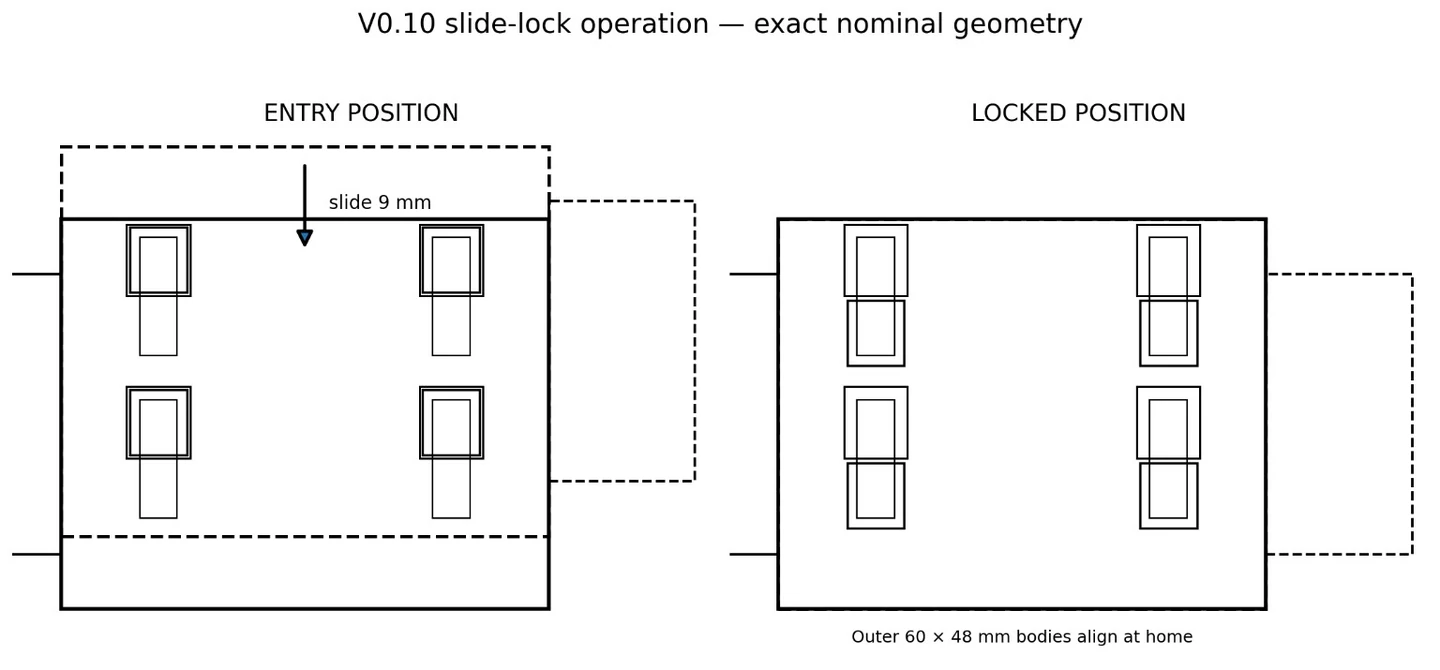
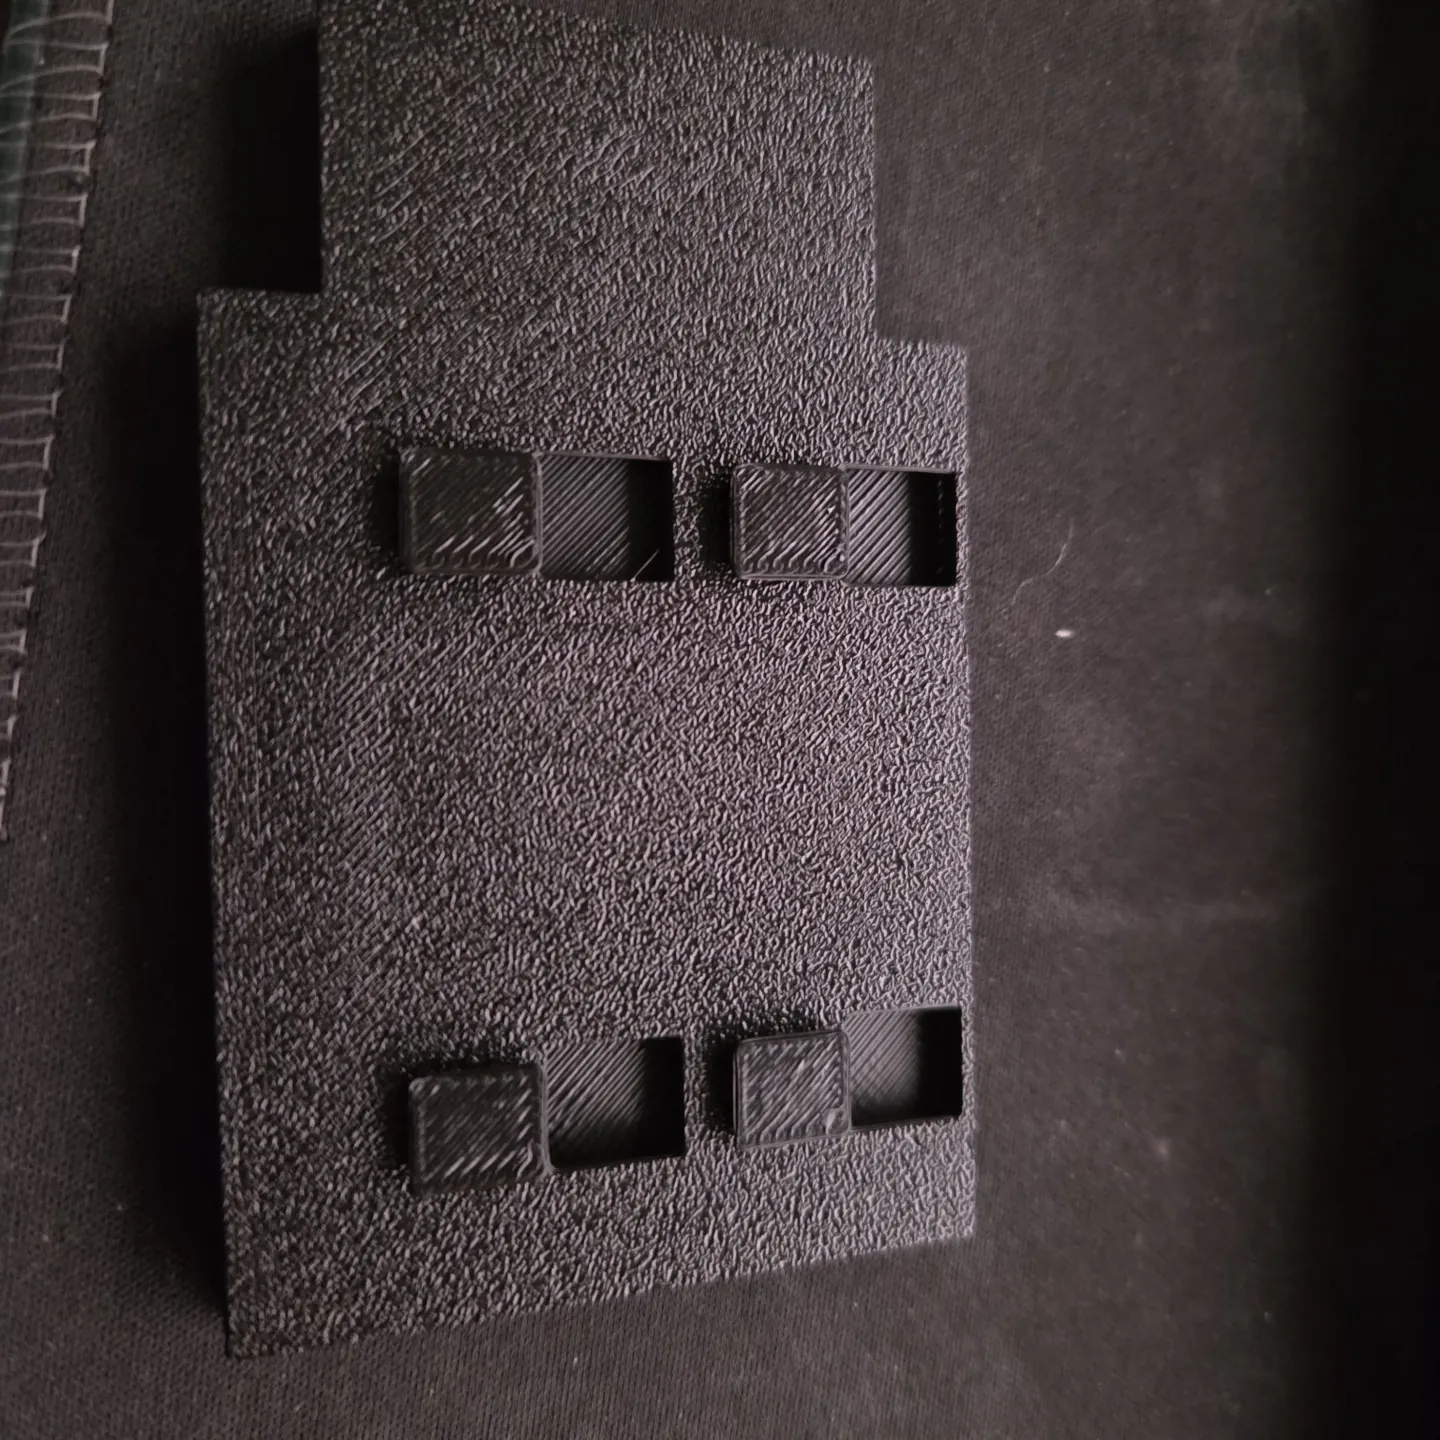
5. Excellent. The card is secure. Unfortunately, it is now a hostage.
This is where SPENDIOSA became SPENDIOSA. Once the card retention was good enough, the card became annoyingly difficult to retrieve. Fixing the first problem exposed the next requirement: the wand needed a way to lift the card into fingertip range.
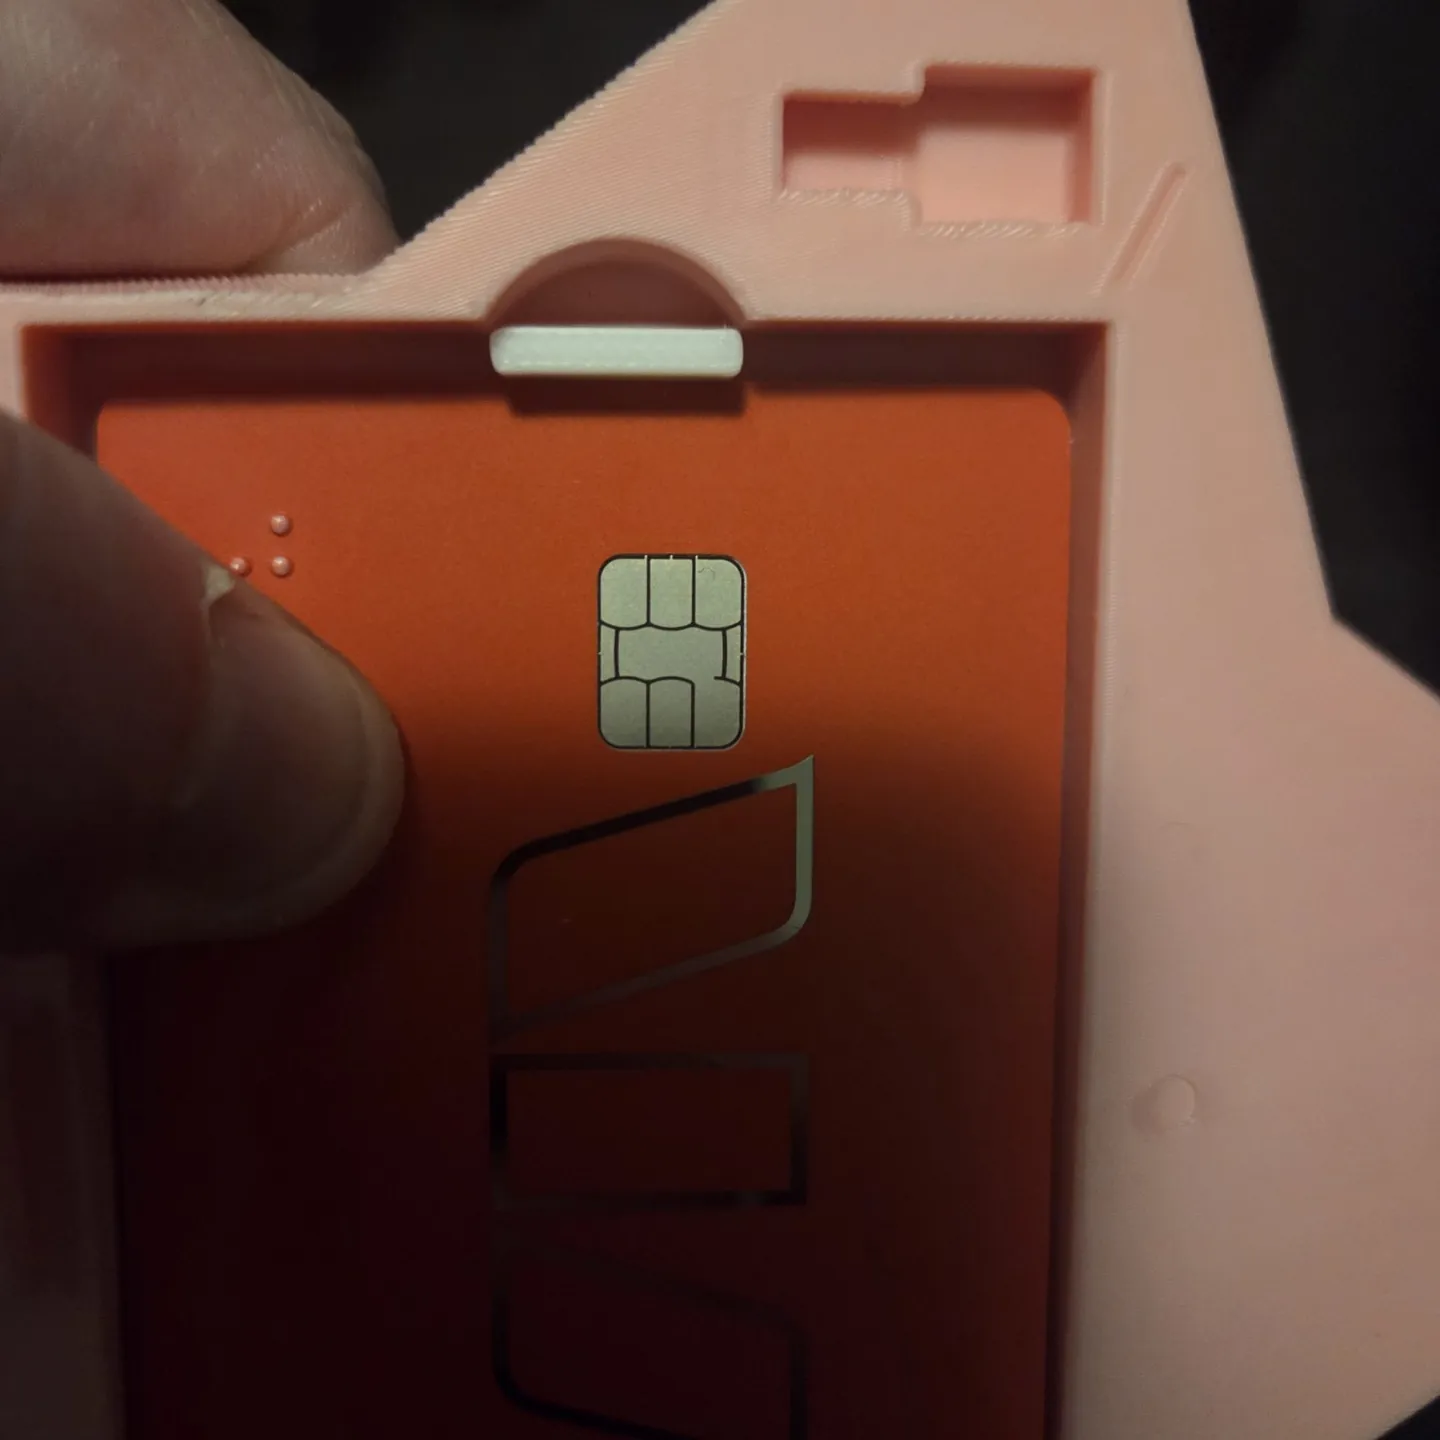
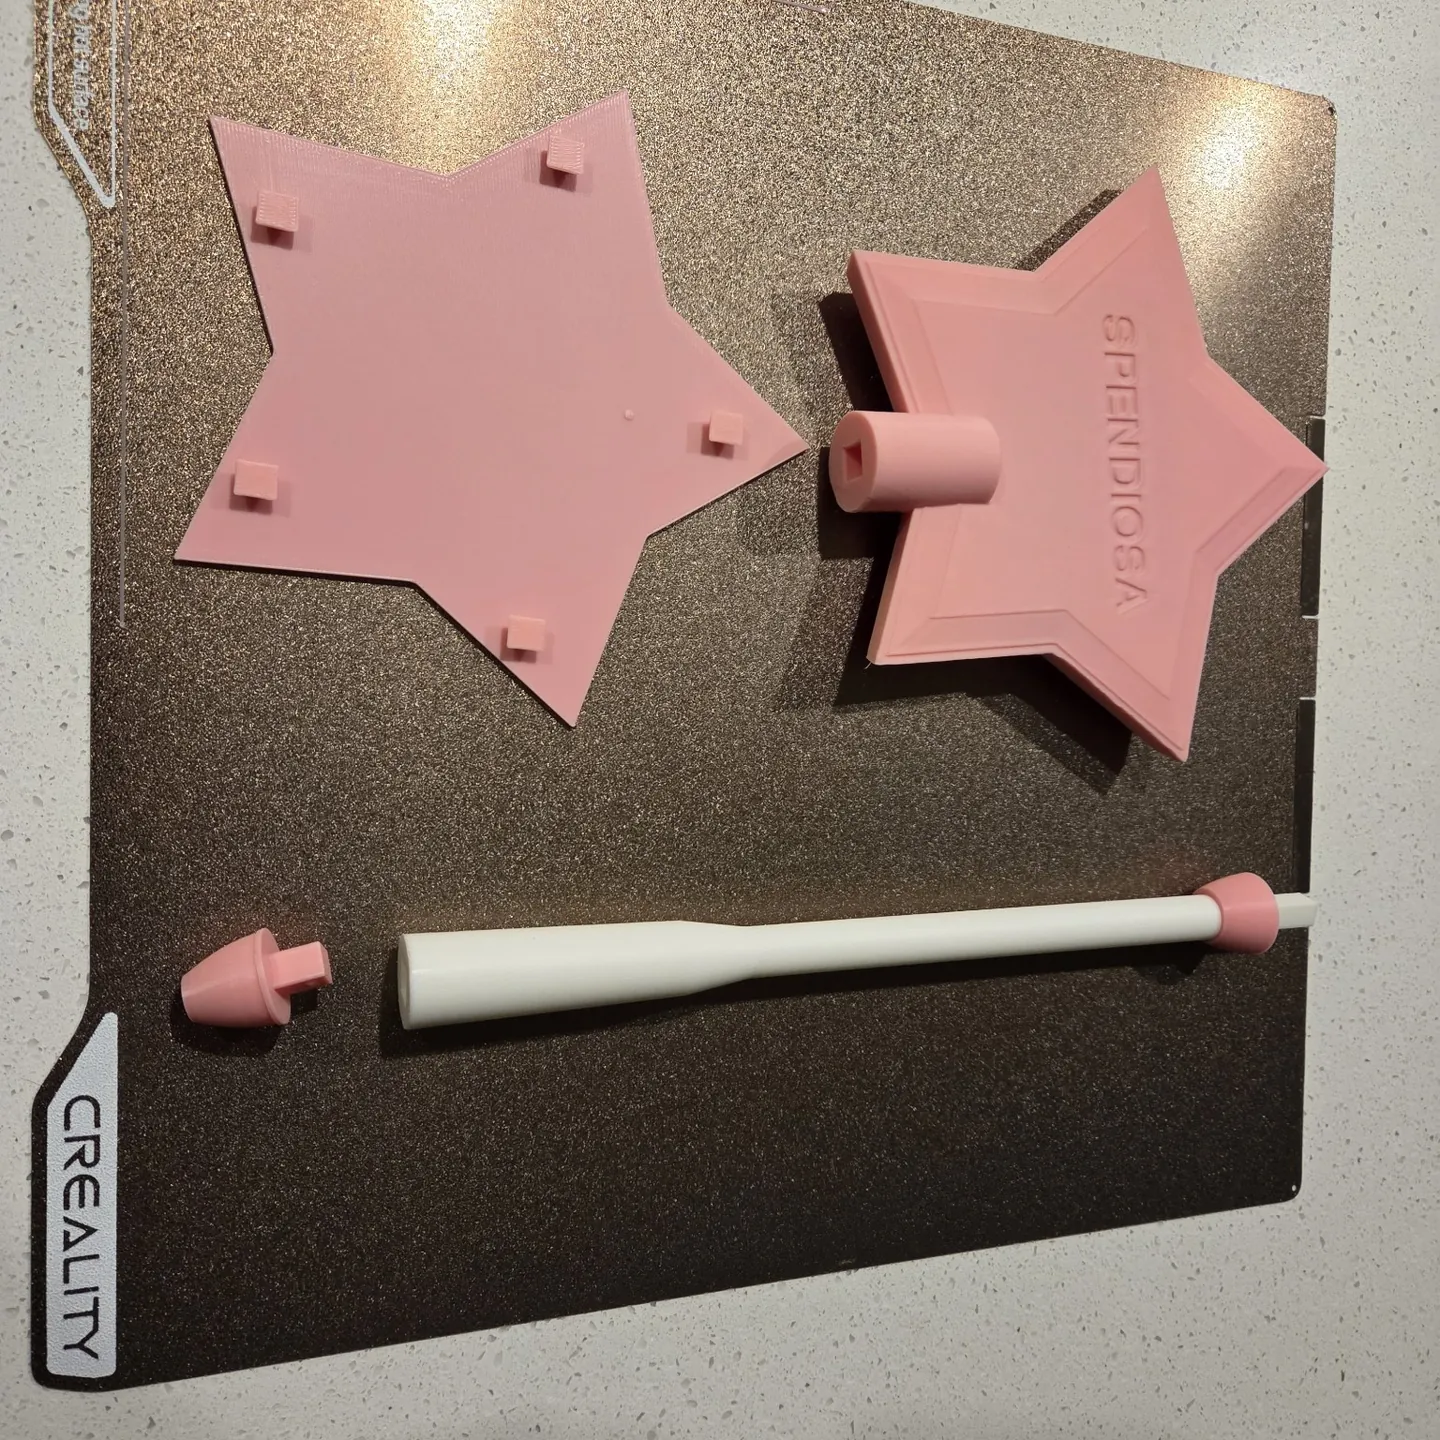
6. The tiny white bit got its own revision history.
The retrieval lifter went through multiple rounds because it had to be strong enough to push a real card, small enough to live inside the enclosure, and shaped so the card would ride up rather than jam against it.
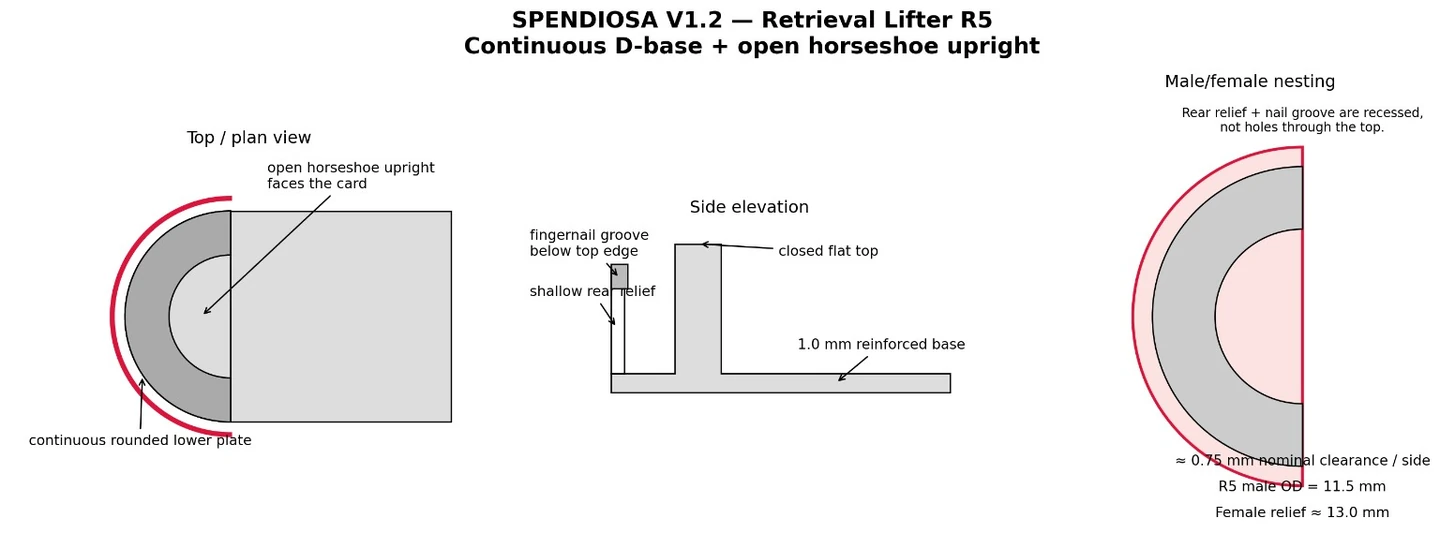
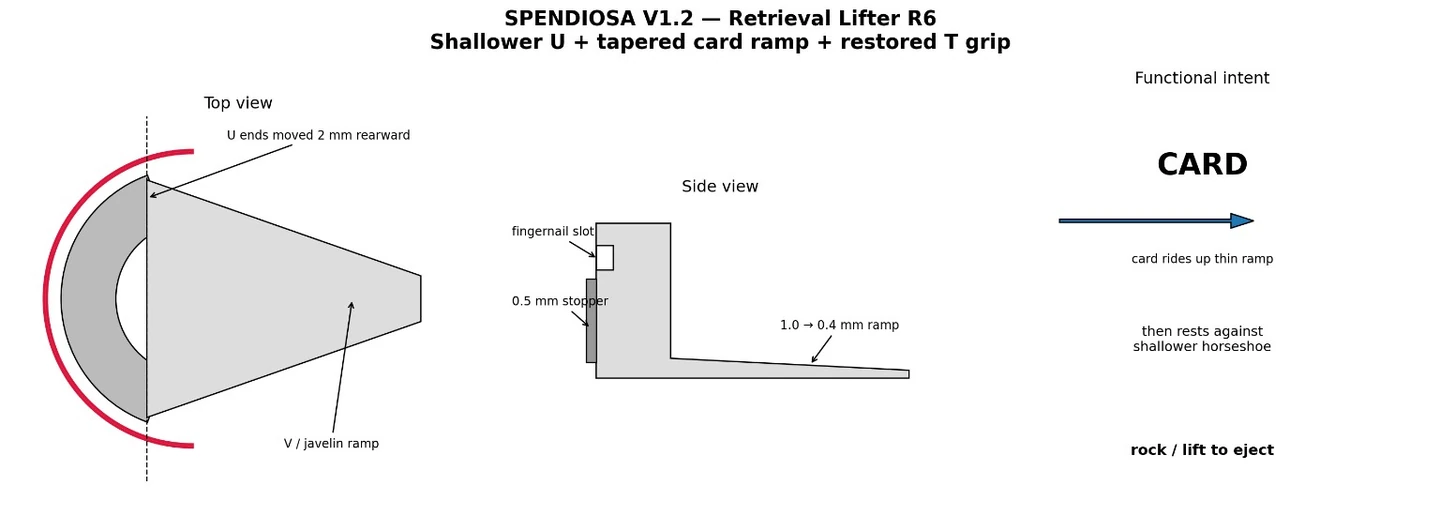
The next versions kept chasing the same annoying problem. The little white part had to rock under the card like a see-saw. Too chunky and it jammed, too skinny and it bent, too short and it barely lifted anything. The version labelled R11 finally felt useful.
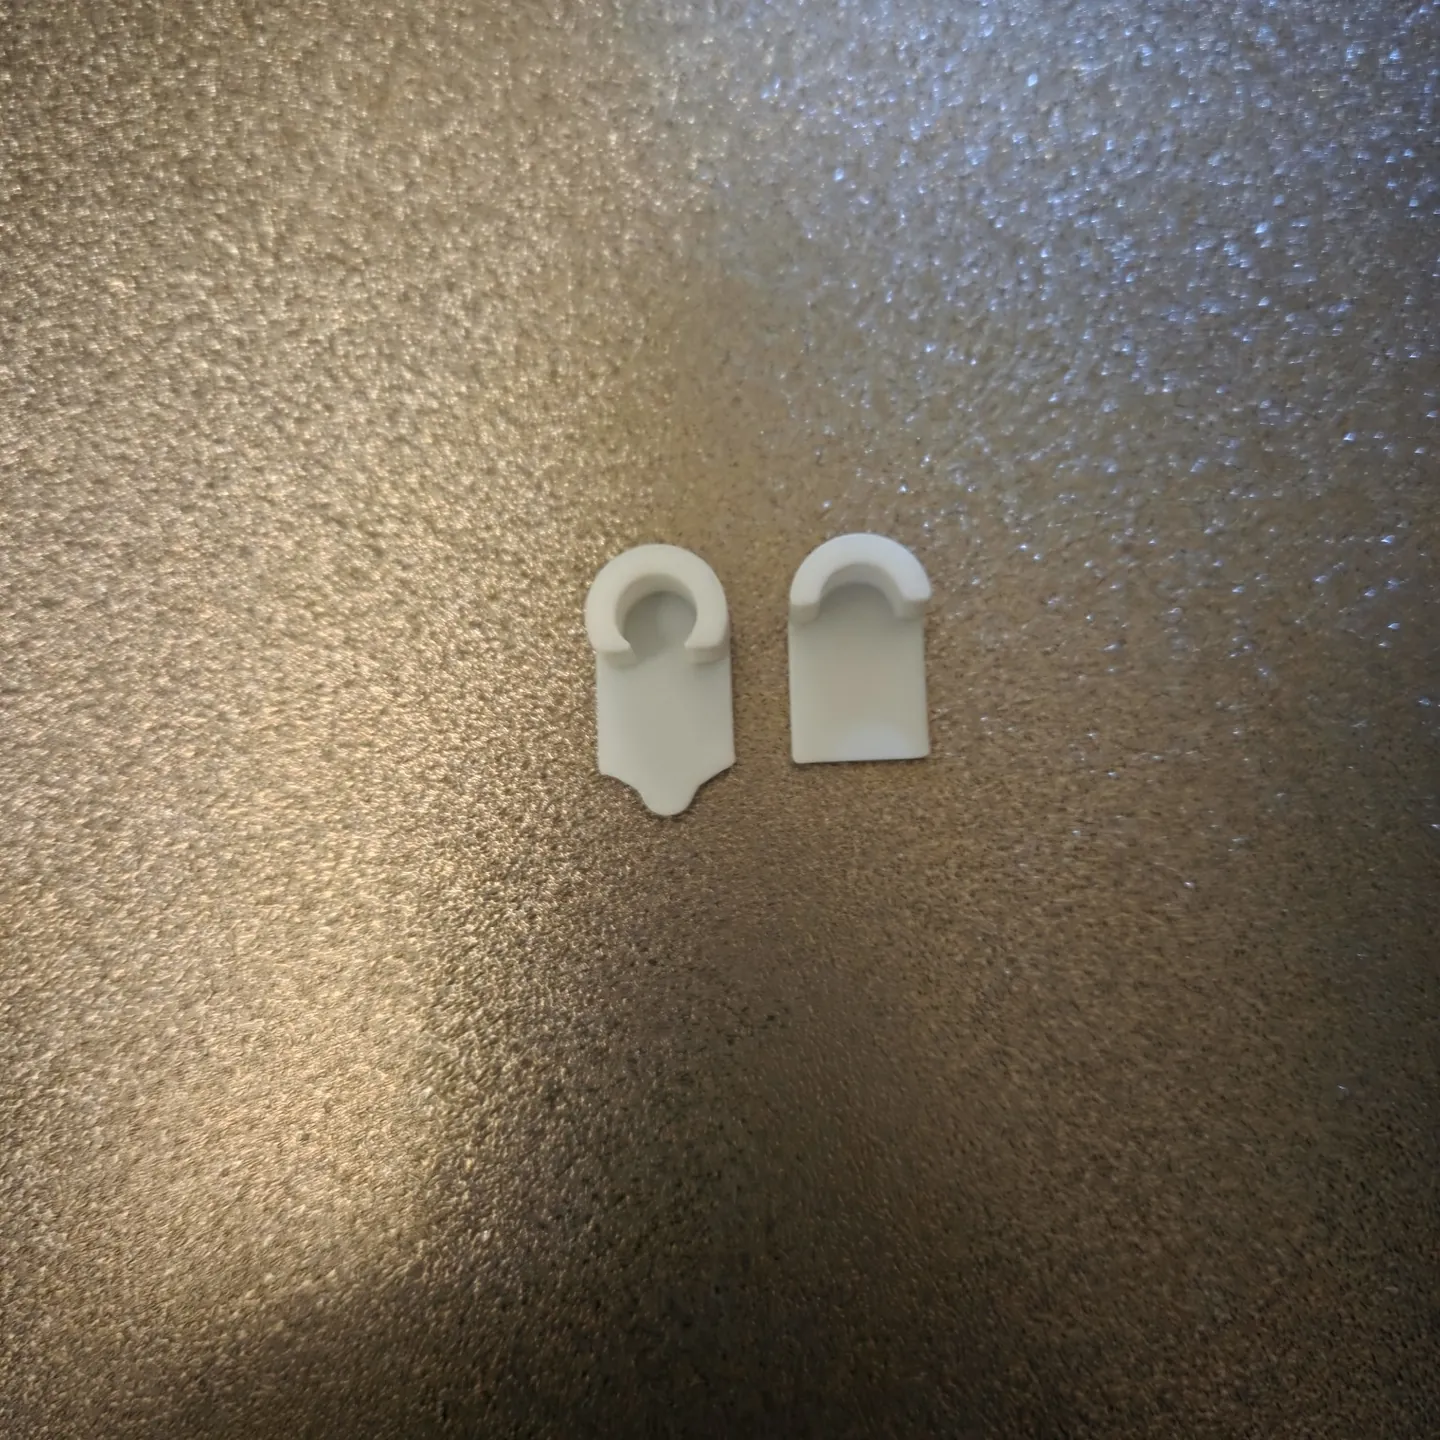
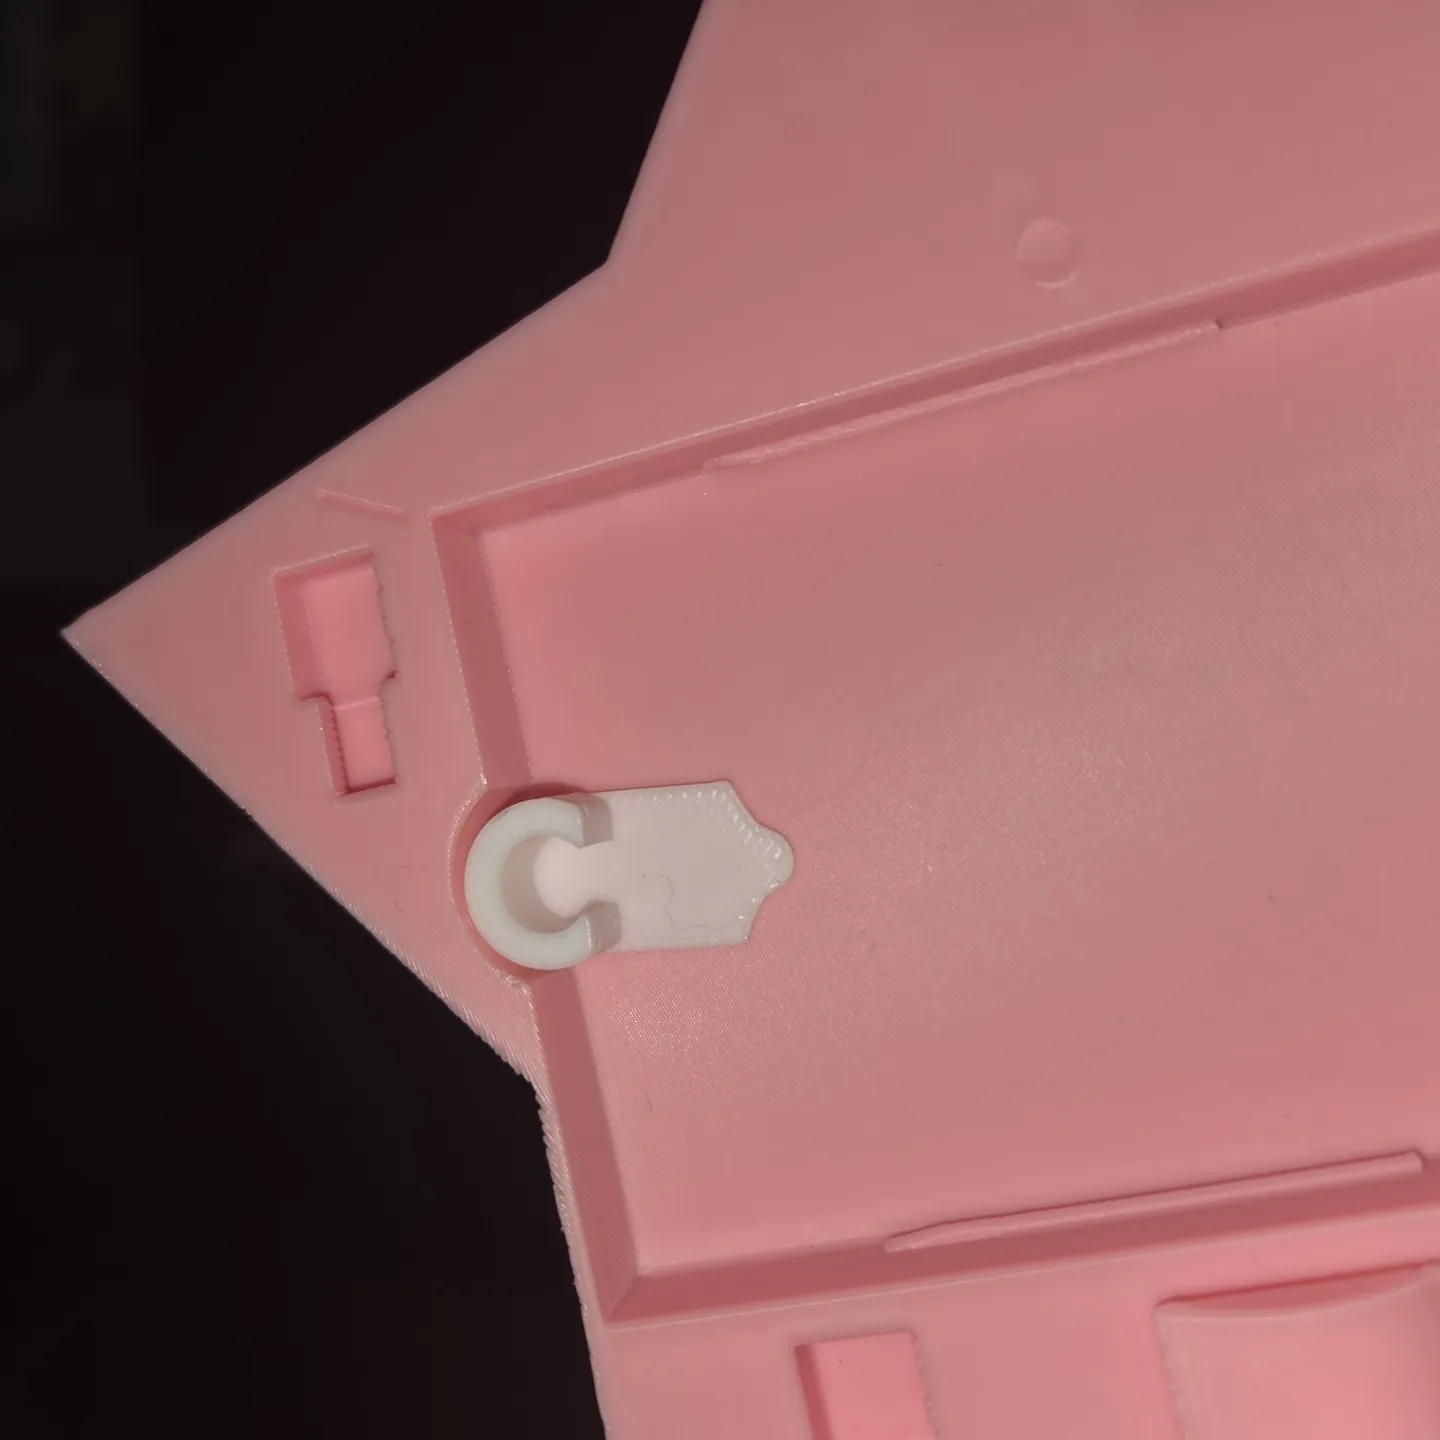
R11 survived five very tight card removals with only minor stringing. That showed the lifter could work, even with a stubborn card. V2 gave the card a little more room.
7. V2: stop fighting the card and give it some breathing room.
For V2 I printed another small card-holder test piece, rather than another whole star. We moved the finger opening to the useful side and adjusted the rails. The up-and-down gap grew from about 0.62 mm to 0.82 mm so the card was less of a wrestling match.
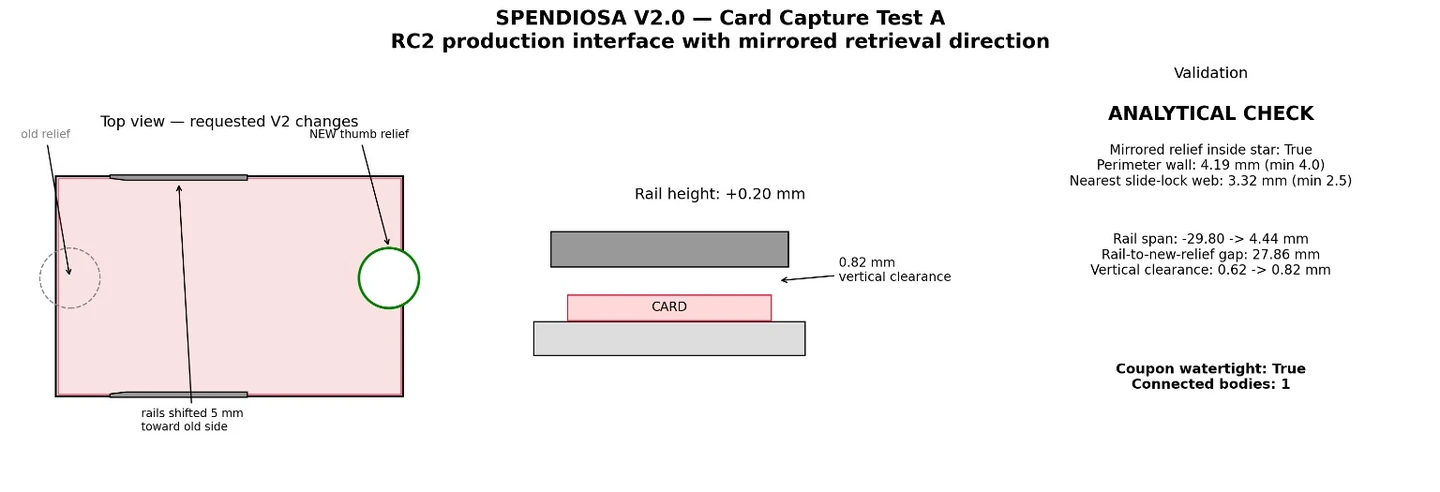
The physical V2 coupon was the payoff: the card came out finger-smooth and “buttery smooth” with the R11 lifter. There was a tiny amount of wobble/rattle, but usability was dramatically better than the earlier too-tight capture.
8. The handle, collar and tip got the same treatment.
The handle got a small 0.40 mm rib to hold it more firmly. The collar opening ended up at 7.80 mm, leaving about 0.20 mm room on each side of the matching part. I wanted to put the handle together once without glue, while still being able to open the card cover.
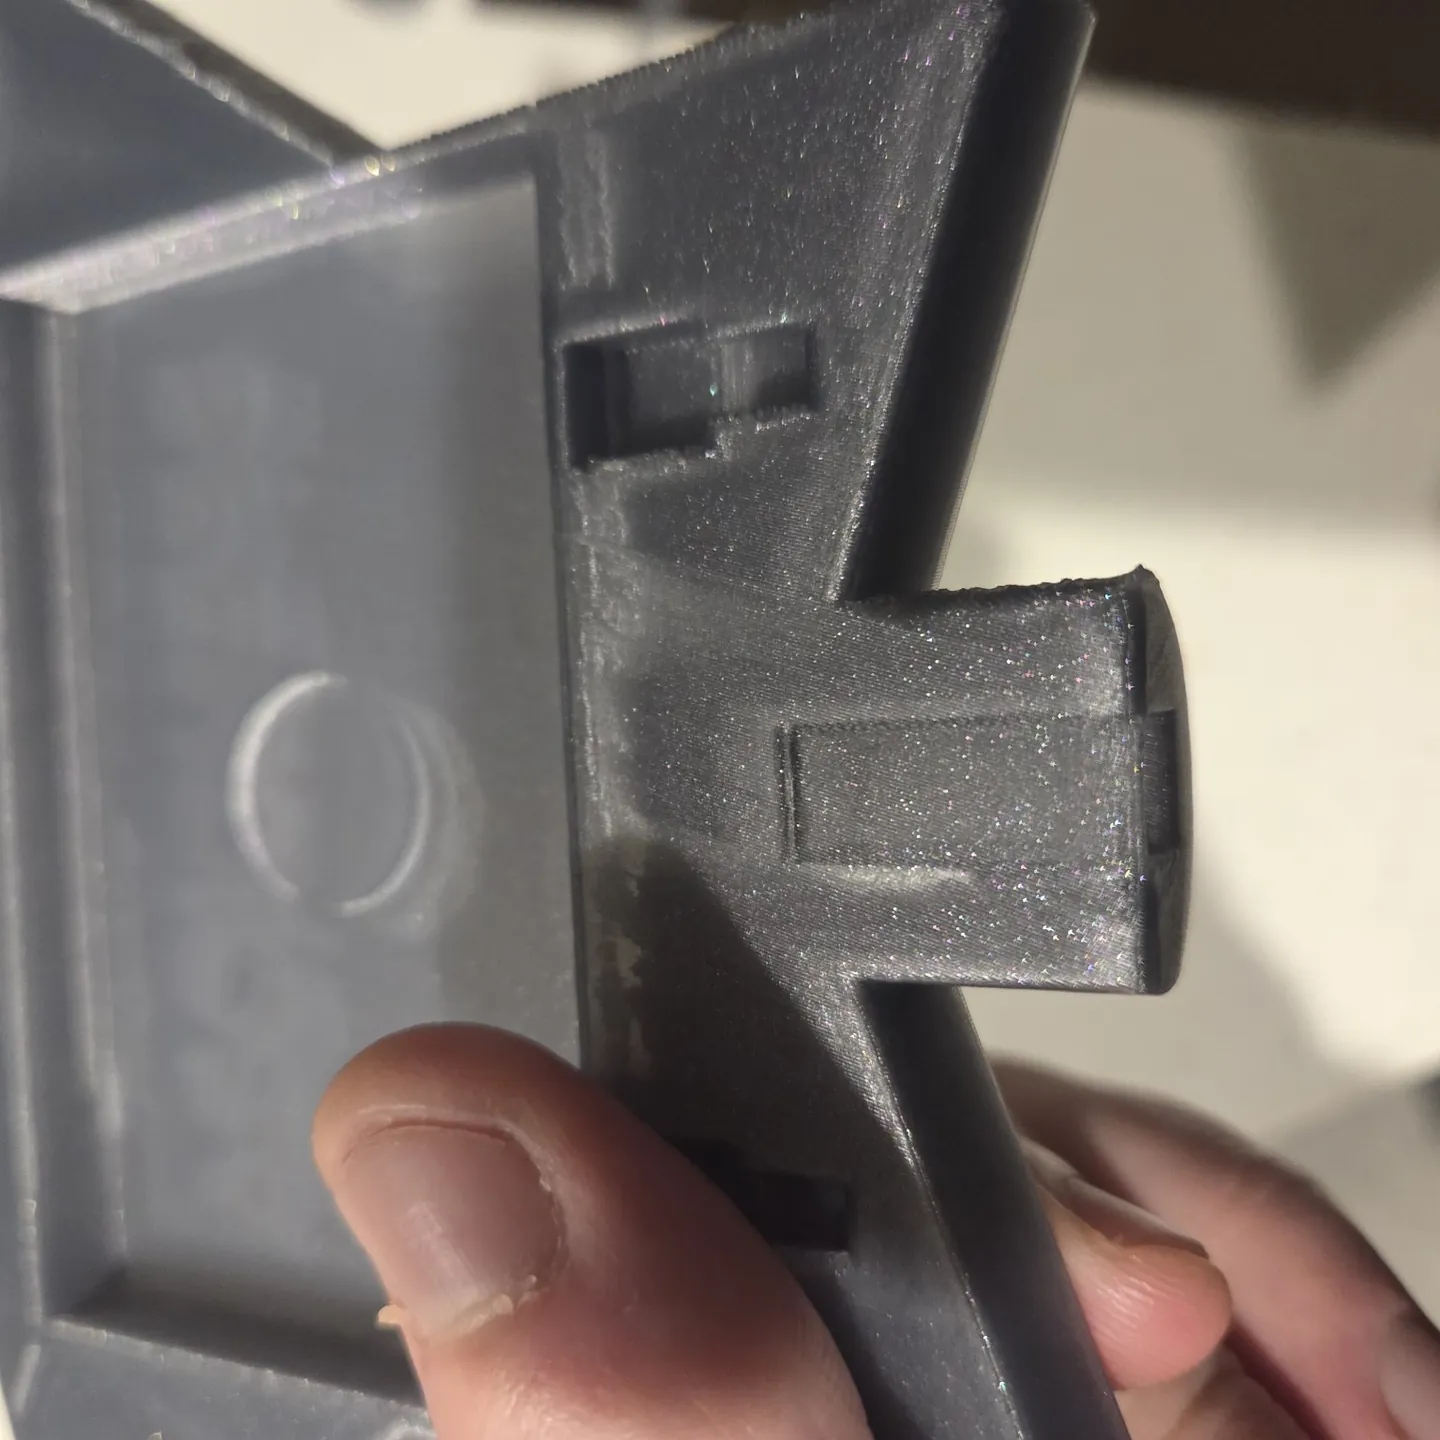
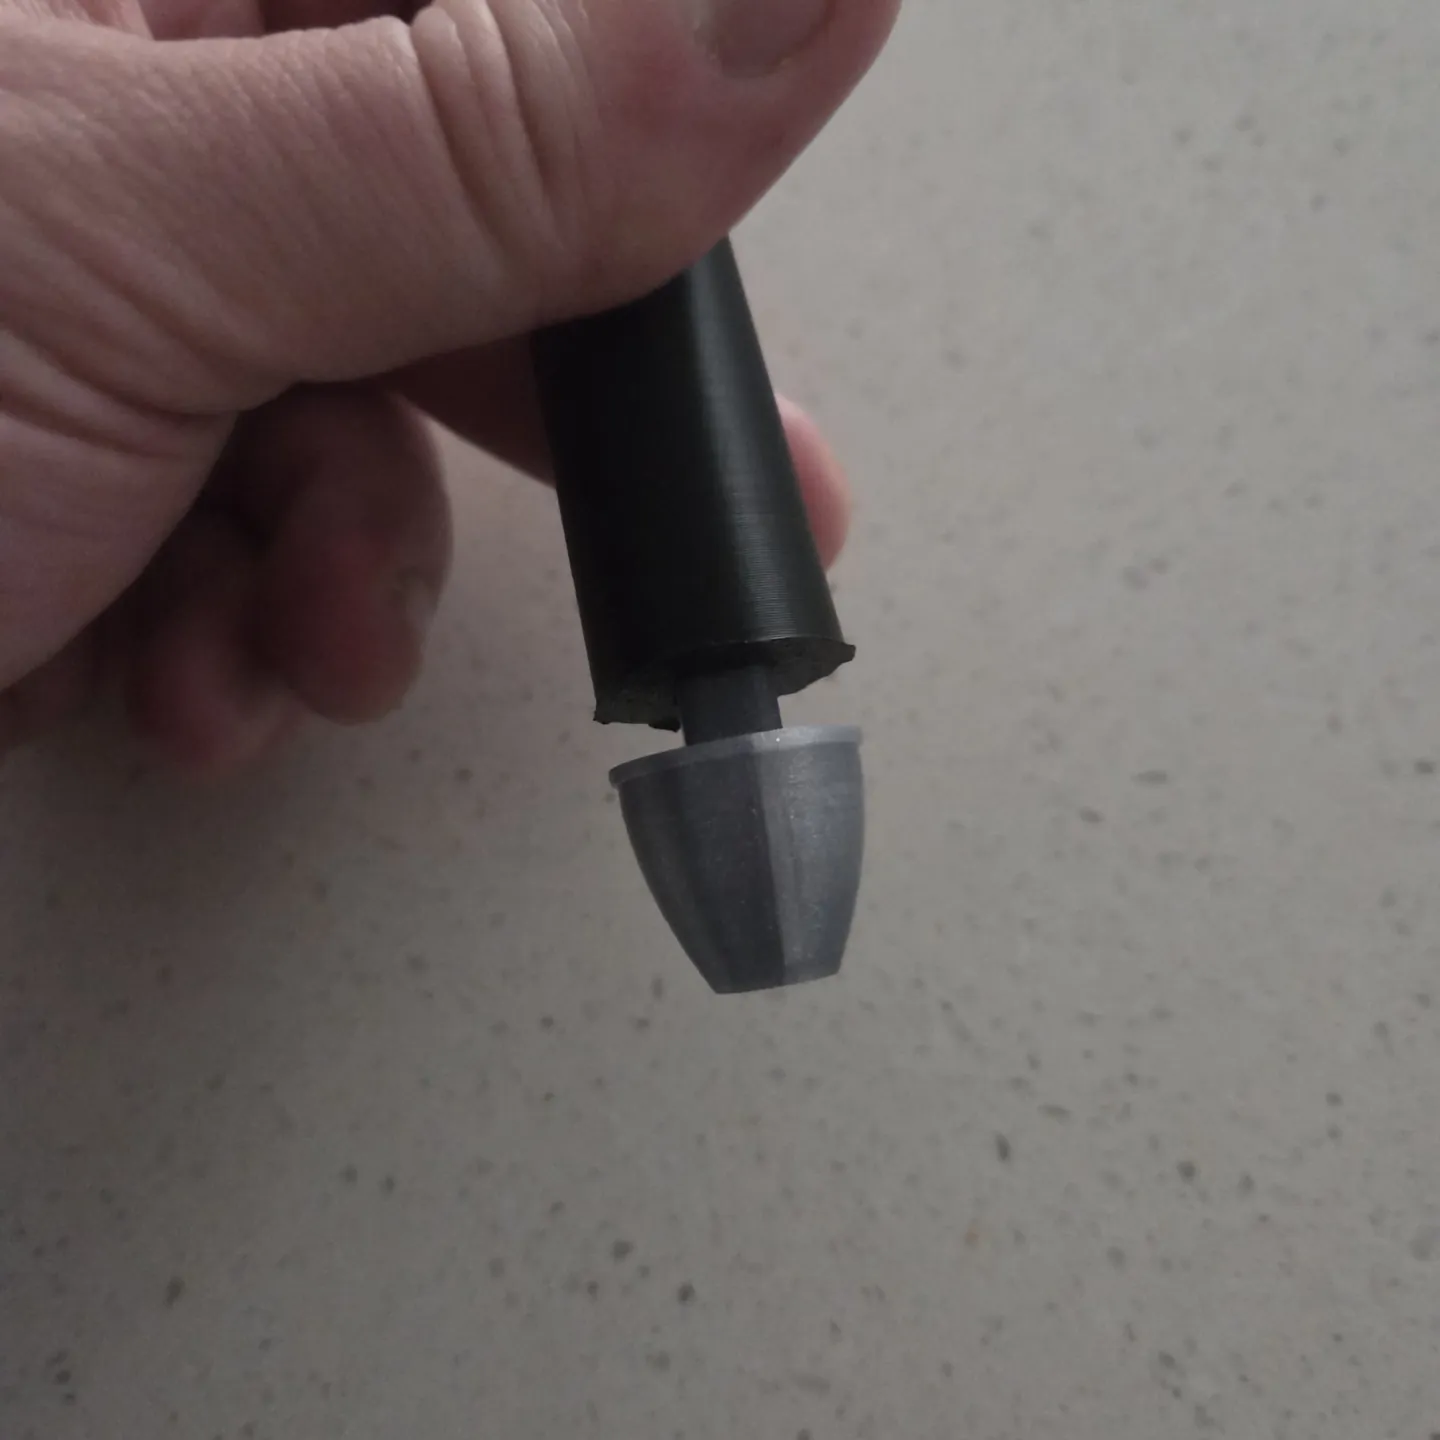
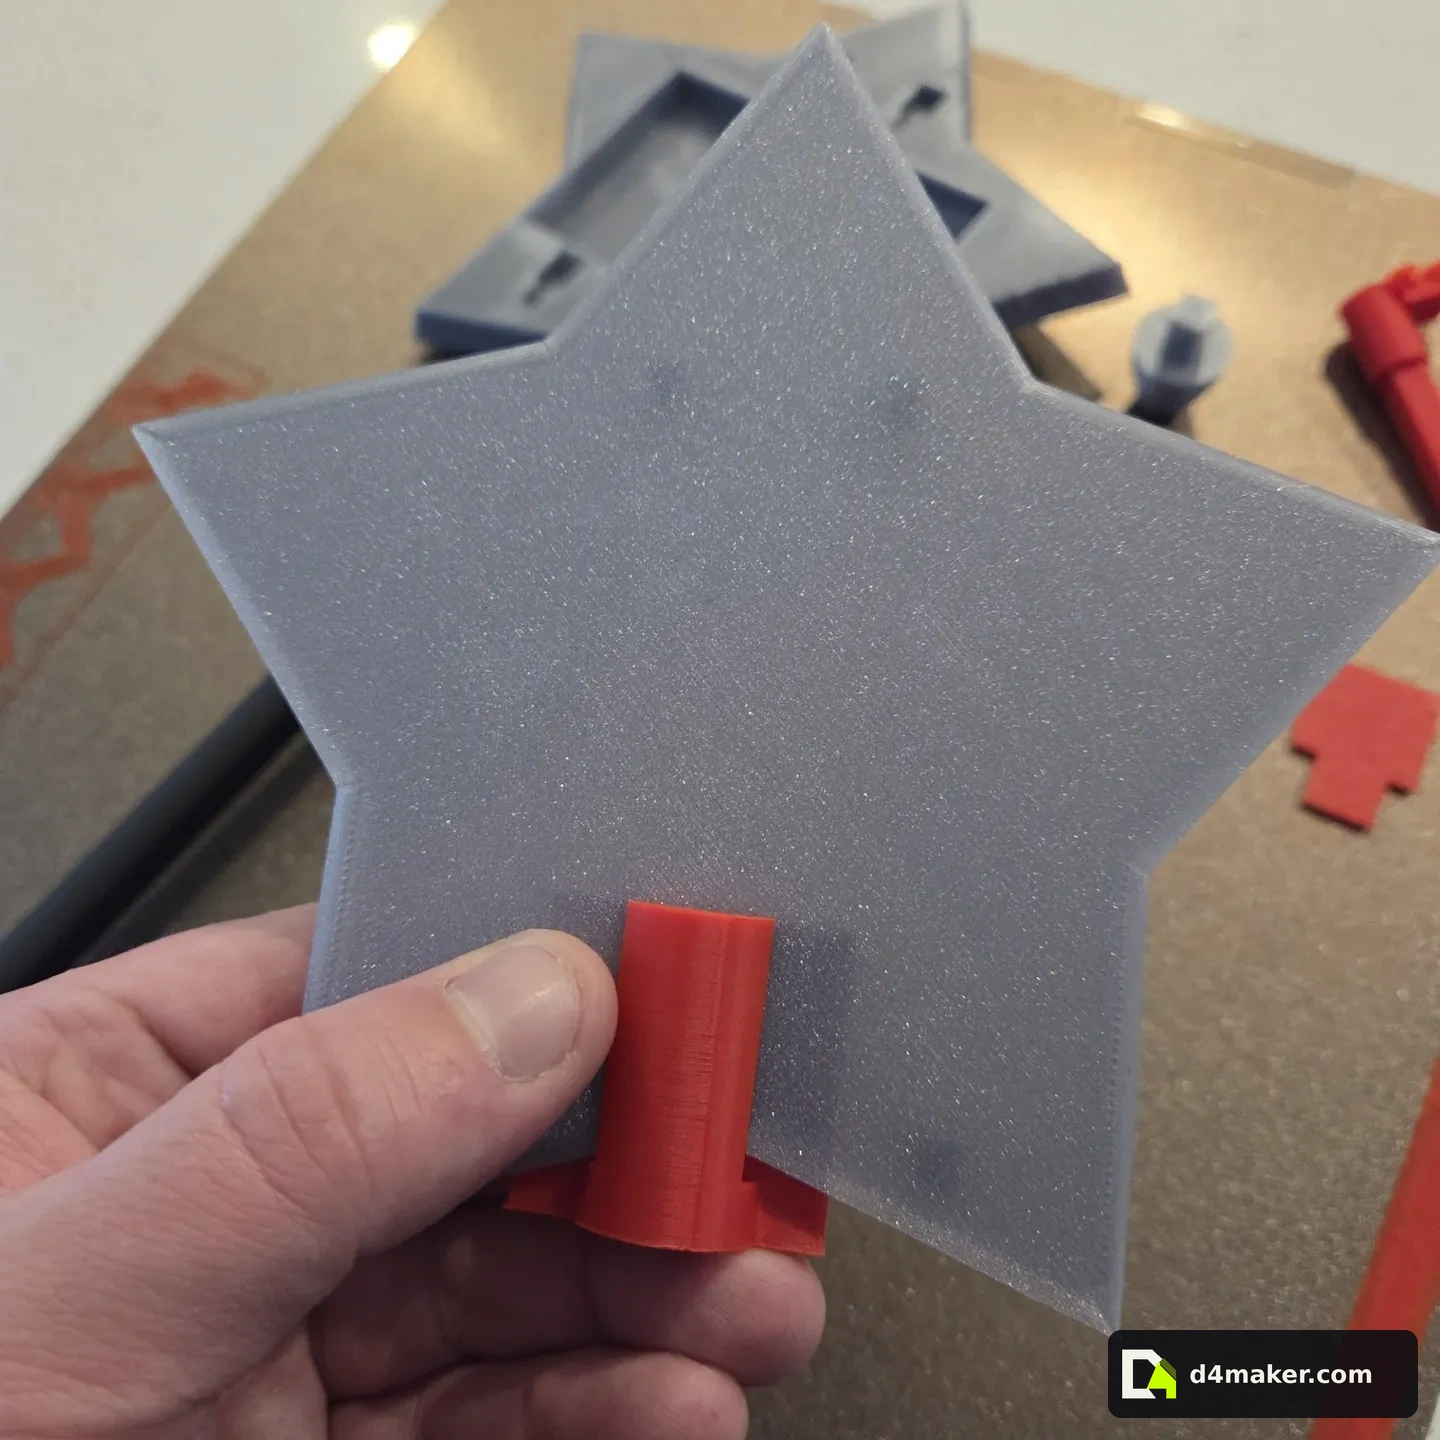
9. “Final” still needed an asterisk.
V2.0 kept the changes that had helped: the better finger opening, roomier rails, R11 lifter, tighter handle and revised back cover. The eight STL files passed the computer checks for closed shapes. That is useful, but it does not tell me how the finished wand feels in my hand.
The sliding lock survived more than 30 opening-and-closing cycles, and the R11 lifter survived five very tight card removals. The small V2 card-holder print worked much better. The complete final V2 star still needed printing and testing when I closed these notes. I’m keeping that unfinished bit visible rather than calling every file a proven product.
10. Why this project changed how I build things
UNO helped teach me to stop redesigning things that already worked. SPENDIOSA taught me why I needed a proper memory for the entire project.
There were too many versions, connections, successful tests and dead ends for “I think the last one was 0.2 mm tighter” to be good enough. The BuildBook idea became useful because it could record not just what the latest shape was, but why it had changed and which earlier fight was already won.
THE BENCH, NOT JUST THE BEAUTY SHOT
A few more pieces from the trail.