
BUILD STORY // UNO // THE PROJECT THAT TAUGHT ME TO STOP
UNO: the case that taught me to stop redesigning what already worked.
It started as “make a nicer box for the cards.” Then I kept noticing little things I wanted it to do better, and somehow that turned into removable card trays, tiny test pieces, a latch that snapped, three different sliding gaps and an UNO logo that had to look backwards in the slicer so it came out forwards in real life. I definitely did not start this project knowing I needed something called a “D25 detent”. I learned that because the first idea broke.
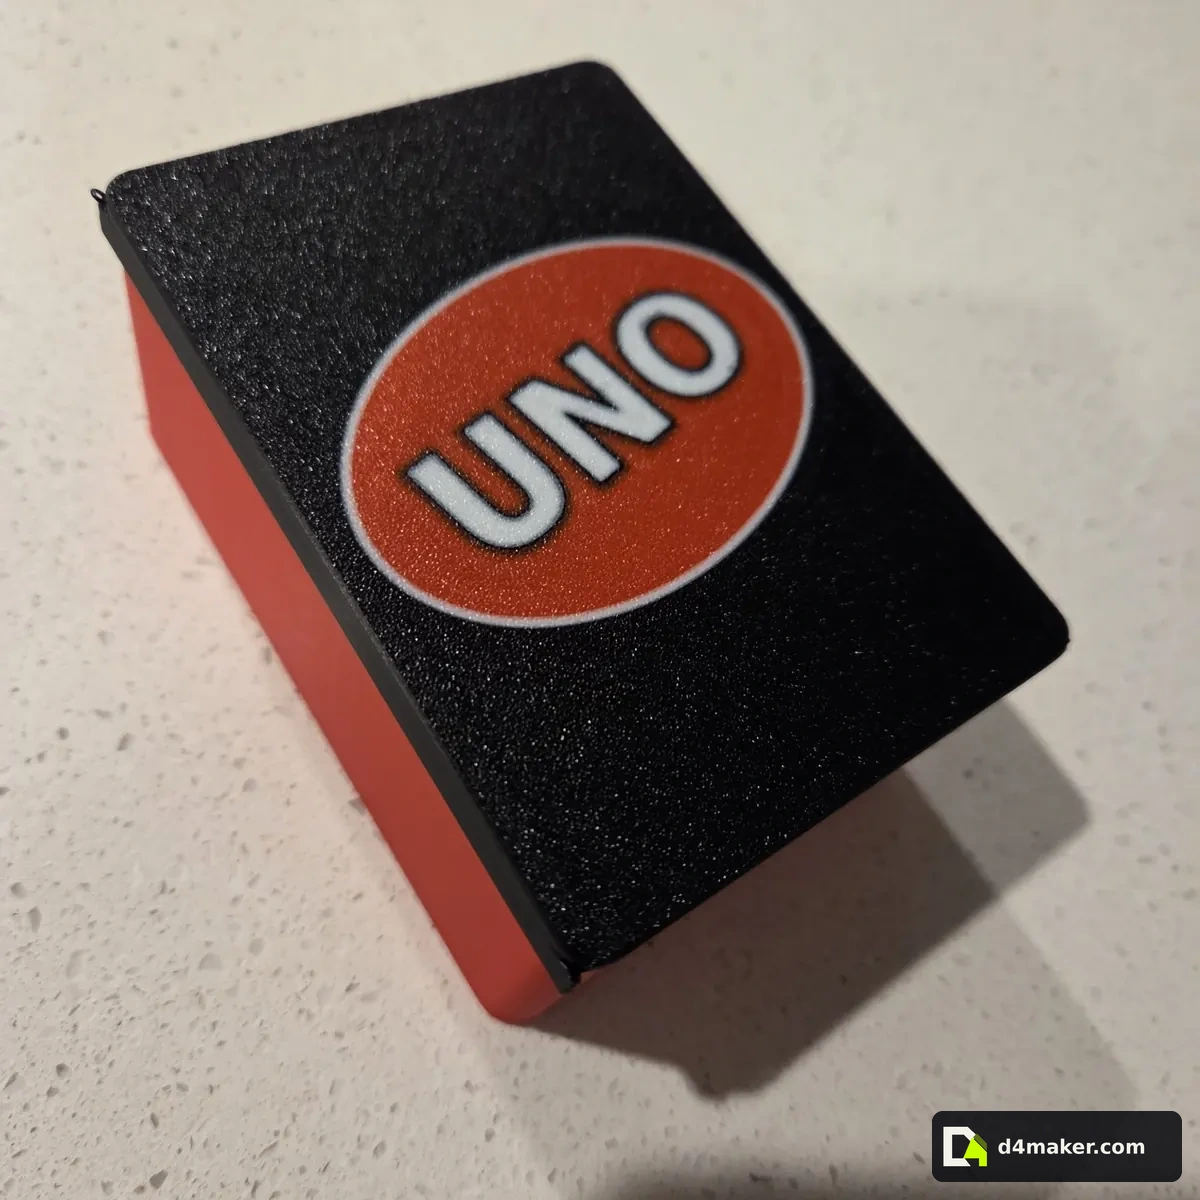
1. A better box for game night.
I wanted one standard UNO deck — up to about 112 cards — in something better than a tired cardboard box. It needed to travel without dumping cards everywhere, but I also did not want game night to involve digging the last six cards out of a deep plastic bucket.
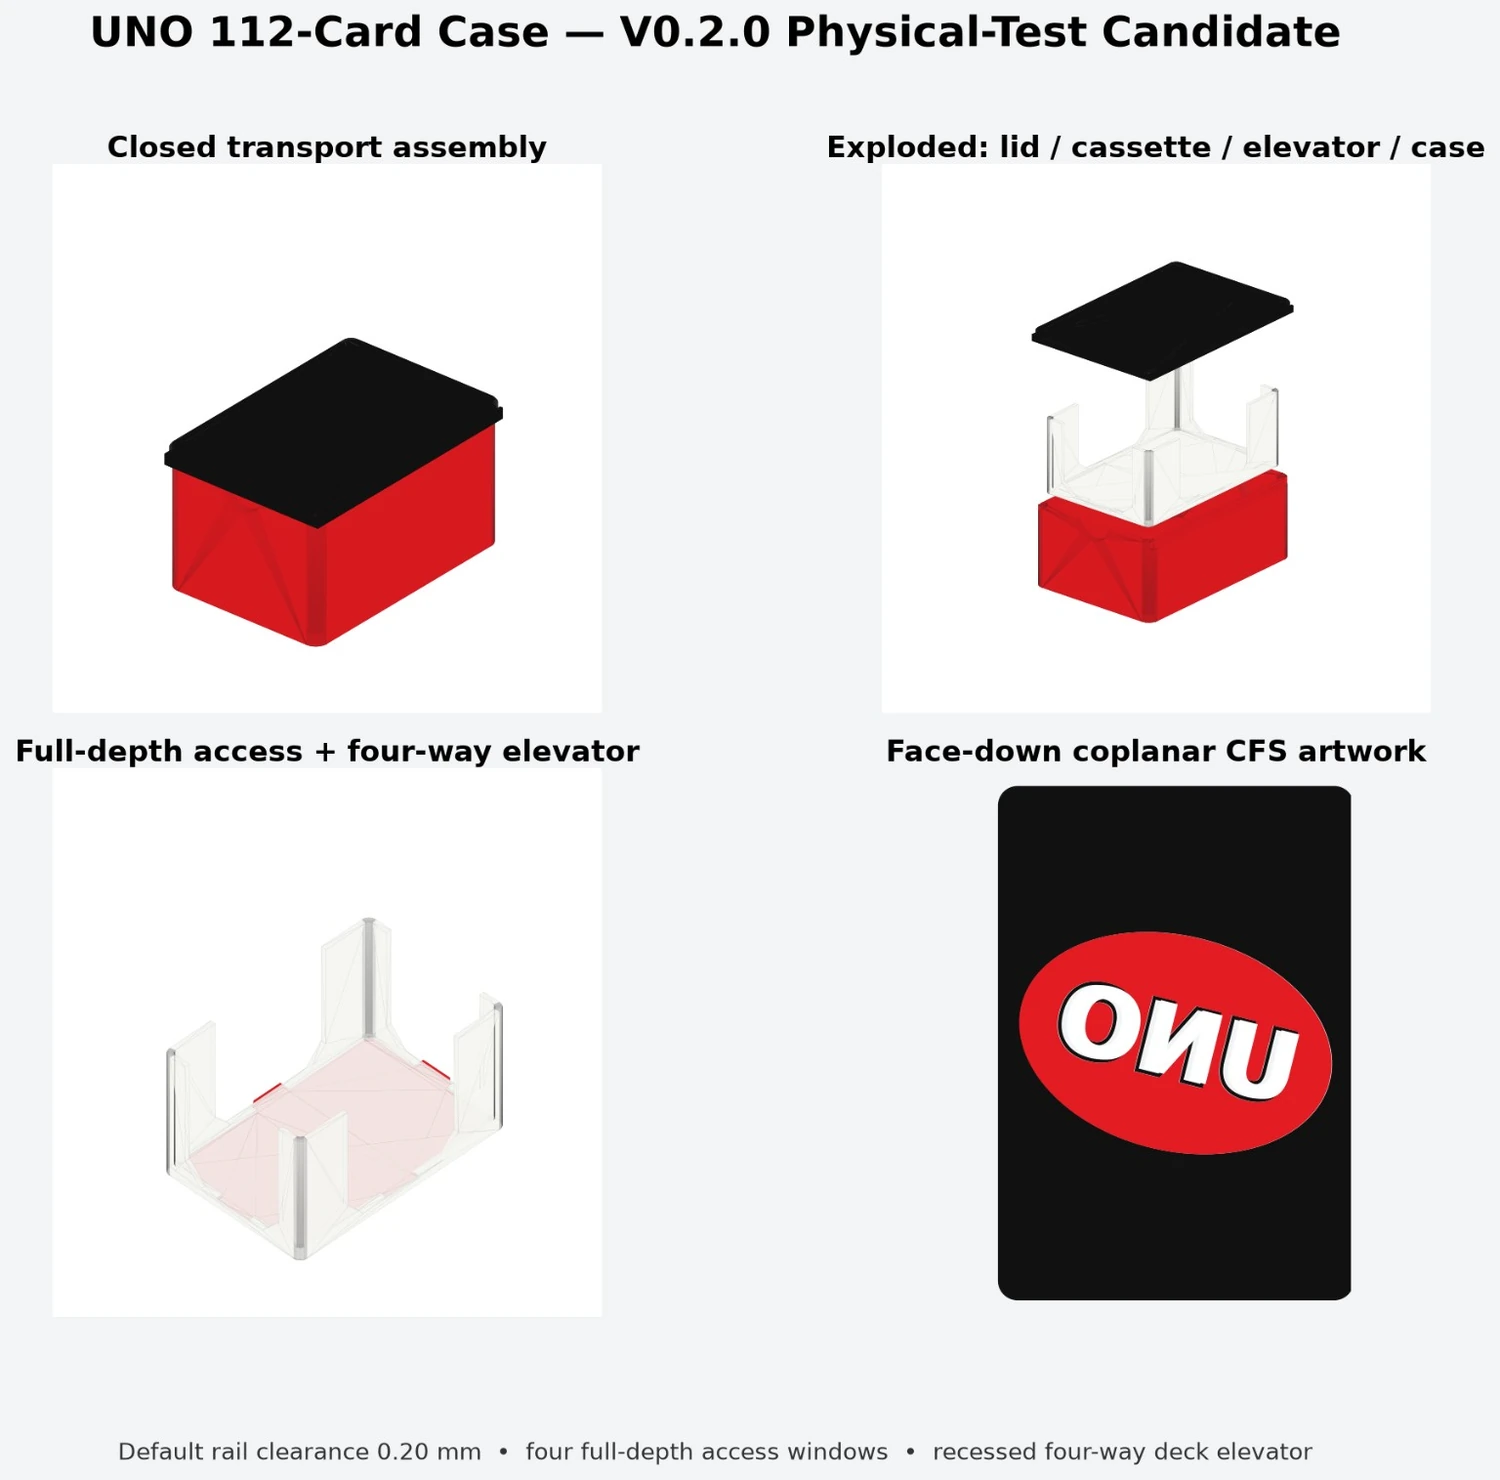
After a bit of back-and-forth, the idea settled into four pieces: a red outer case, a white tray that could come out and sit on the table during the game, a little red lifter underneath the cards and a black sliding lid. The card space ended up at 58 × 89 × 36 mm: enough room for the deck and the surrounding parts.
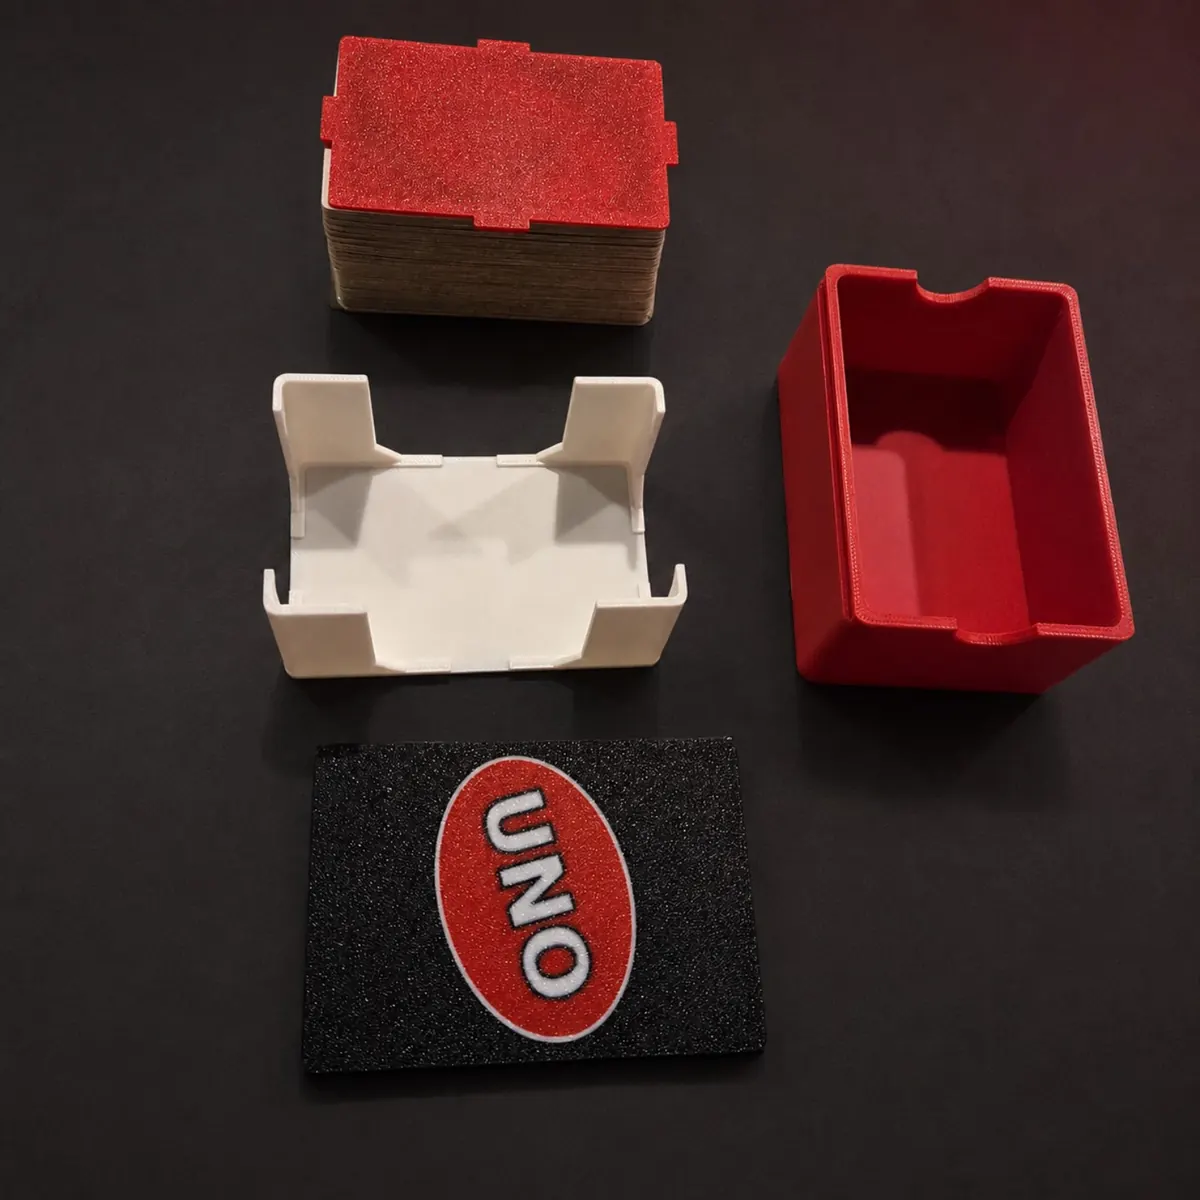
2. The removable cassette was the bit that made the design worth doing.
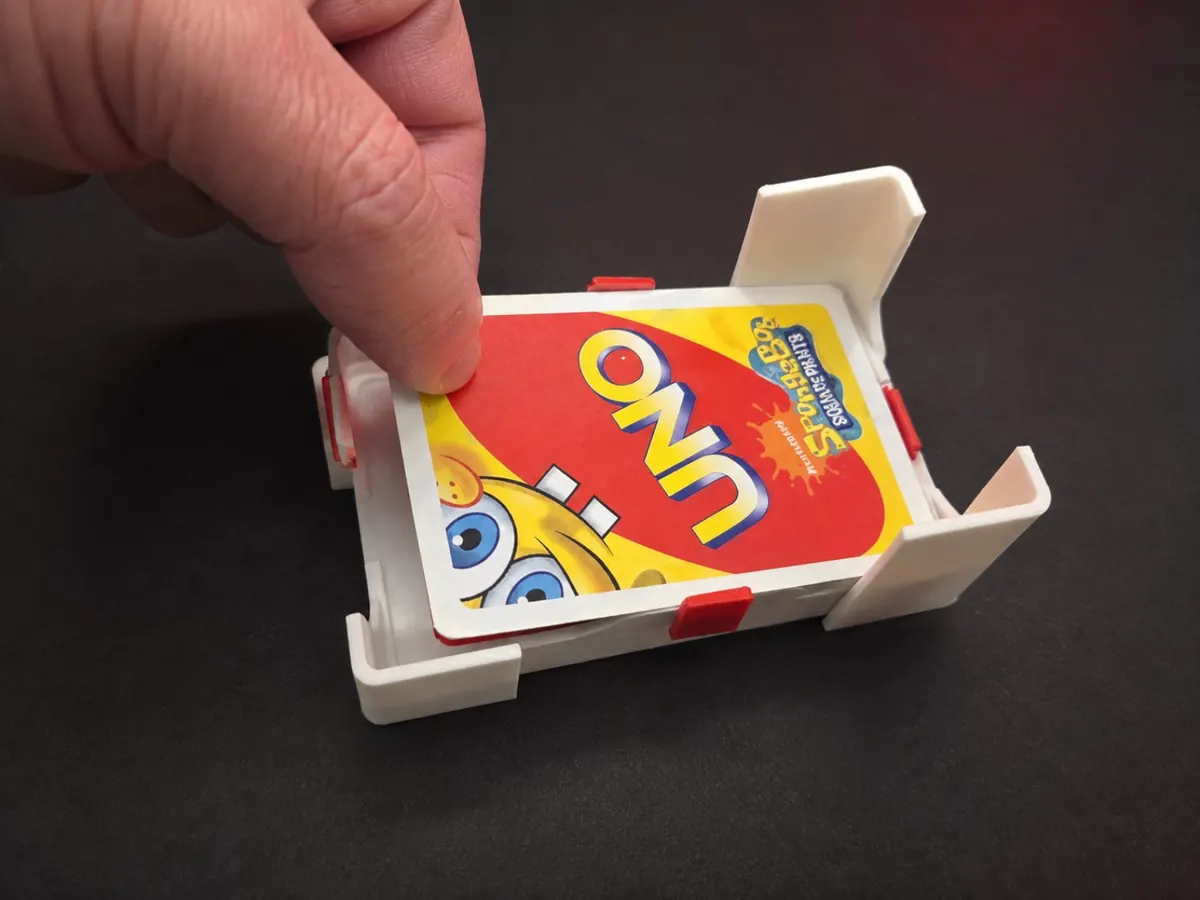
A normal card box is great at storing cards and usually mediocre at being part of the game. I wanted the storage insert itself to become the live draw deck.
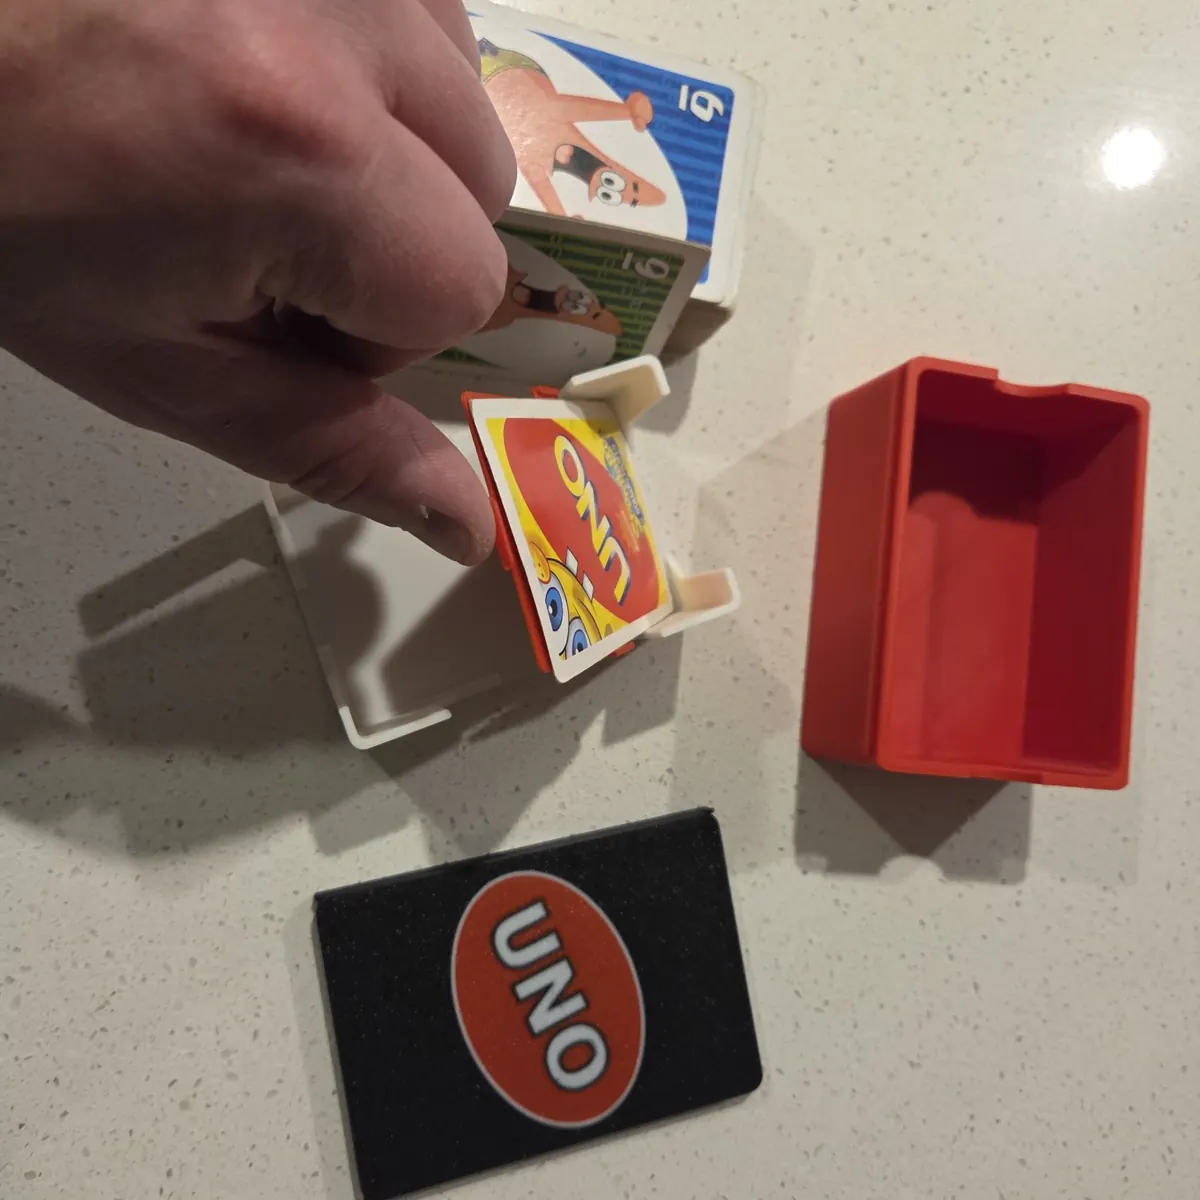
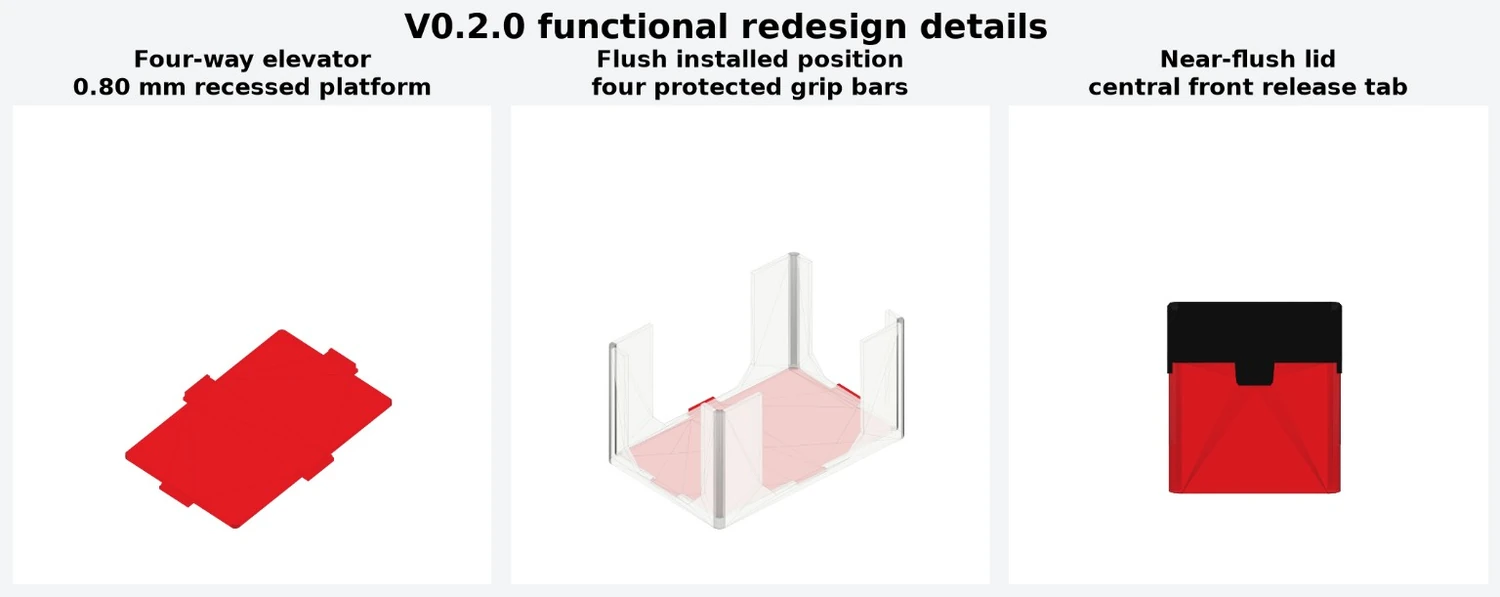
The first little finger notches looked fine in CAD and were nowhere near as useful once I imagined actually trying to grab the last few cards. So the openings grew into four full-depth access windows, while the corners stayed tall enough to keep the deck in place. Then we added a very thin 0.80 mm lifter under the deck so the final cards could be nudged back up into reach from whichever side was convenient.
3. V0.2.0 looked plausible. That did not make it proven.
V0.2.0 finally looked like the thing I had in my head: proper side access, the little lifter underneath, a lid that sat close to flush and rails that kept it sliding in the right direction. We started the sliding gap at 0.20 mm. It sounded sensible. The printer had not agreed yet.
That number was reasonable. It was also still just a number in CAD.
One of the biggest changes in how I work came from accepting that a dimension can be perfectly sensible and still be wrong for my printer, my filament, that orientation and that exact length of engagement.
4. Then the original latch snapped.
The first retention idea used a thin cantilever latch. In the model it was neat. In a physical coupon it fractured at the 90-degree root.
That failure was useful because it killed the idea quickly. Rather than making the same thin arm slightly thicker and hoping harder, the closure strategy changed completely.
5. The rail gap got its own experiment.
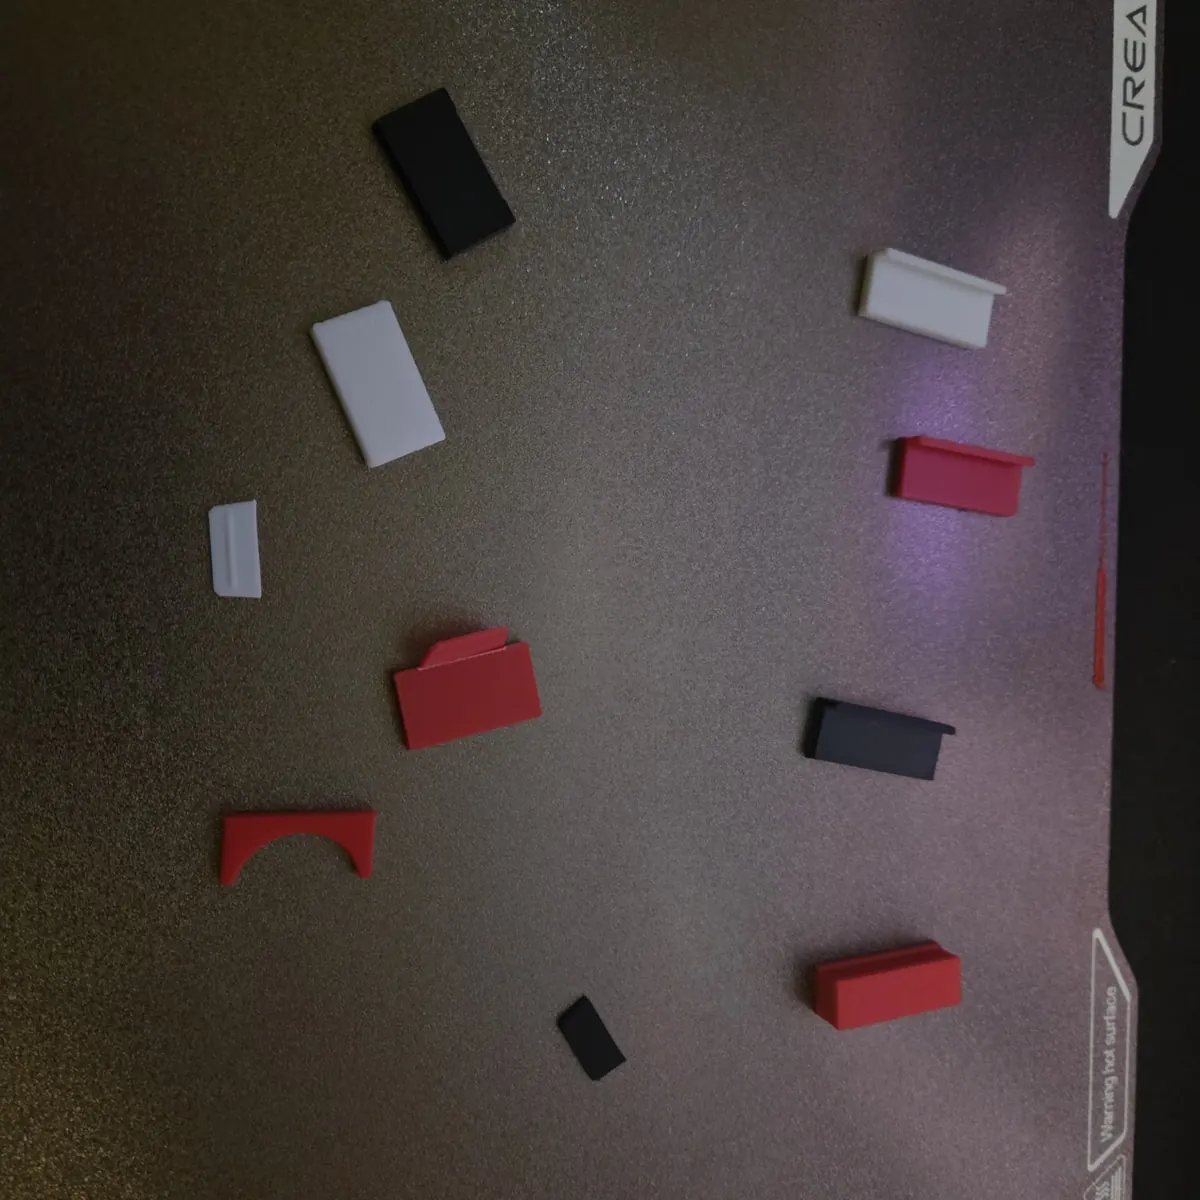
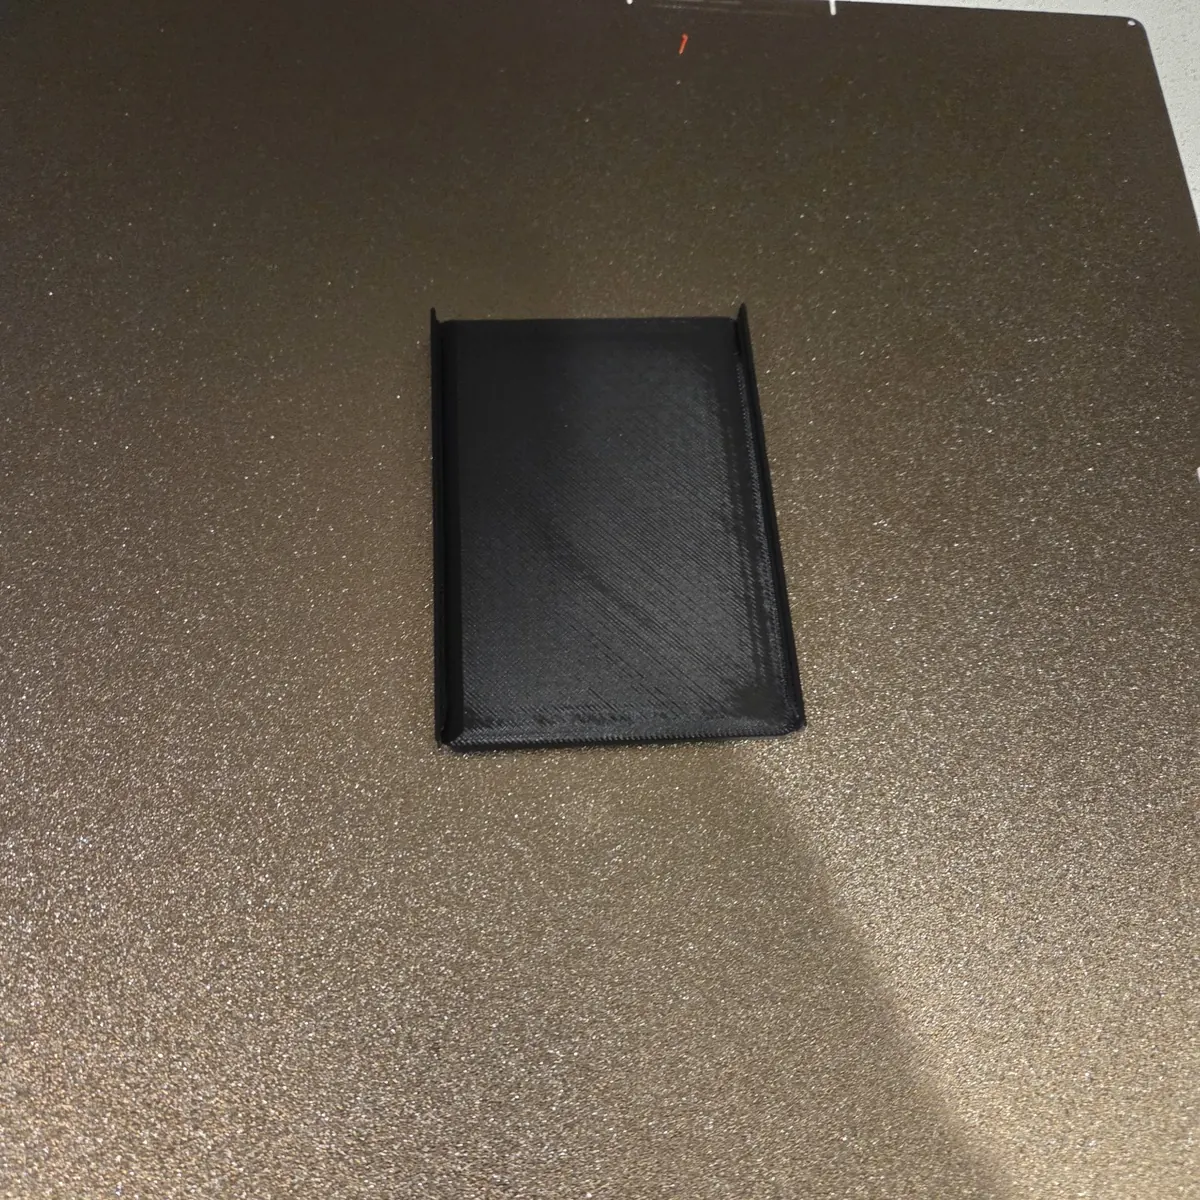
Instead of repeatedly printing the full case, the critical rail geometry was turned into small coupons and tested at 0.25 mm, 0.20 mm and 0.15 mm clearance.
The 0.15 mm version won. It produced very little unintended lateral or vertical movement while still sliding freely in the direction it was supposed to move.
The goal was not to make the lid stay shut by making the whole thing stupidly tight. The rails only needed to guide it without wobbling. The little “click” at the end could be handled separately. Splitting those two jobs turned out to make the problem much easier to reason about.
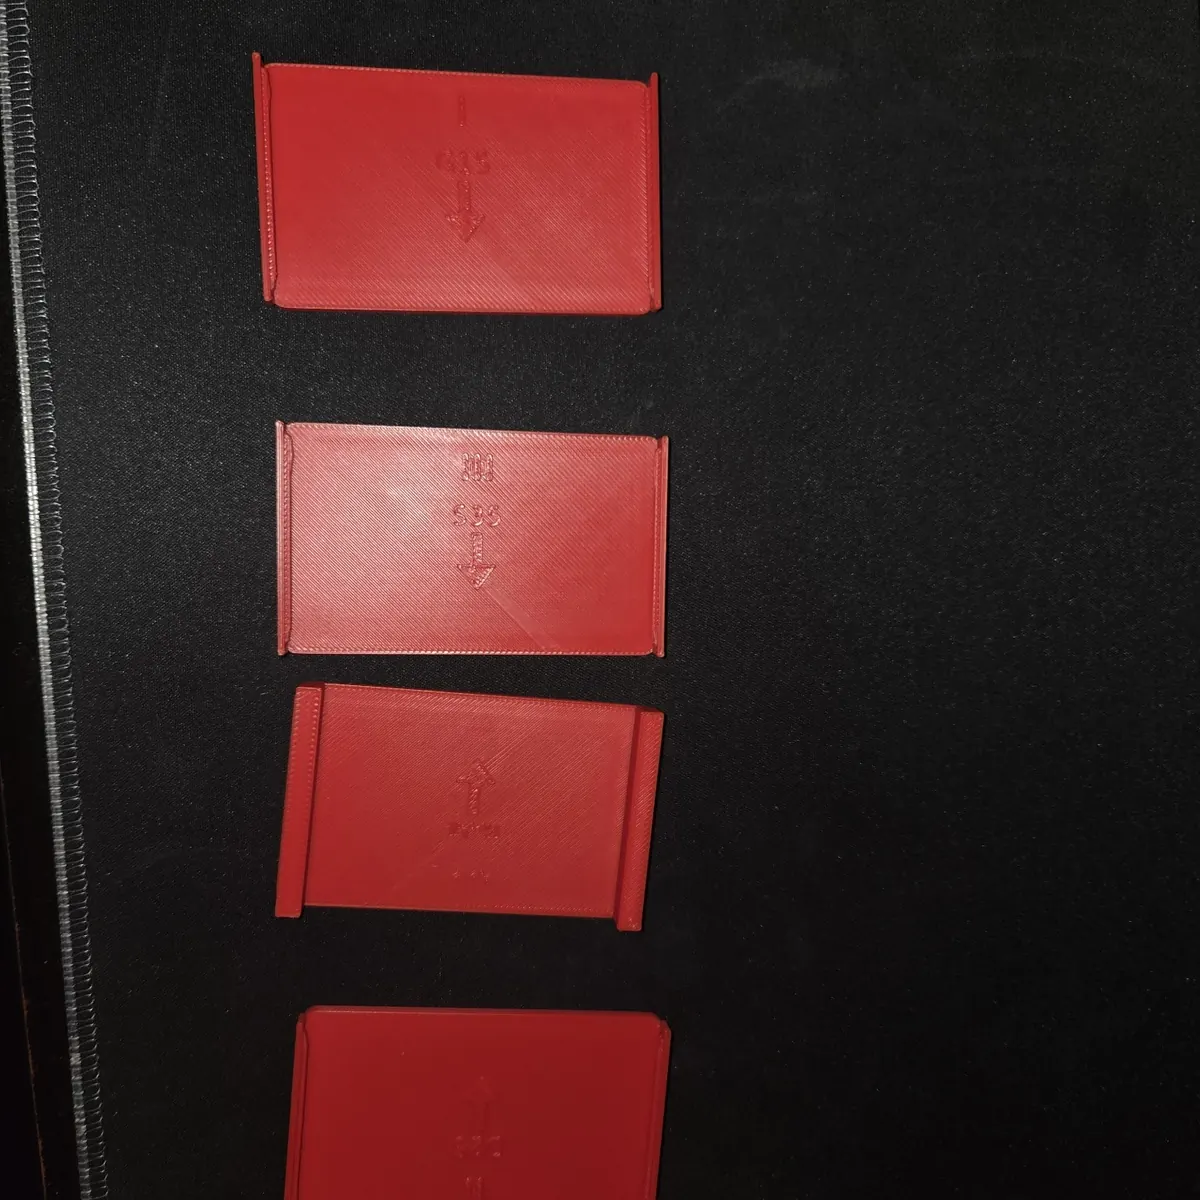
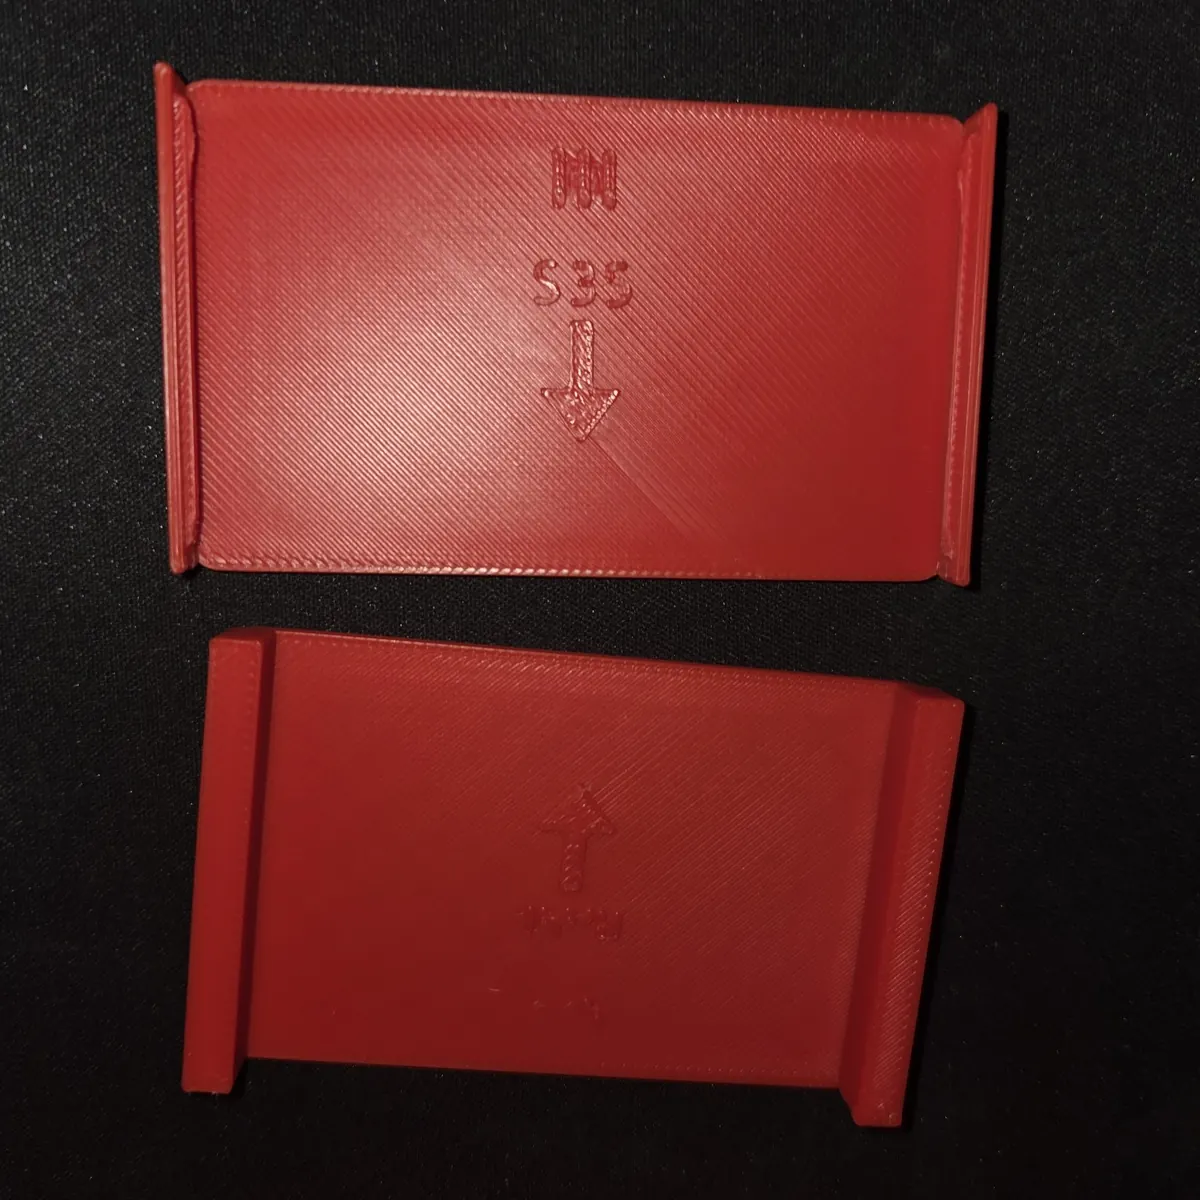
6. “D25” was just the little click that finally felt right.
Once the bendy latch idea was dead, we tried putting tiny bumps at the ends of the lid rails instead. I printed a few versions rather than pretending I could calculate the perfect amount of “click” from my chair.
The one labelled D25 had a 0.25 mm bump. That was the one that felt right: enough resistance that the lid actually felt shut, but not so much that opening the UNO box became part of the game.
So when I use the word detent here, that is all I mean — a tiny bump and matching pocket that give the lid a click at the end of its travel. The rails keep everything lined up. The bumps keep it closed. No button, no exposed tab and, most importantly, no skinny bit of plastic waiting to snap again.
That was probably the point where the project started teaching me more than I expected. A broken part and a few cheap tests gave me enough evidence to choose a latch that worked.
7. The lid did not need to be Superman.
The loaded white tray stores upside down inside the red shell. It sounds backwards until you actually hold the thing.
The red case and gravity are already doing most of the work of keeping the cards contained. The lid mostly has to stop the white tray and red shell parting company in a bag. That means those two tiny clicks at the end of the rails are not being asked to somehow suspend an entire deck of cards by themselves.
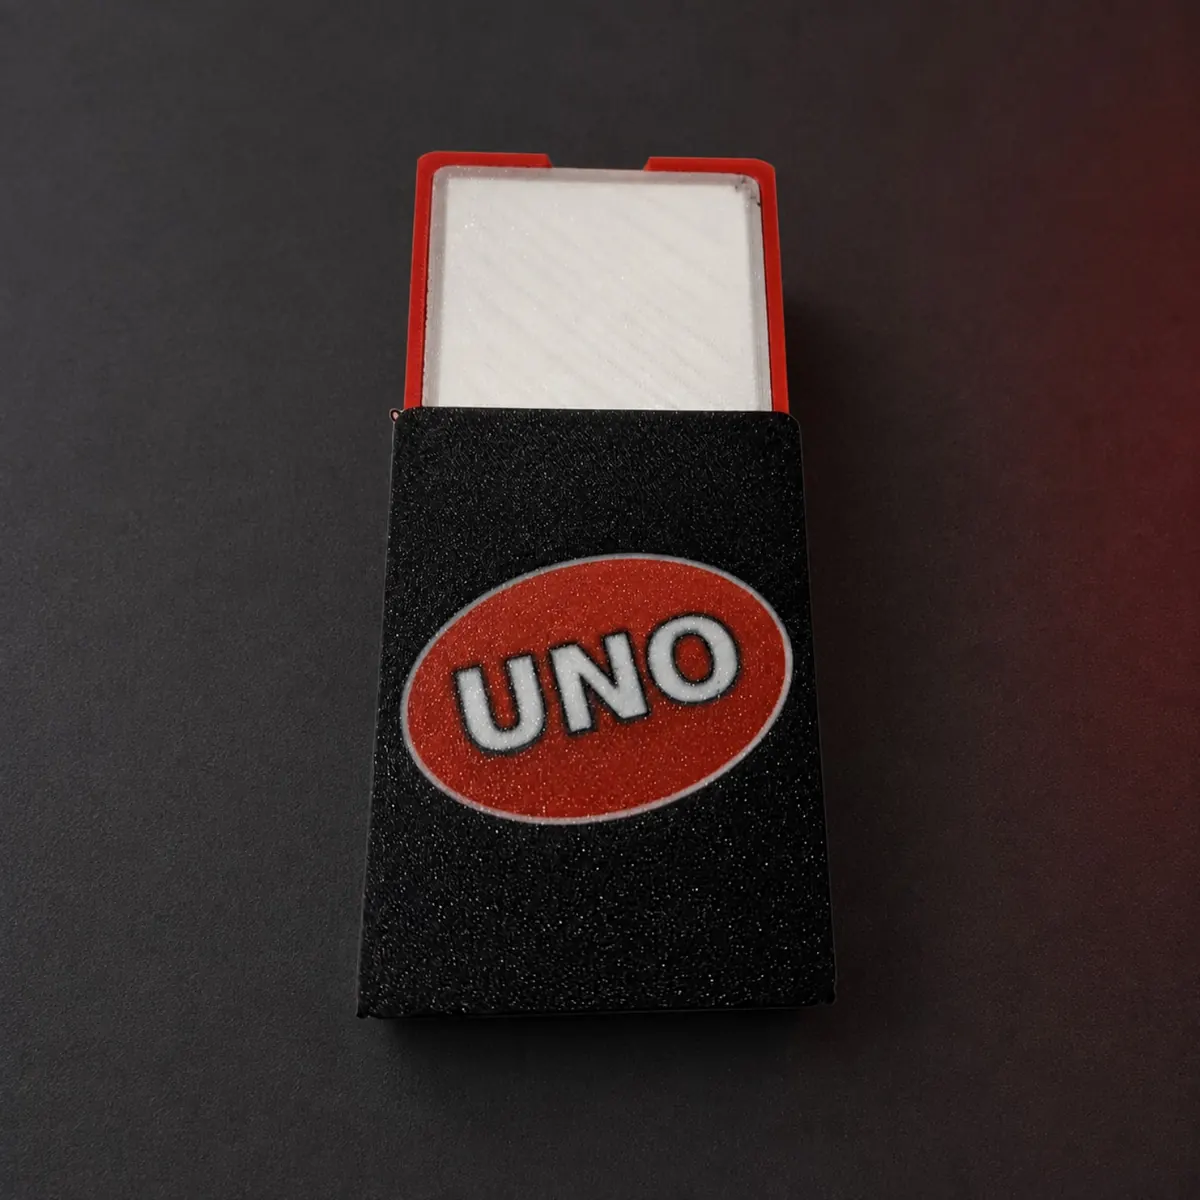
8. Even the UNO logo managed to become an orientation problem.
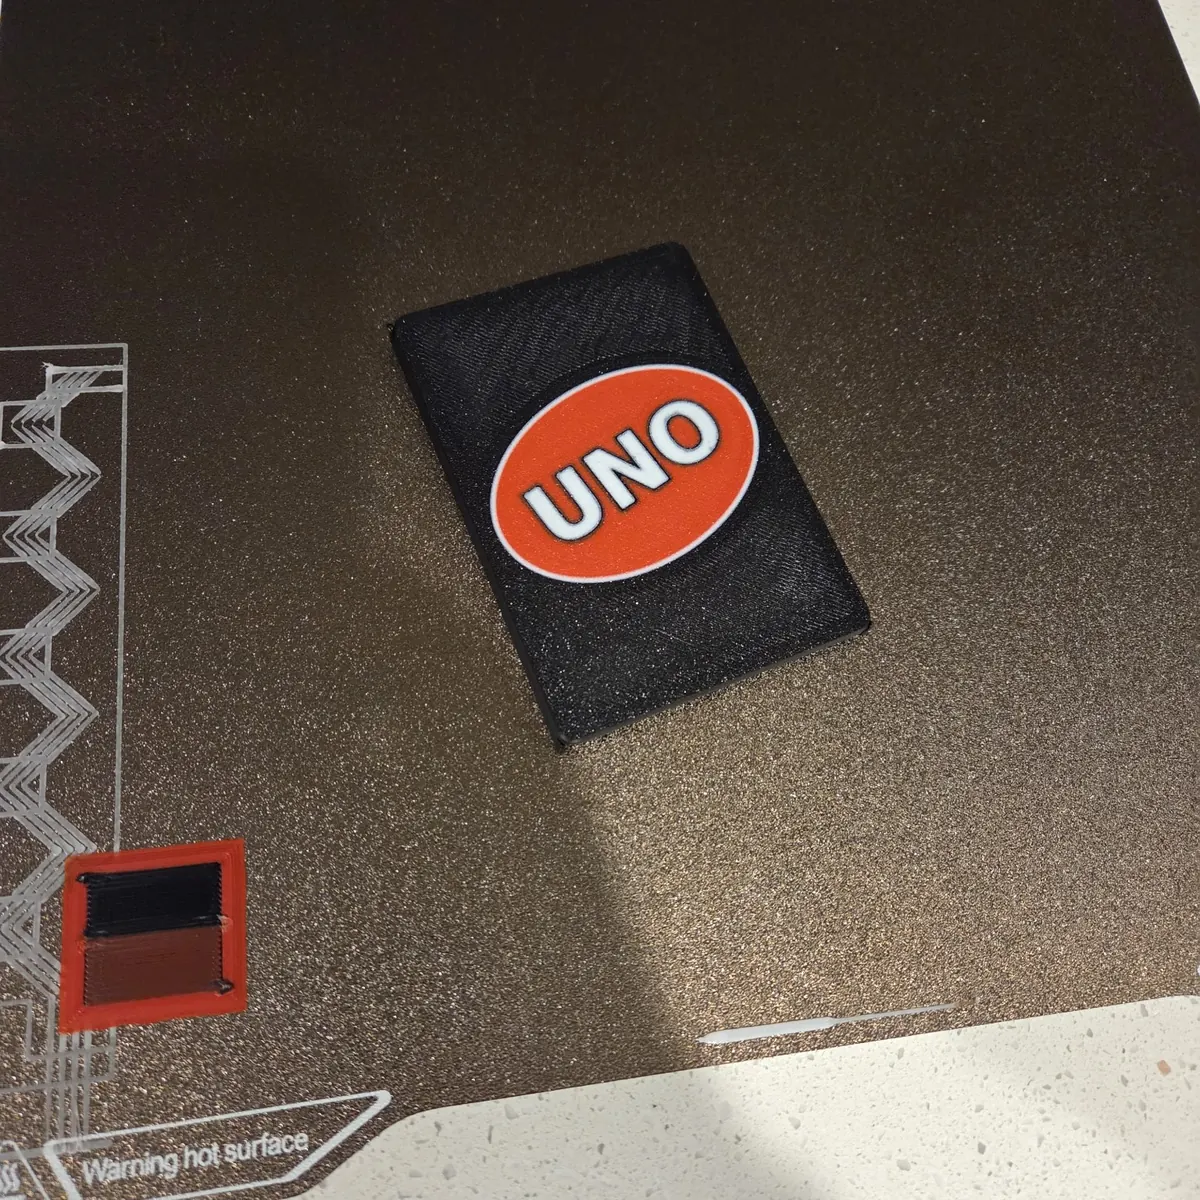
The lid artwork prints face-down because I wanted the visible face against the build plate. That gives the presentation surface the cleanest chance of looking good, but it introduces a wonderfully stupid trap: what looks correct in the slicer comes out mirrored after the physical flip.
So the bed view is intentionally O-N-U. Flip the finished lid over and it becomes U-N-O. The artwork rises by 14 degrees from the U toward the O.
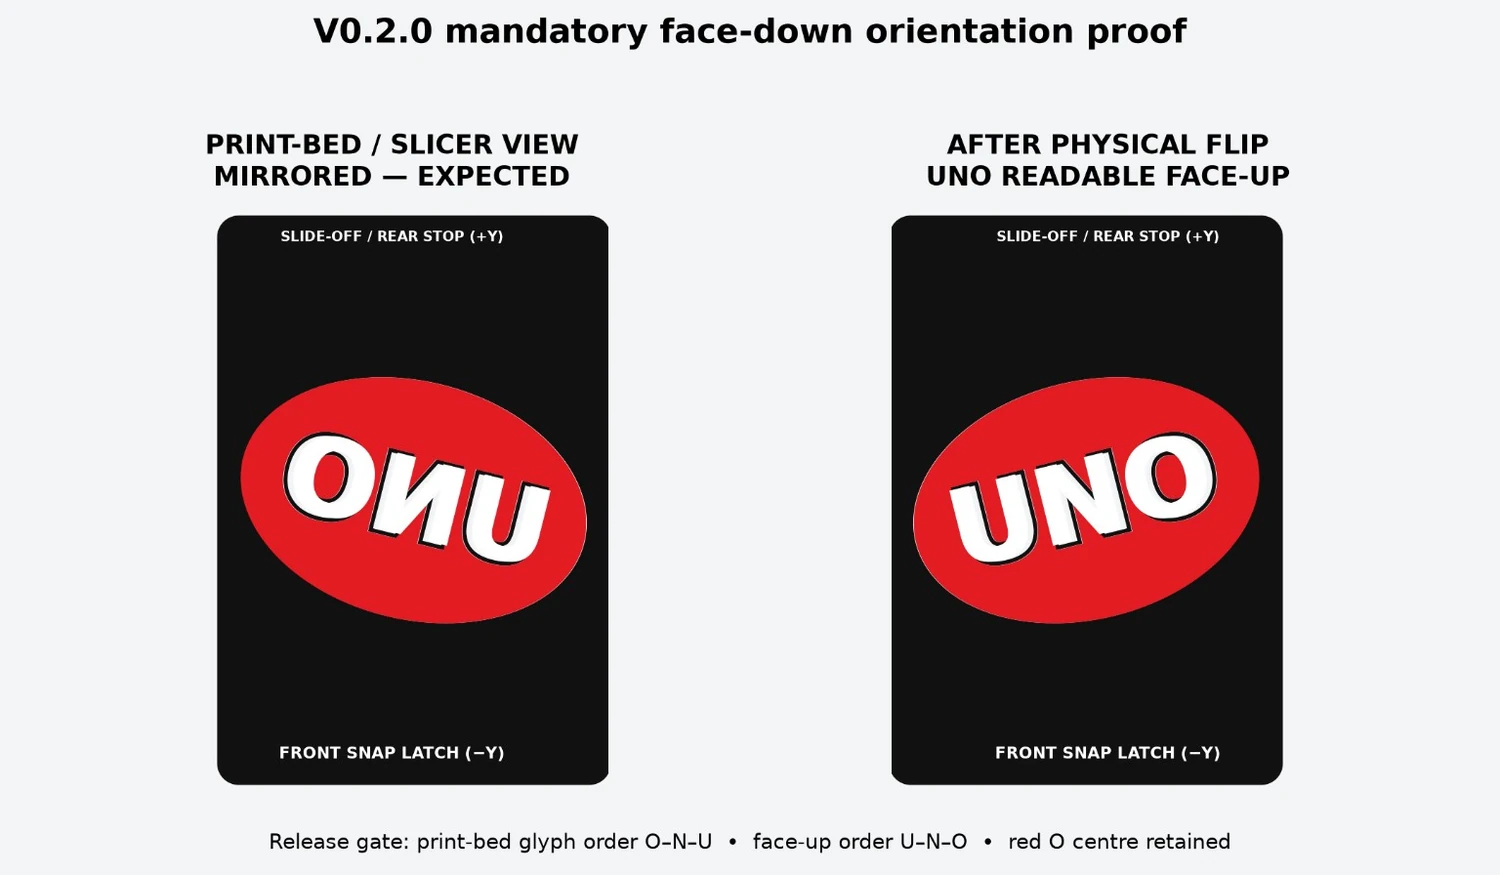
The visible colour work occupies the first 0.80 mm — four 0.20 mm layers — with another 2.00 mm of solid black backing behind it. That keeps the inner lid black and avoids dragging colour changes through the whole thickness.
9. The computer said PASS. The printer still got a vote.
By V0.2.2 the model checked out on screen. Nothing was crashing through anything else, the lifter stayed where it was supposed to, the lid geometry made sense and the artwork bodies lined up.
That was enough to call it a physical-test candidate. It was deliberately not enough to call it a finished product.
I like that distinction more now than I did then. A slicer opening the file does not tell me whether the lid feels good in my hand. A geometry check does not tell me whether the last card is annoying to retrieve. And a nice render definitely does not prove the bloody thing will stay together in a bag.
Then the real evidence arrived: the 0.15 mm rail coupon passed, D25 passed, and the complete V0.2.2 physical build printed successfully. The cassette, elevator, lid and transport arrangement had finally converged into a working whole.
10. V1.0 was mostly the moment I decided not to touch it.
This is probably my favourite part of the project in hindsight.
V1.0 did not take the successful V0.2.2 geometry and “improve” it again. The mechanics were promoted essentially unchanged. The release work was naming, documentation, packaging, print projects, marketing material and choosing the white-outline artwork as the recommended presentation.
The geometry had already answered the question.
There is also one honest limitation worth keeping in the record: I haven’t done a long wear test on the case. D25 was chosen as the best balance from the tested variants and the full build passed, but I am not going to turn that into an imaginary 10,000-cycle laboratory result because it sounds better on a product page.
11. UNO also exposed a different problem: my AI assistant could forget why we did all this.
By the end I had a working case, but I also had a pile of evidence: the latch that broke, three sliding gaps, the click that felt right, rules for printing the logo backwards and a full print that finally behaved. I wanted MakerMouse, my AI assistant, to remember those lessons too.
Then I realised the STL was probably the least interesting part of that history.
A few weeks later, if I asked AI to change something unrelated, I did not want to have the same conversation all over again: Why is that gap 0.15 mm? Which latch was the one that snapped? Why are we changing the rail again when the bloody thing already works?
I wanted Future Me — and my AI assistant — to keep the measurements and test results, so we could build on what already worked.
That became part of what eventually grew into BuildBook and the wider AI-assisted 3D workflow: keep the useful evidence, remember why something changed, and make it obvious which bits have actually survived a printer rather than only looking clever on screen.