
BOOK WEEK // PRINT-TESTED REMIX
Don’t Reinvent the Shield
A good existing design, three layers of red filament, and five minutes of fake ageing. Sometimes the clever part is knowing what to leave alone.
The useful bits, up front
A Book Week costume needed a knight’s shield. We remixed Barbora Maršíková’s “Simple editable shield for a knight”, kept its shield and integrated handle, and changed the face. The full-size print completed; one corner lifted and left a rough patch on the rear.
- Size
- 294 mm across at its widest; under the 295 mm limit.
- Orientation
- Decorated face on the build plate, handle upward. Supports off.
- Print baseline
- PLA · 0.40 mm nozzle · 0.20 mm layers.
- Colour detail
- Flush red cross, 0.60 mm deep: the first three layers.
- Finish
- Ground charcoal, a kids’ paintbrush and a barely moist paper towel.
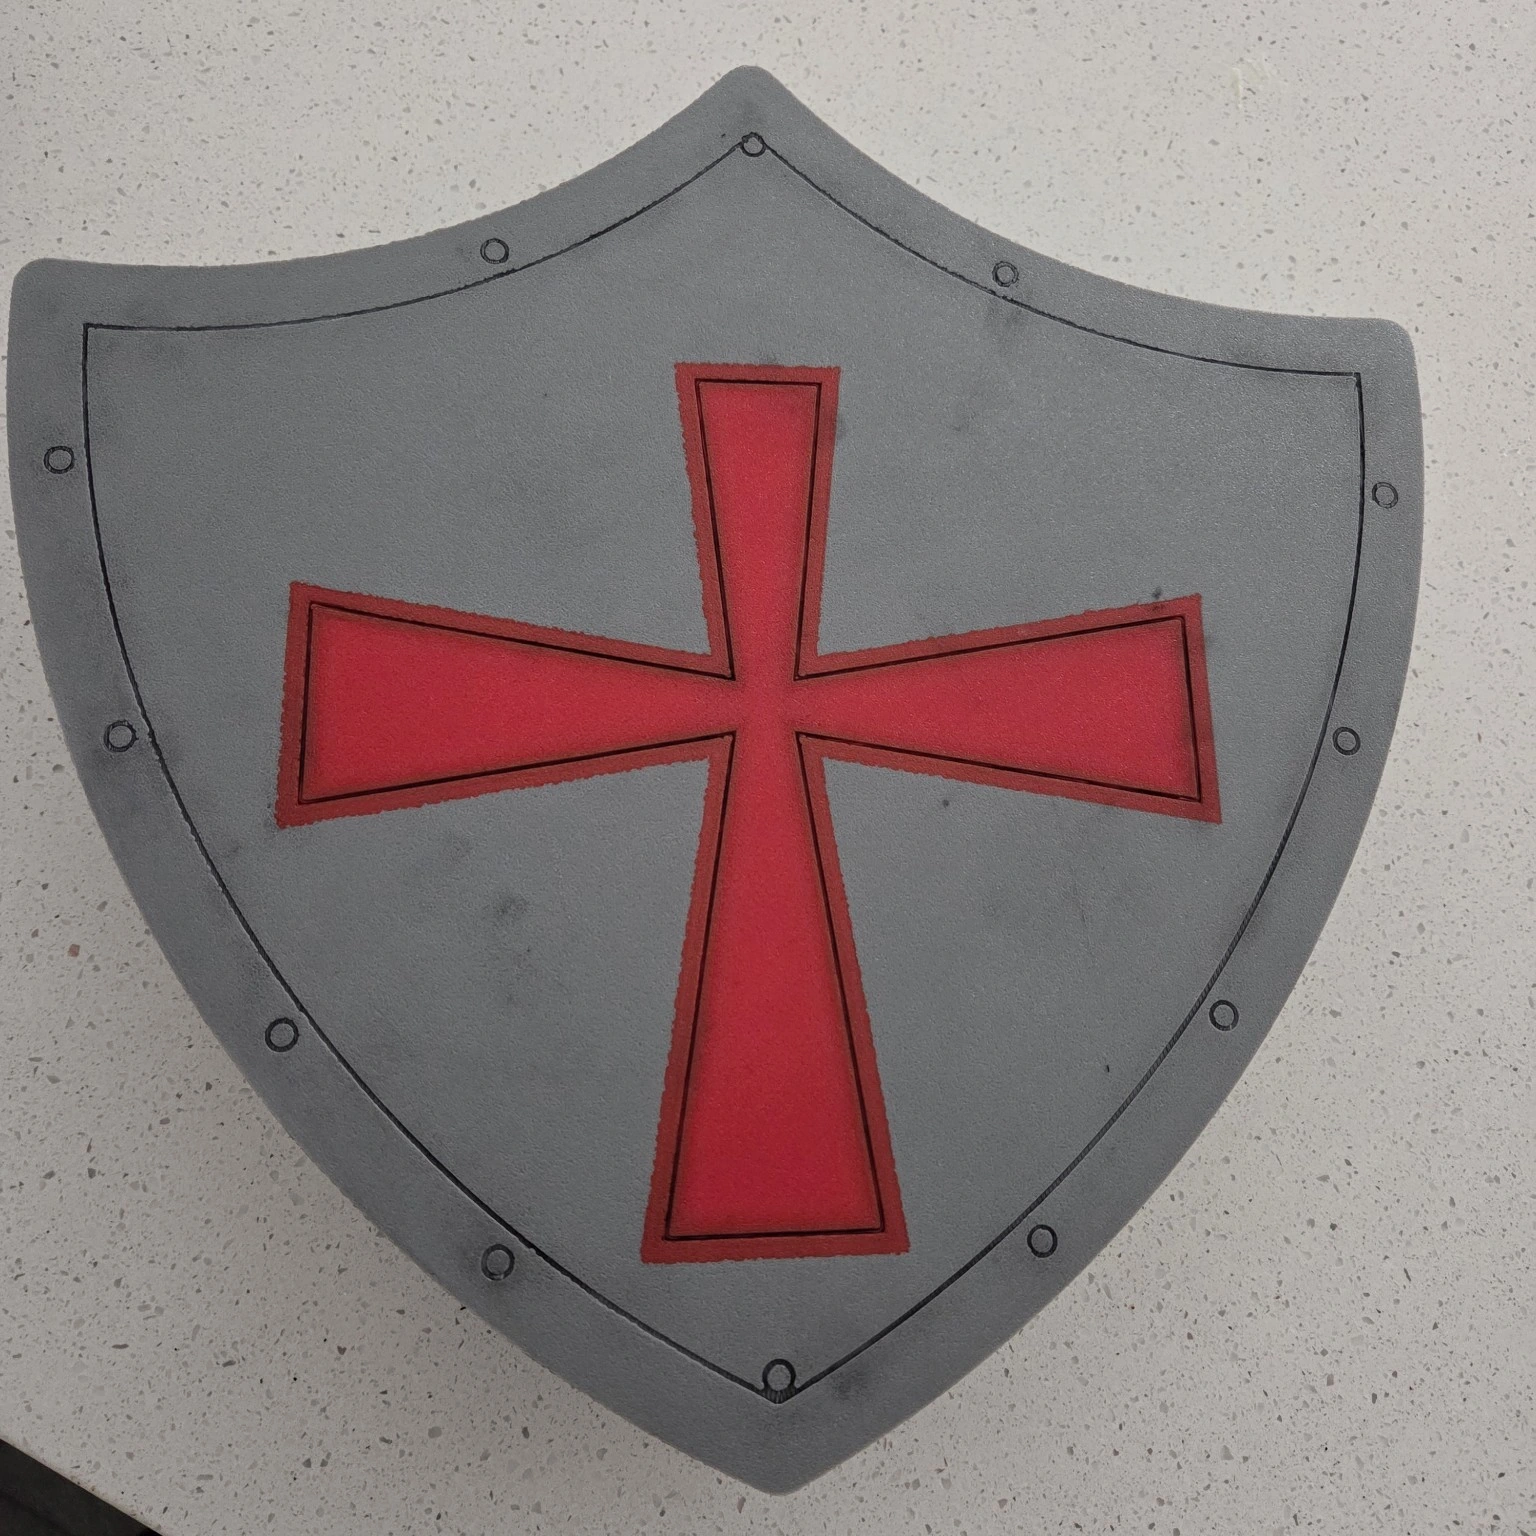
A knight needed a shield. I didn’t need another entire project.
Book Week has a habit of turning a costume into a small engineering job. The knight outfit was coming together, but it needed a shield. The brief was practical: print flat, stay under 295 mm, avoid supports, and don’t sacrifice a mountain of filament just to make it look medieval.
I could have started from scratch. Model a shield, work out a handle, chase the proportions, and discover which perfectly reasonable idea the printer disagreed with. There was already a design that solved the important part.
Barbora Maršíková (@me_just_b) made the original “Simple editable shield for a knight”, Printables model #1464386. Its shield shape, integrated rear handle and flat-print approach were the foundation. This is a remix of that work, not an original D4Maker shield pretending it arrived from nowhere.
Fake depth. Real restraint.
With MakerMouse, my AI assistant, helping with the remix, we gave the face a red cross, an inner border, recessed rivet-style marks and an inset line inside the cross. The border and rivets use shallow negative detail, recorded at 0.40 mm deep, rather than a thick decorative frame.
That matters when the decorated face starts against the build plate. A dramatic sculpted front can quietly turn a straightforward print into a support problem. Here, a few shallow lines suggest the framing and metalwork without needing the full three-dimensional version.
The red cross is flush with the face. It occupies 0.60 mm, or three layers at the 0.20 mm baseline. After that, the shield continues in grey. Colour changes stay in the first few layers instead of following a tall red feature through the whole print. That limits the colour-change work and purge waste; it doesn’t make a multicolour print magically waste-free.
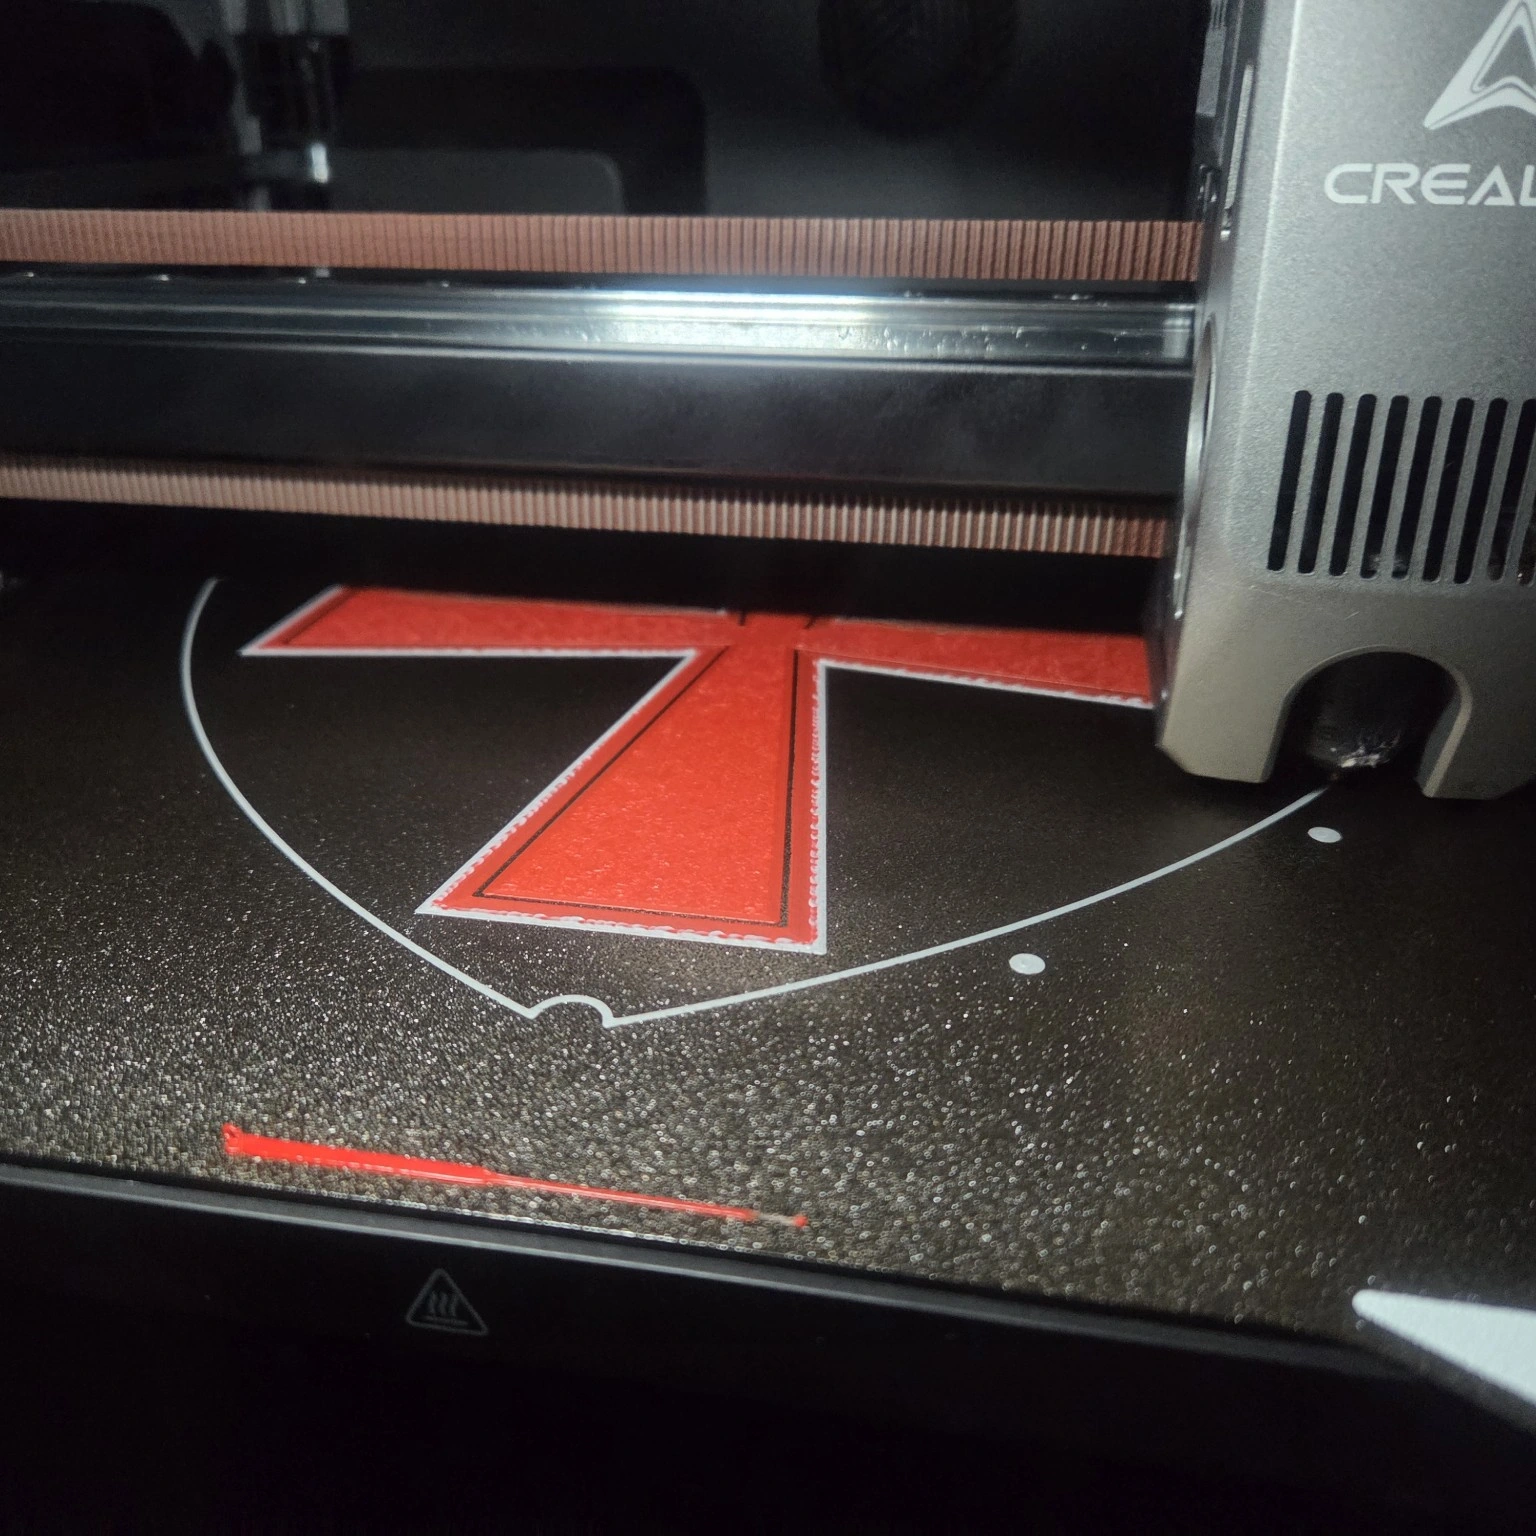
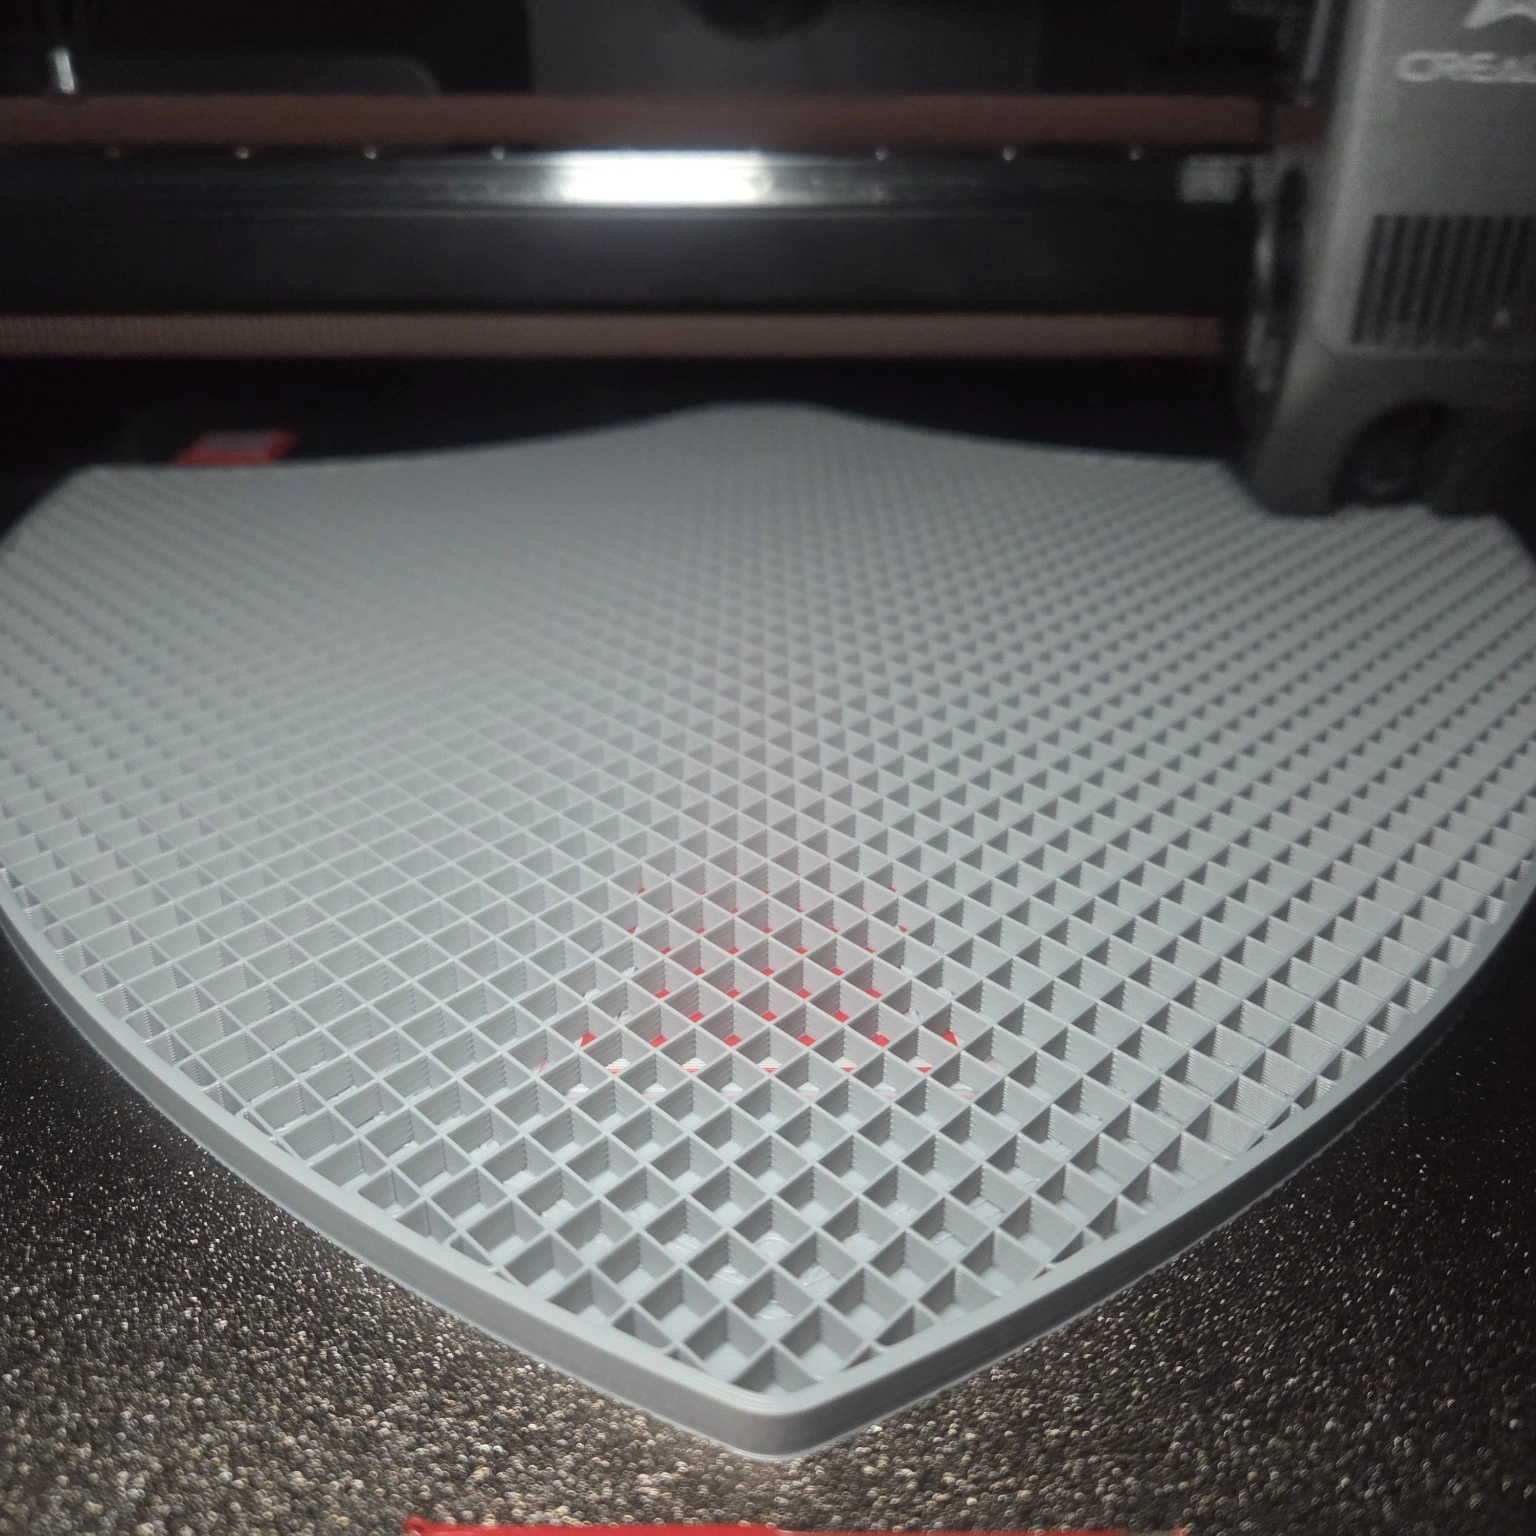
The print worked. One corner had other plans.
The full-size shield printed, the handle completed, and the cross and shallow details resolved. The practical print-flat idea survived contact with actual plastic.
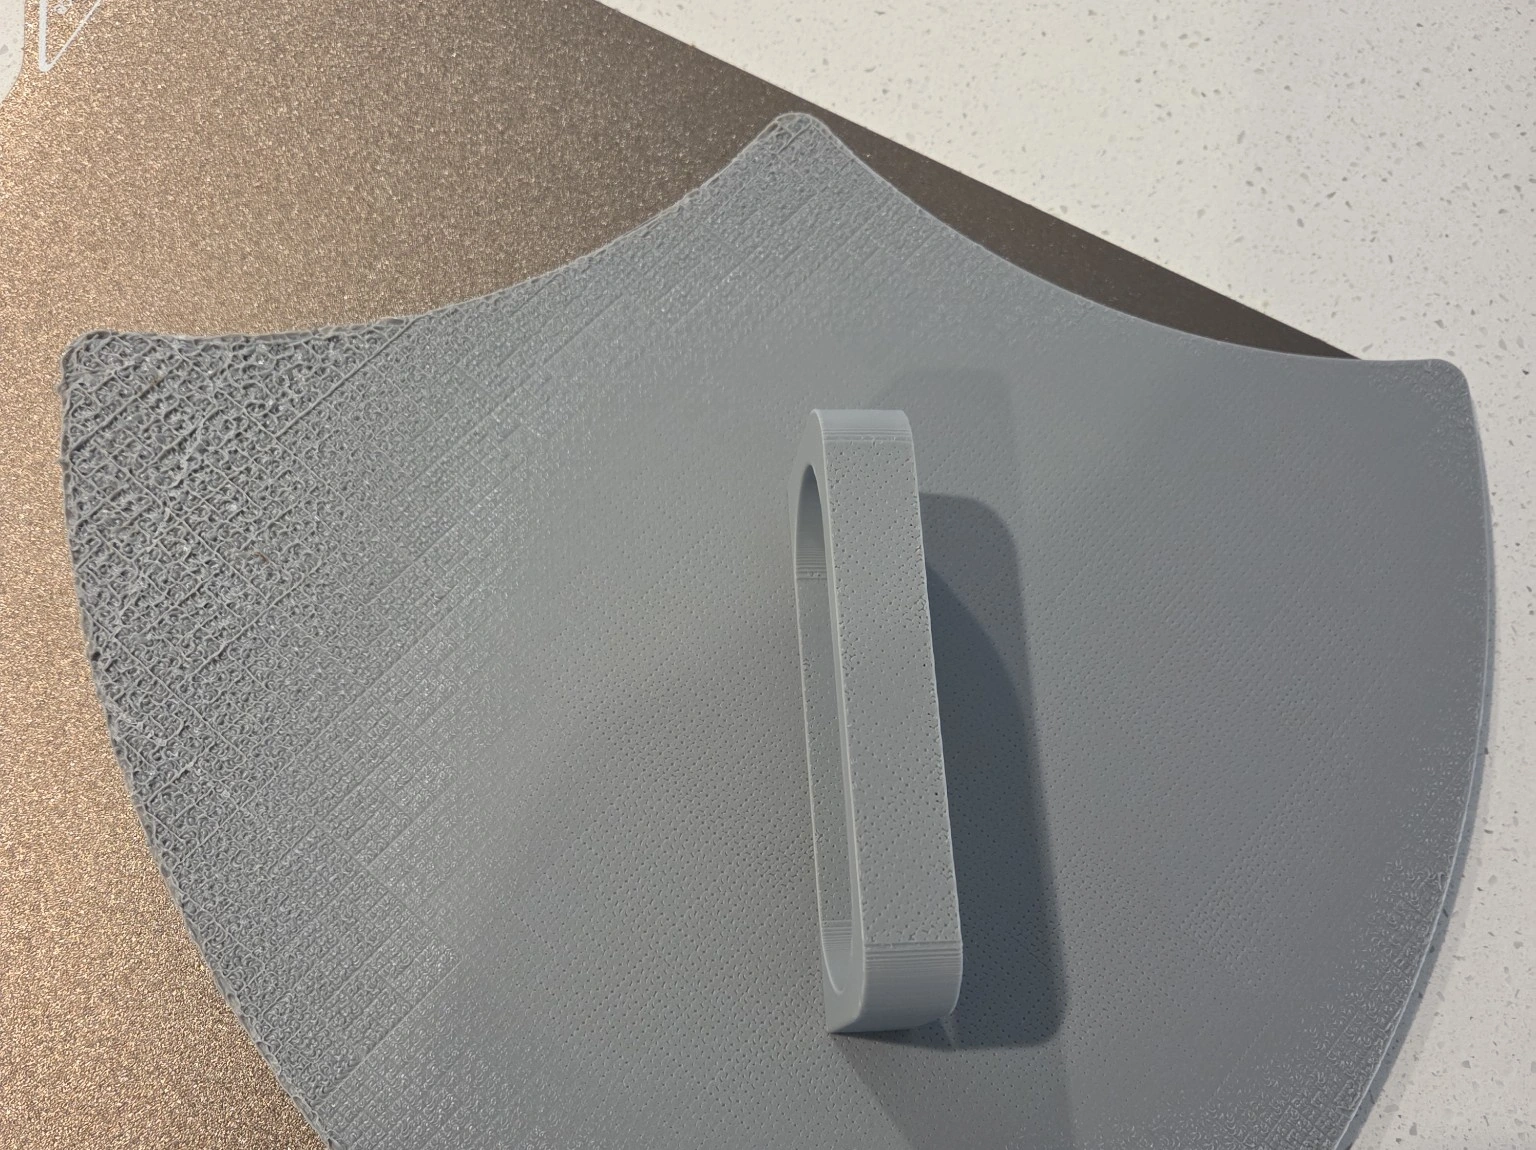
One corner lifted during the print and left a rough patch on the back. Warping looks like the likely reason. I’m keeping that patch in the photos because it happened, even though the shield still did its Book Week job.
For another full-bed print I’d start with a clean plate and watch adhesion and uneven cooling. A small local brim or corner mouse-ears would be an option if lift returned. Those are things I’d try next time; I haven’t tested them on this shield.
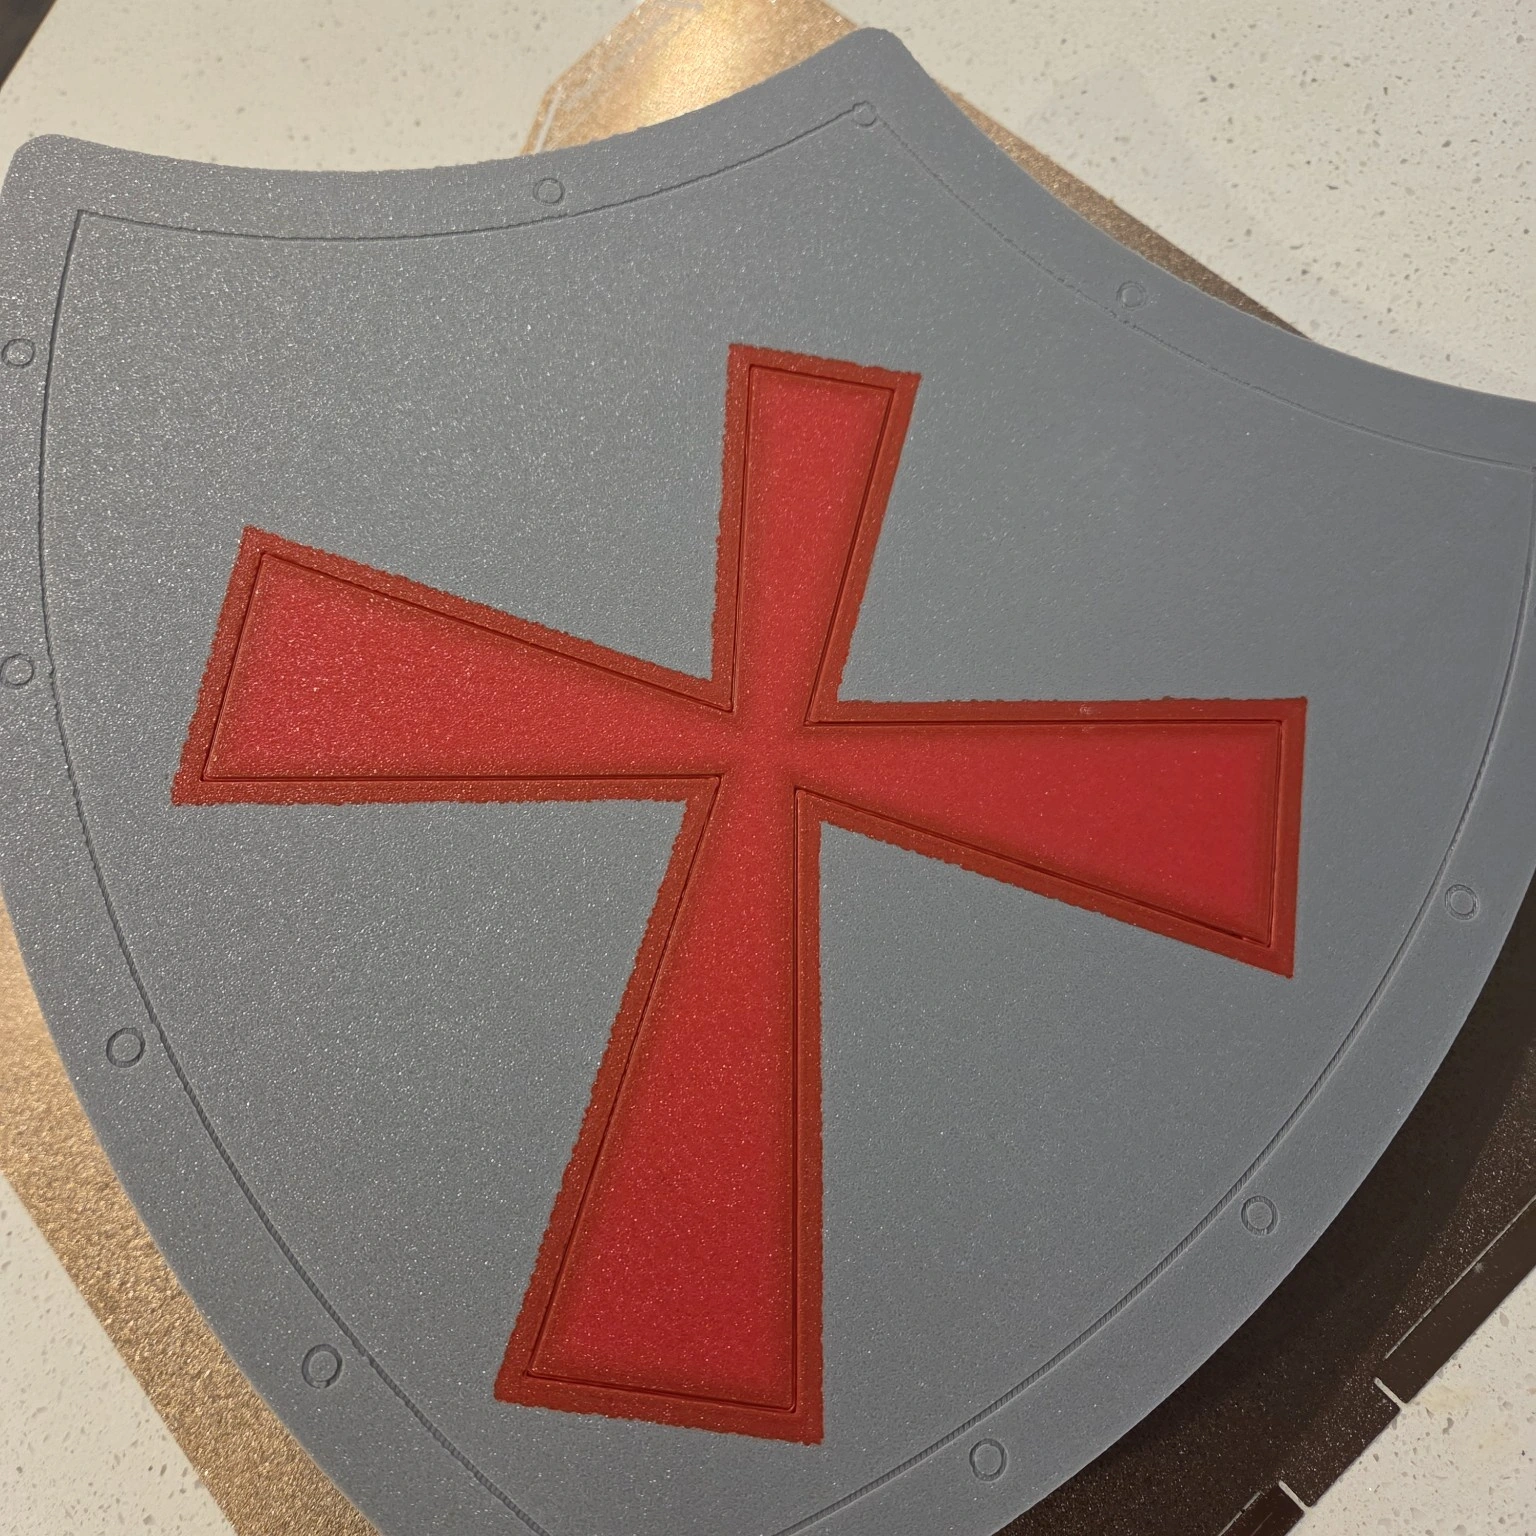
Five minutes of fake ageing.
The finishing kit was considerably less sophisticated than the printer: a small amount of ground charcoal, a kids’ paintbrush, and a barely moist paper towel. Roughly a gram of charcoal, maybe. This was not a carefully weighed recipe.
I brushed it over the face, then wiped the flat areas clean. Charcoal remained in the shallow grooves and rivet details, making the border and cross lines stand out. About five minutes changed the impression from fresh grey plastic to something with a little more history.
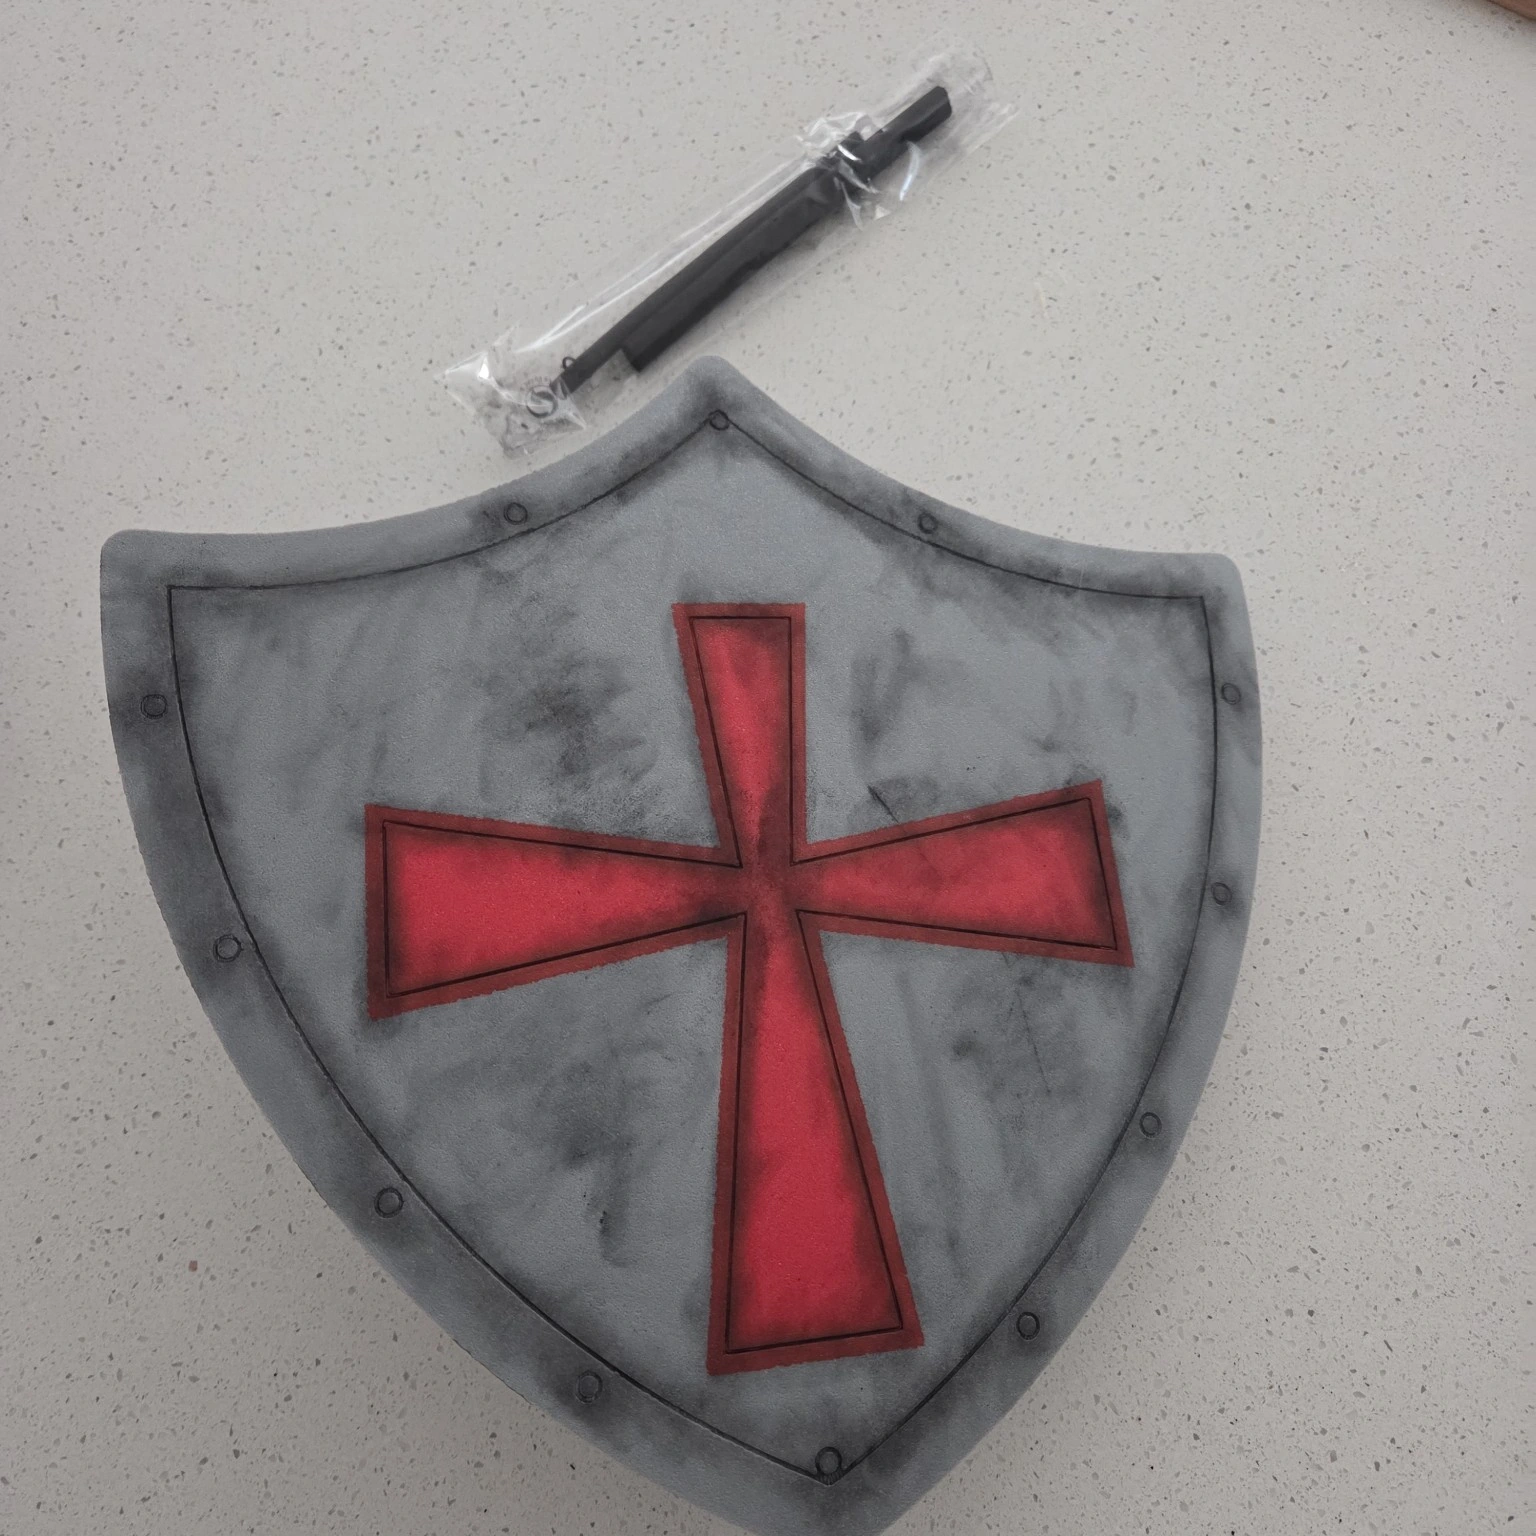
The surface treatment did the work that extra geometry might otherwise have tried to do. No additional plastic. No new support structure. Just a bit of mess on the bench, which is hardly a new operating condition around here.
What did I actually try?
What worked for Book Week: the full-size shield printed with the integrated handle, flush red cross and shallow detail. The costume and shield made it to school Book Week.
Known limitation: local corner lift left a cosmetic rough patch. This is a costume prop; I haven’t tested it for taking hits, or tried other sizes and materials.
The shared V1.0 files leave out the personalisation later added to the back of the test print. The build notes keep track of which version the photos show.
That is the kind of context BuildBook preserves: what changed, what printed, what failed cosmetically, and which revision the evidence belongs to.
The best bit wasn’t starting over.
The result did the job: a Book Week shield with its own look, built on a useful design someone else had already shared. The remix added colour and detail while leaving the practical foundation alone.
That fits the workshop process perfectly. Make, test, iterate, share. Sometimes “make” starts with recognising that another maker has already solved half the problem.
The D4Maker Red Cross Knight Shield remix is available on Creality Cloud.
For the original model, visit “Simple editable shield for a knight” on Printables, by Barbora Maršíková (@me_just_b). Follow the source listing’s licence terms when using or sharing derivatives.
The UNO case taught a related lesson about leaving proven parts alone →
Back to the Build JournalIf this saved you some plastic or an unnecessary redesign, you can buy me an energy drink. Entirely optional. The charcoal budget was unusually reasonable.